How to install hsbDesign for Autodesk AutoCAD
Step 1: Go to hsbcad on Academic Software and select the version 'hsbDesign 24 for AutoCAD'.
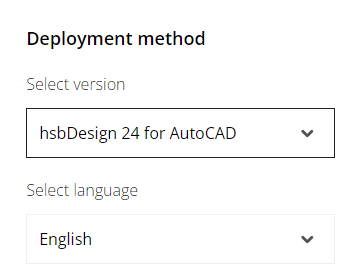
Step 2: Click on the Request button at the top to request access to the software.
Step 3: You will receive an email with further instructions. This may take several working days.
Step 4: The email you received contains a link to confirm your email address. Click on the link to go to the Myhsbcad website where you can create an account using your school email address.
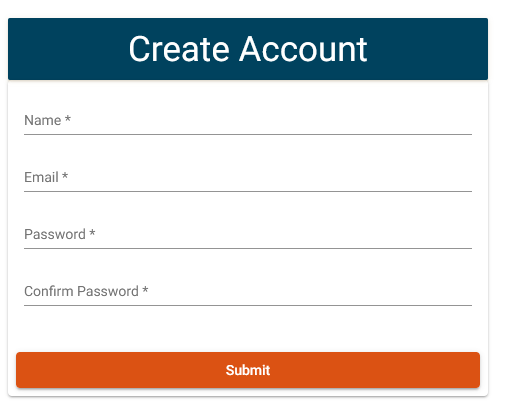
Step 5: Create an account. It is important that you use your school email because the licence is activated on this account.
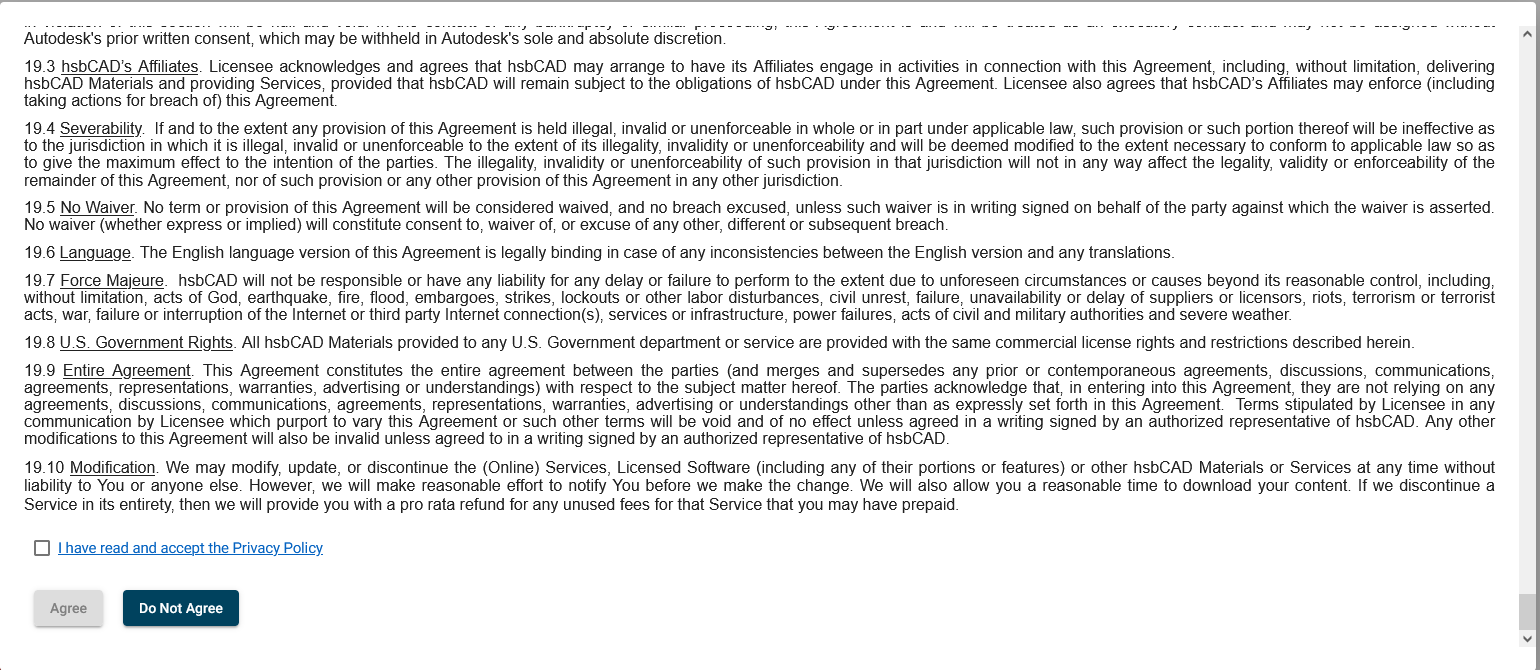
Step 6: Scroll down and accept the licence agreement.
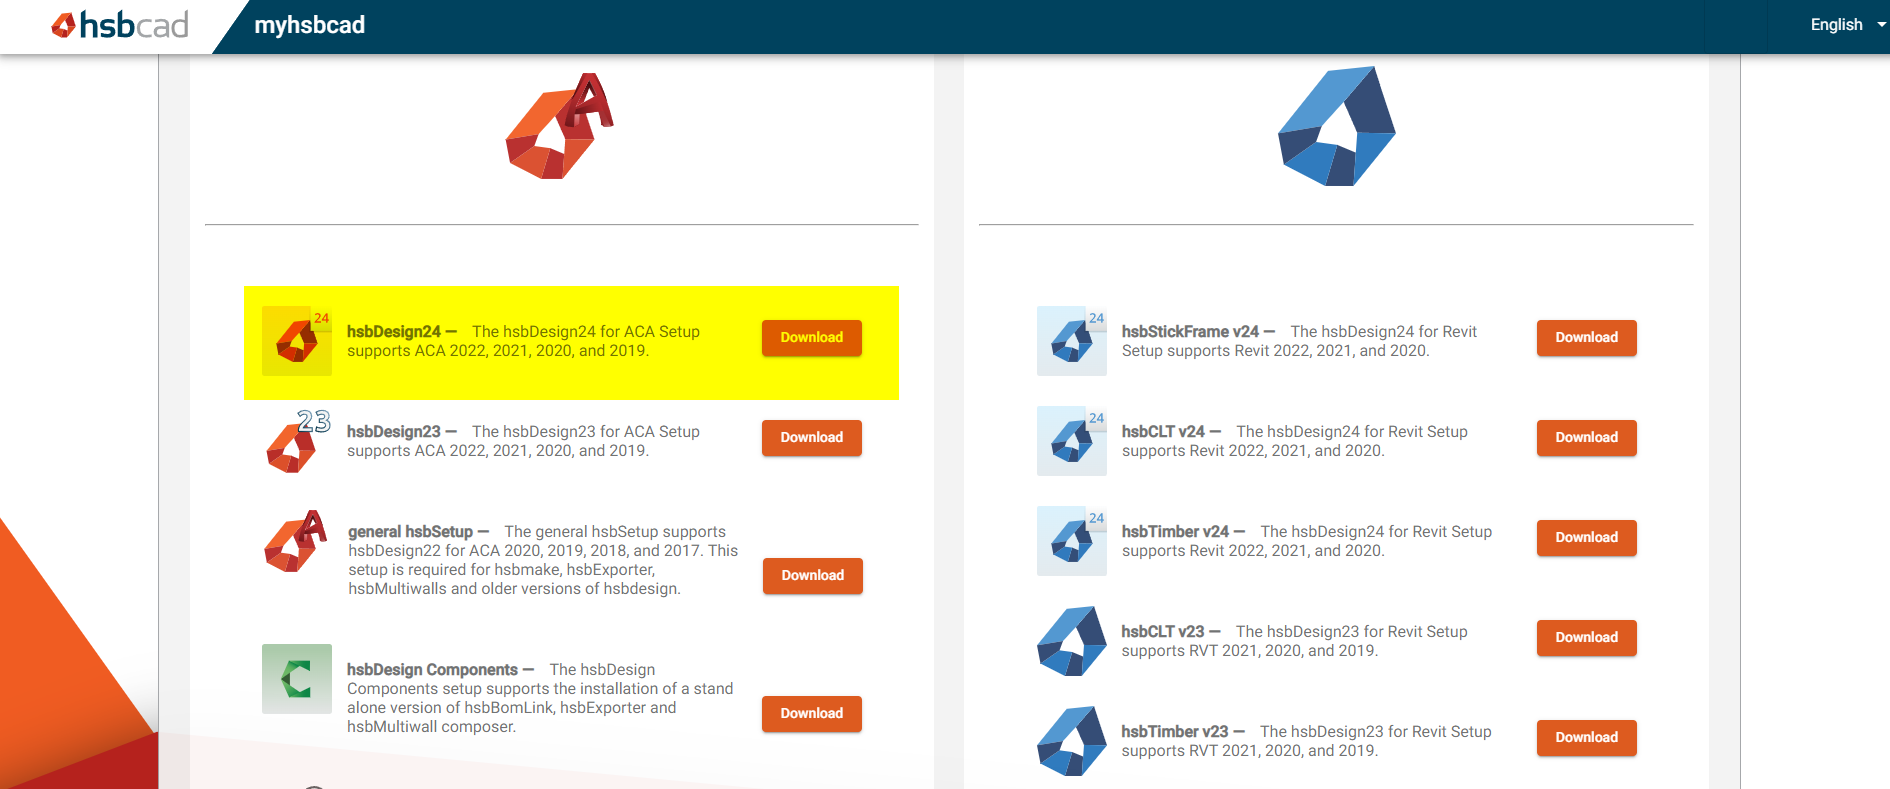
Step 7: After creating your account you will be directed to the Myhsbcad homepage. Click on Downloads.
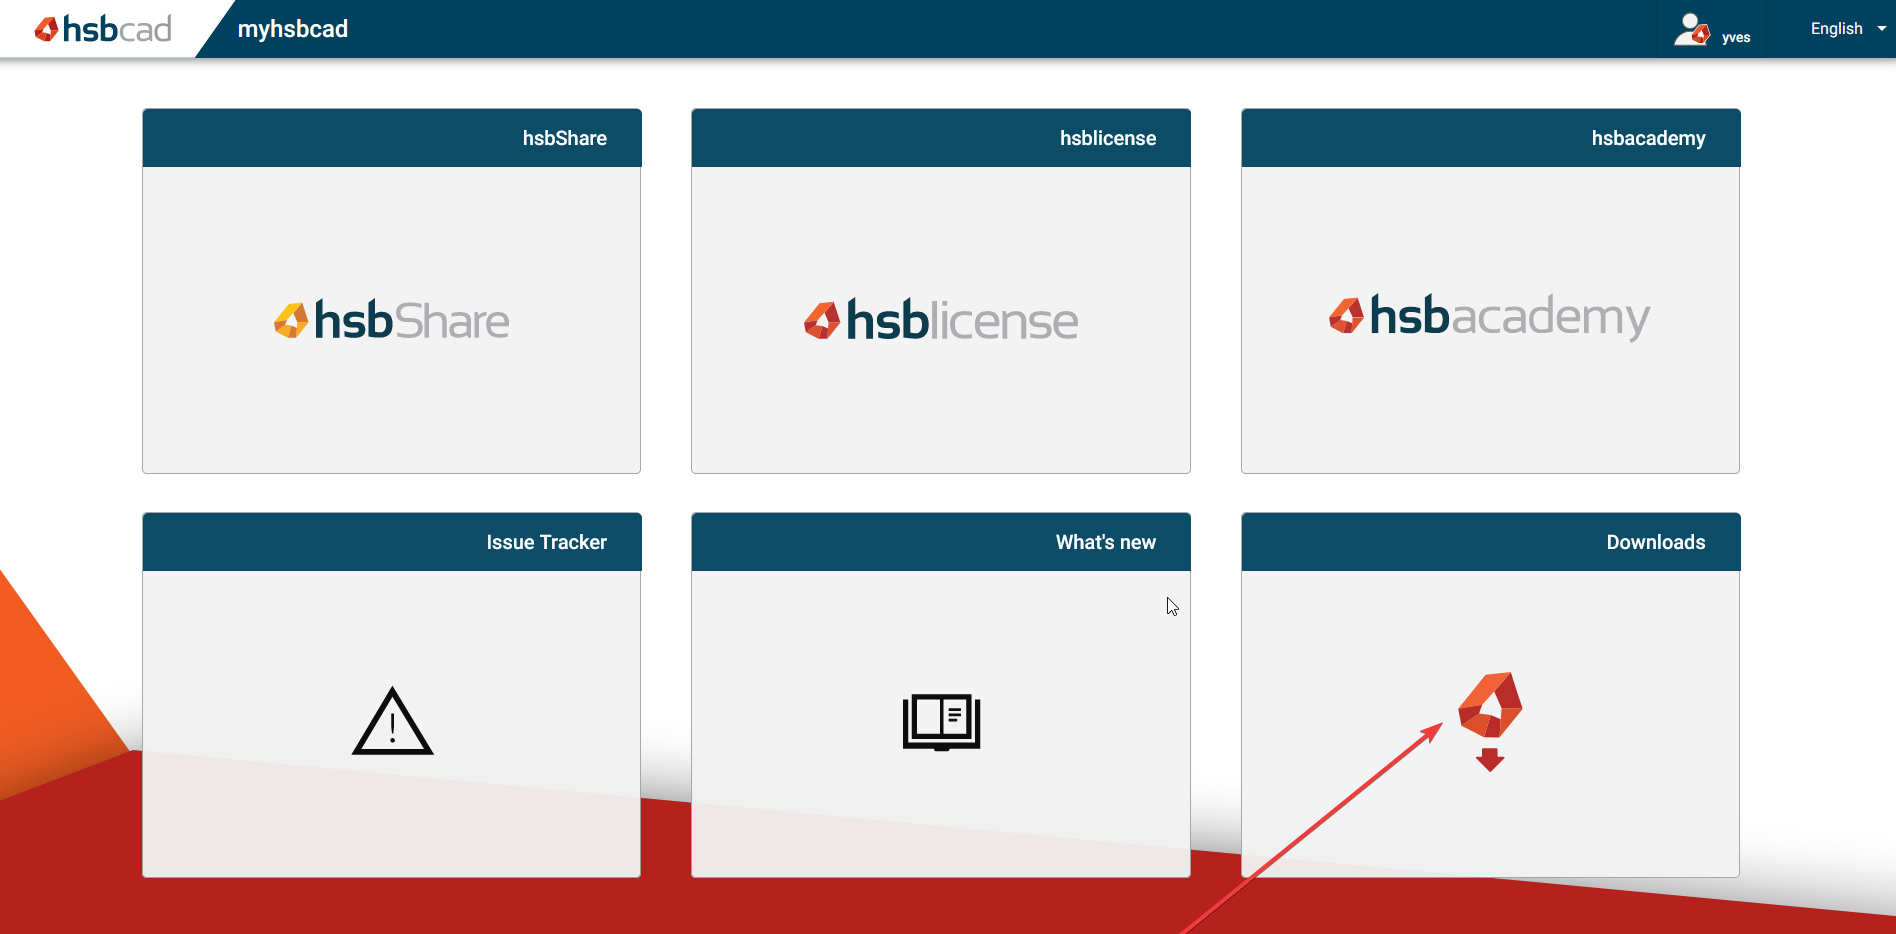
Step 8: Download hsbDesign24 for AutoCAD.
Installation of hsbDesign
Step 1: Go to your downloads folder and double-click on the hsbDesign24 installation file.

Step 2: Accept the licence agreement.

Step 3: Click on OK after the installation.

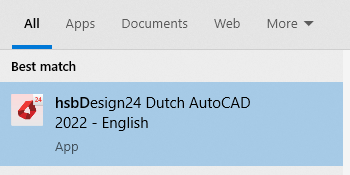
Step 4: Click on the Windows Start button, search for 'hsbDesign' and open it.
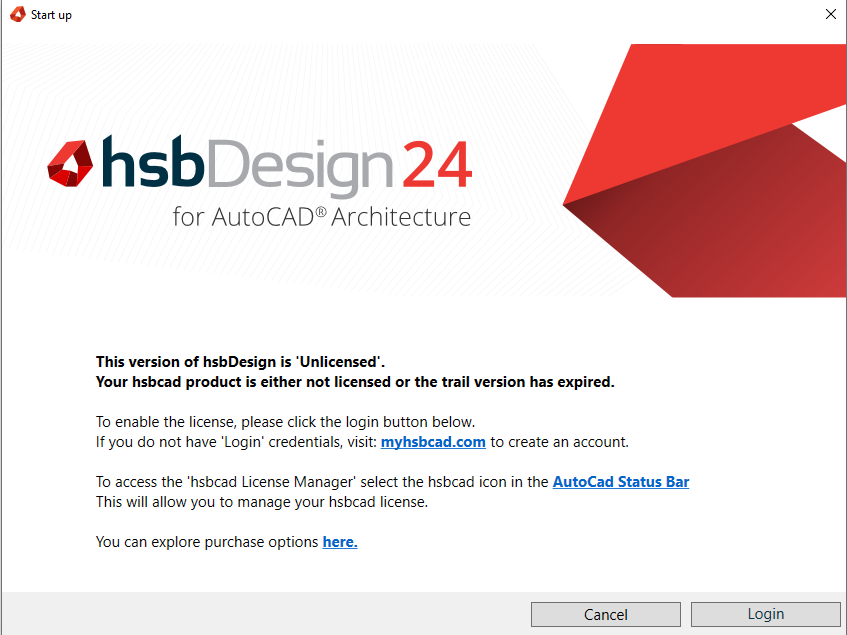
Step 5: If you get this screen, you have to log in with the account you created on the Myhsbcad website. Click on Login.
You can now get started with hsbDesign for Autodesk AutoCAD.