How to install hsbDesign for Autodesk Revit
Step 1: Go to hsbcad on Academic Software and select the version 'hsbDesign 24 for Revit'.
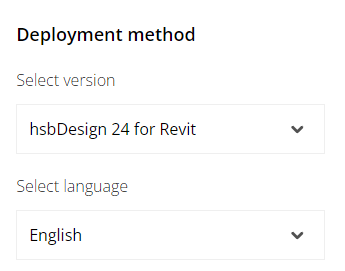
Step 2: Click on the Request button at the top to request access to the software.
Step 3: You will receive an email with further instructions. This may take several working days.
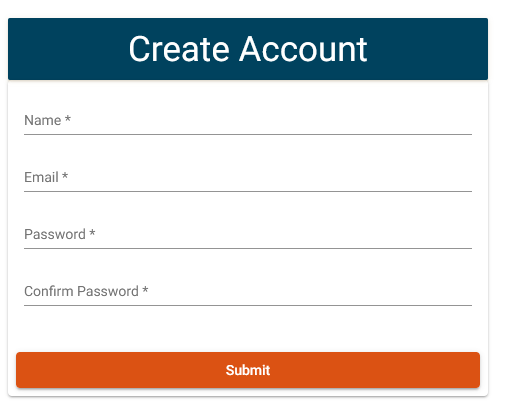
Step 4: The email you received contains a link to confirm your email address. Click on the link to go to the Myhsbcad website where you can create an account using your school email address.
Step 5: Create an account. It is important that you use your school email because the licence is activated on this account.
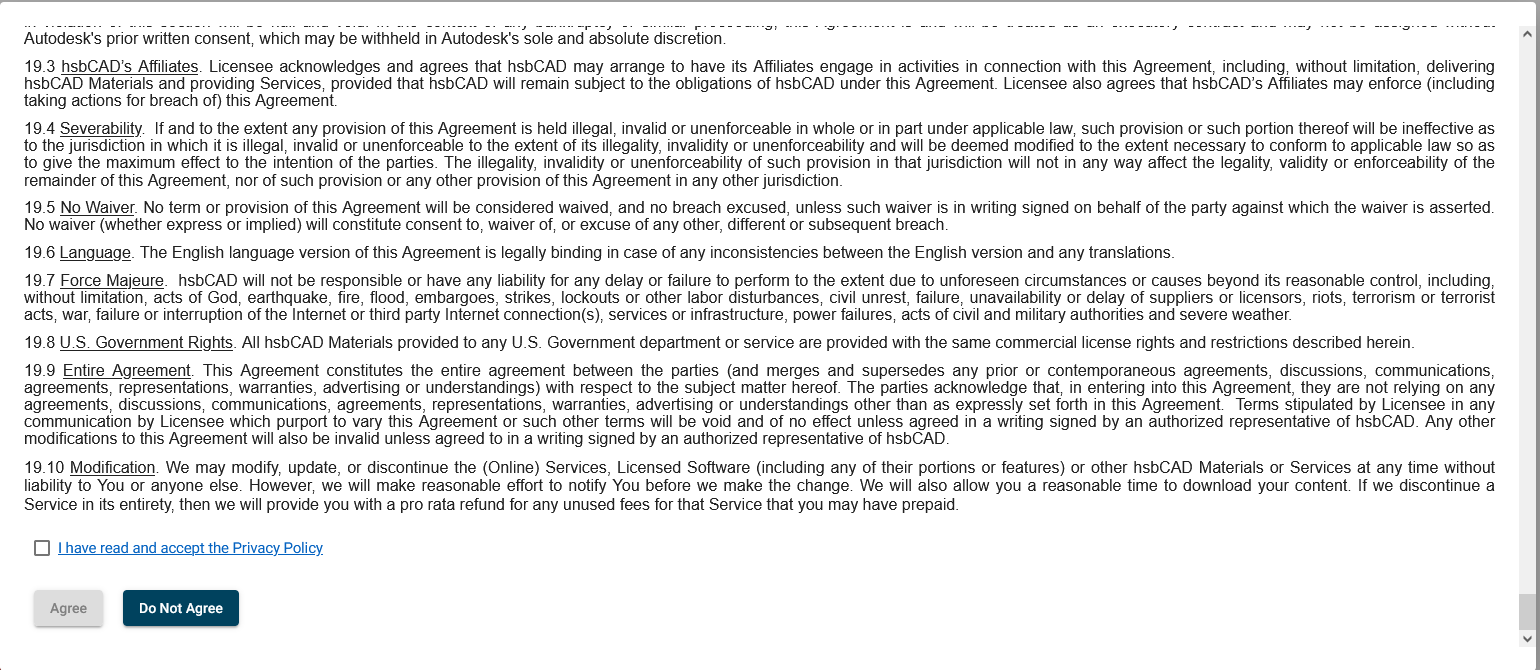
Step 6: Scroll down and accept the licence agreement.
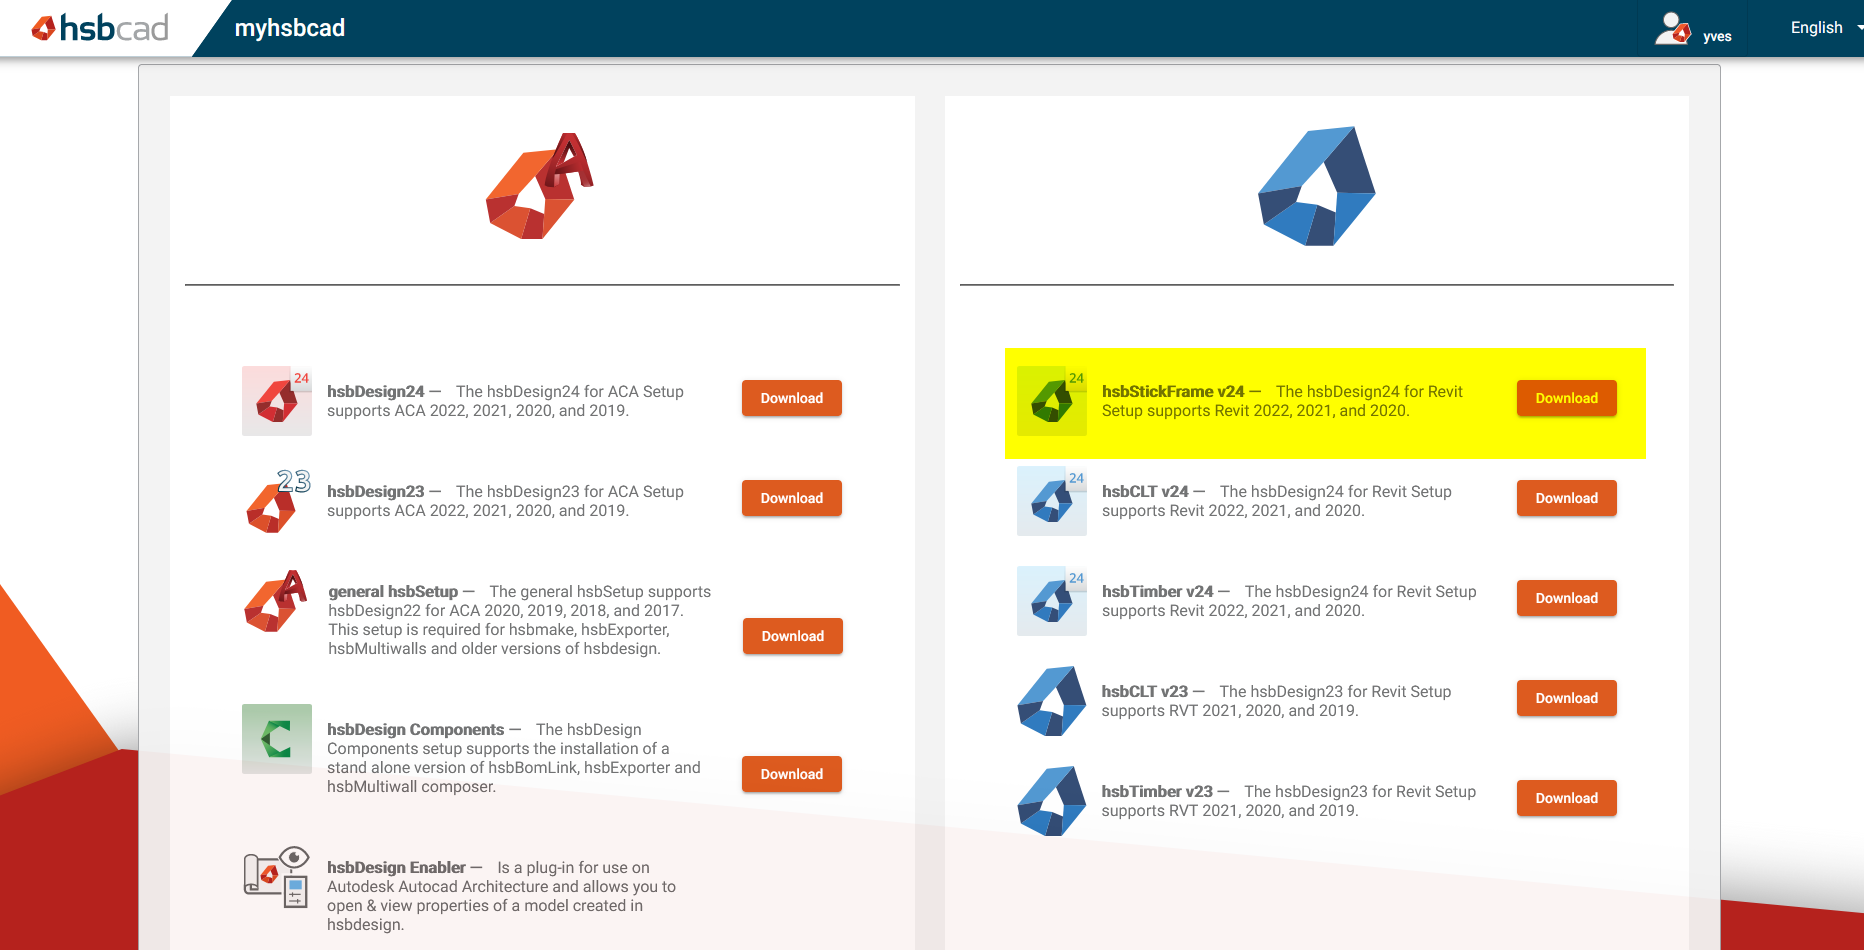
Step 7: After creating your account you will be directed to the Myhsbcad homepage. Click on Downloads.
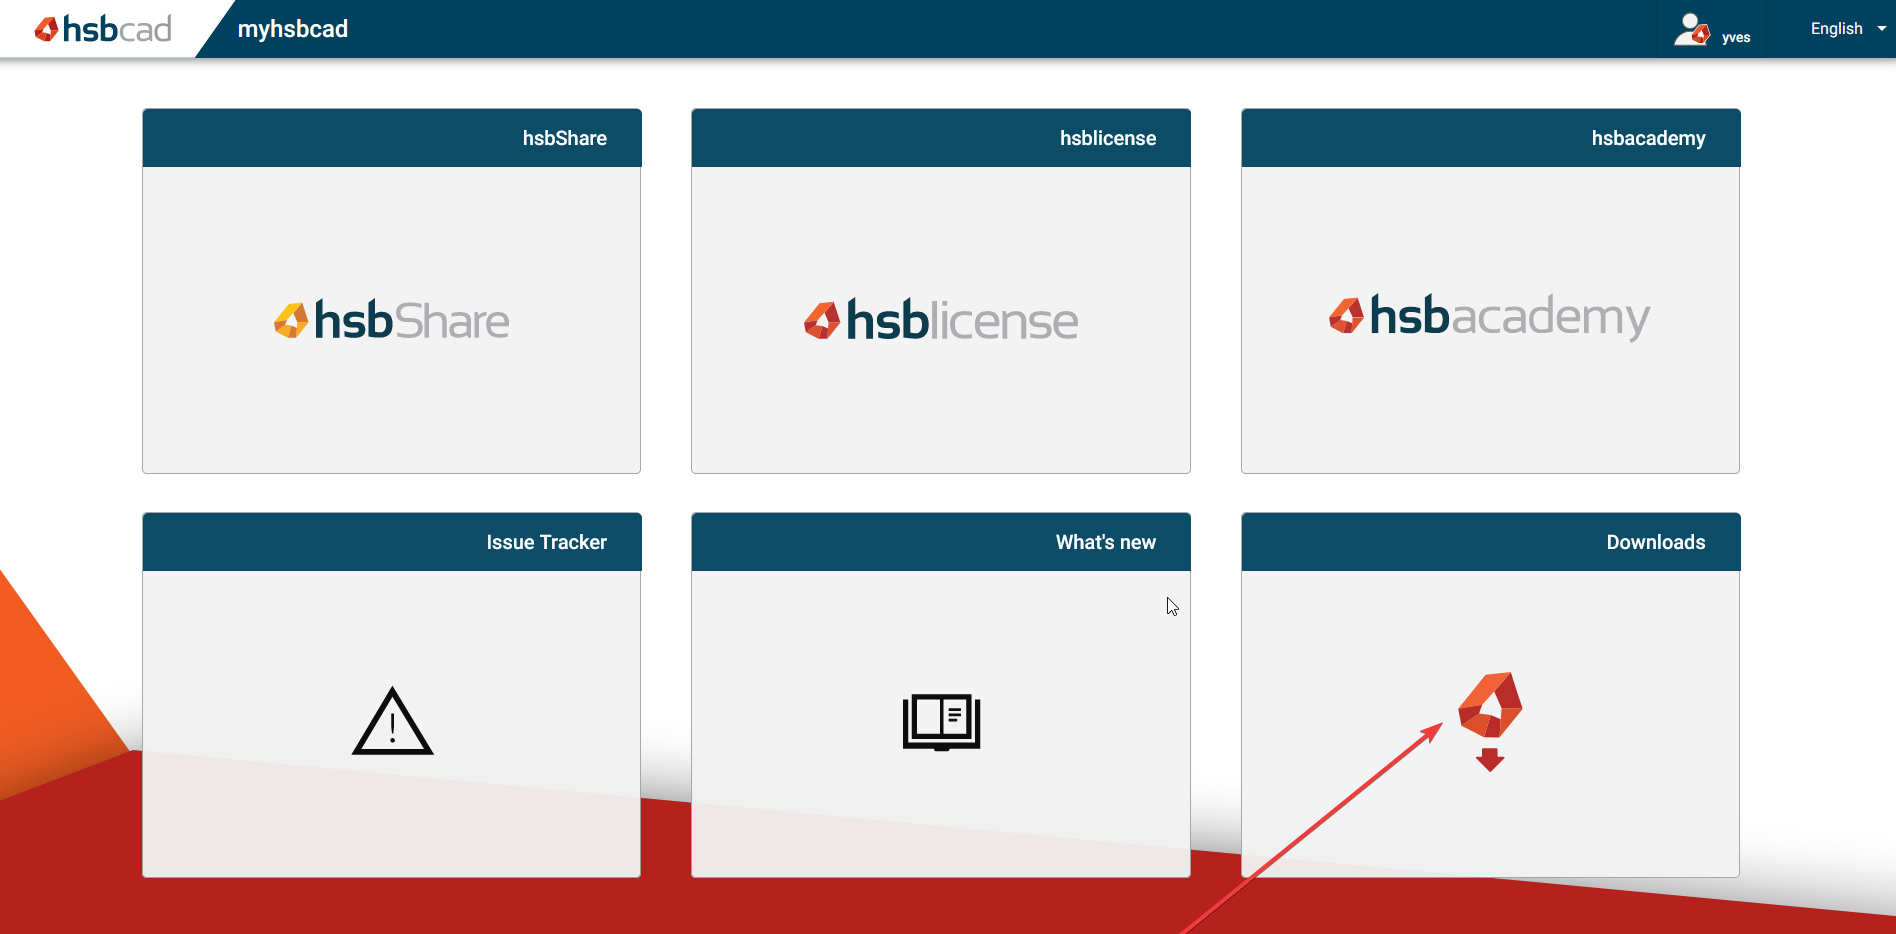
Step 8: Download hsbDesign24 for Revit.
Installation of hsbDesign
Step 1: Go to your downloads folder and double-click on the hsbDesign24 installation file.

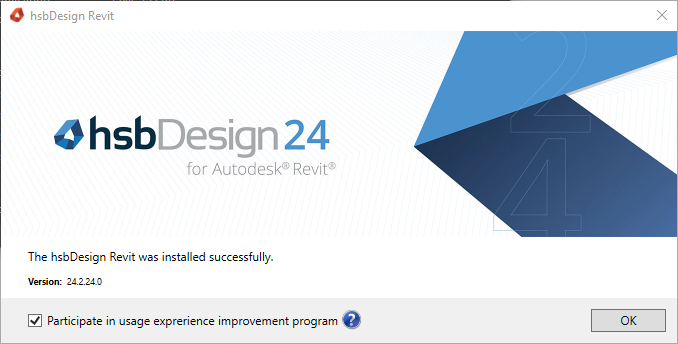
Step 2: Click on OK after the installation.
Step 3: Open Autodesk Revit.
Step 4: Open a new project and click on hsbStickFrame.

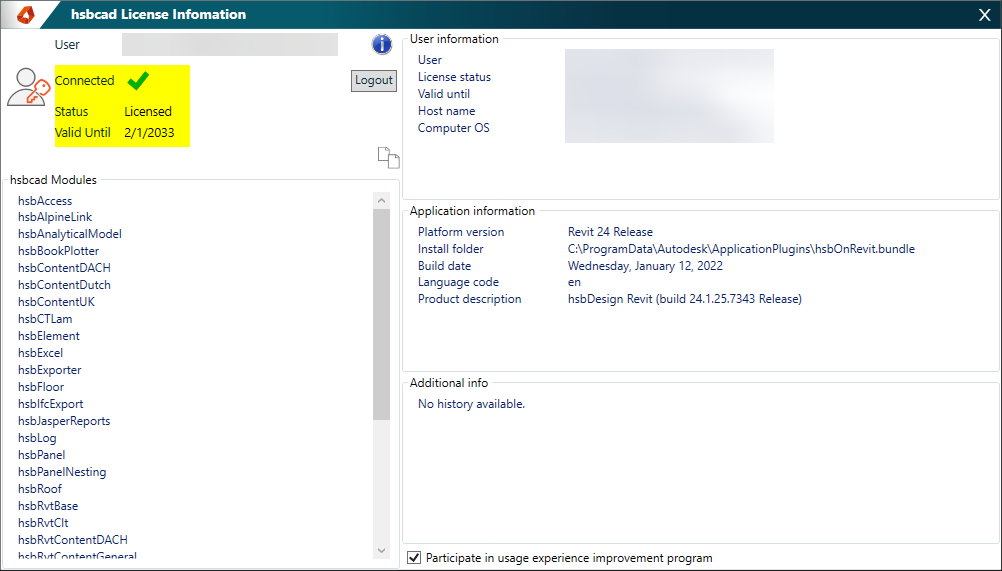
Step 5: Click on Help > Account info and check whether the licence has been activated.
Step 6: You can now get started with hsbDesign for Autodesk Revit.