How to install Xerte Online Toolkit
Installation of XAMPP
Step 1: To use Xerte Online Toolkit, you must first download XAMPP.
Go the Apache Friends website and download the latest version of XAMPP.
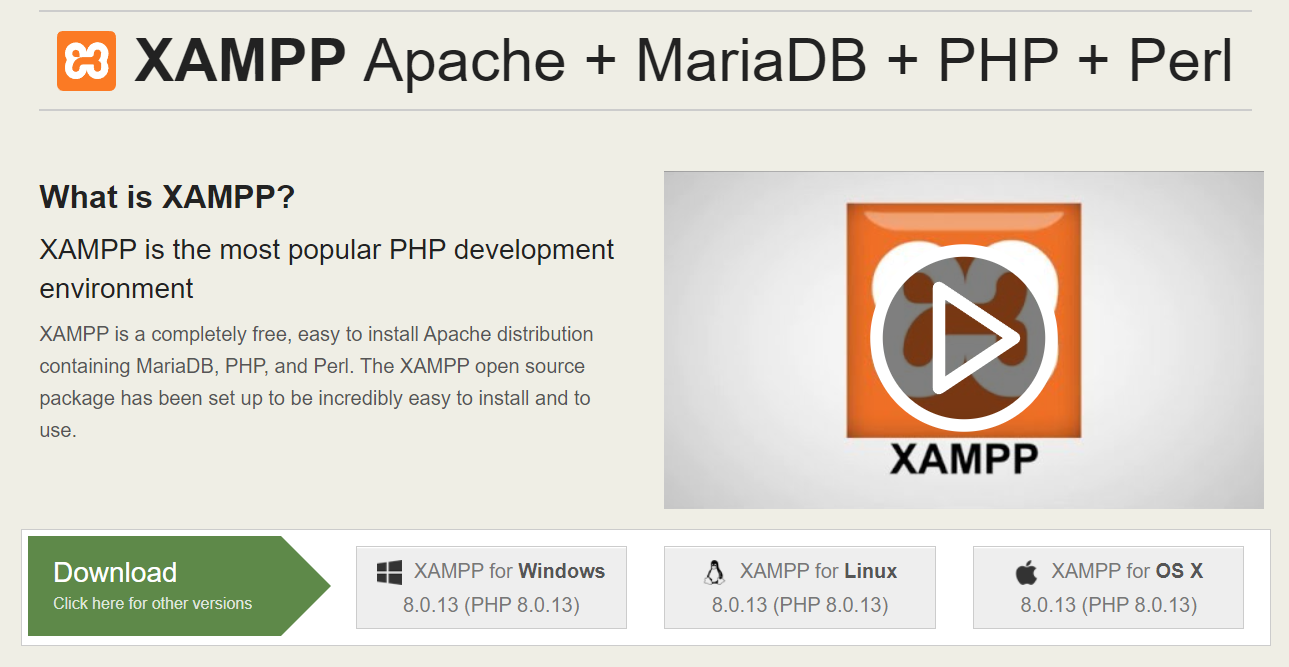
This manual is specifically about the Windows platform, but you can also use XAMPP on Mac or Linux.
Step 2: Go to your downloads folder and double-click on the installation file to start the installation.

Step 3: The installation wizard opens. Click on Next.

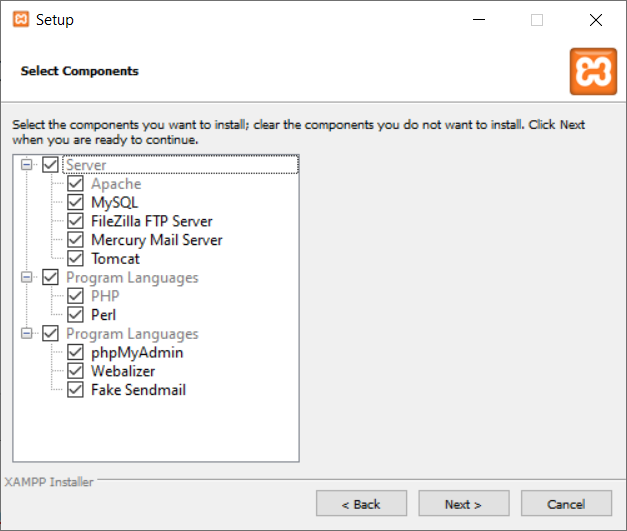
Step 4: Uncheck any components that you do not wish to install, otherwise leave everything as it is and click on Next.
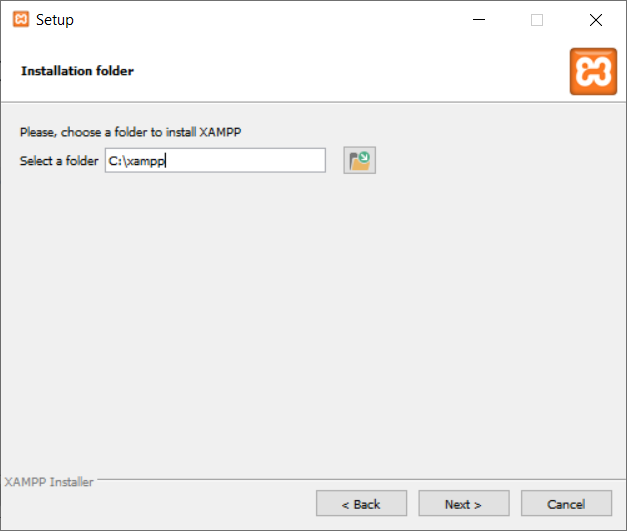
Step 5: Choose an installation folder and click on Next.
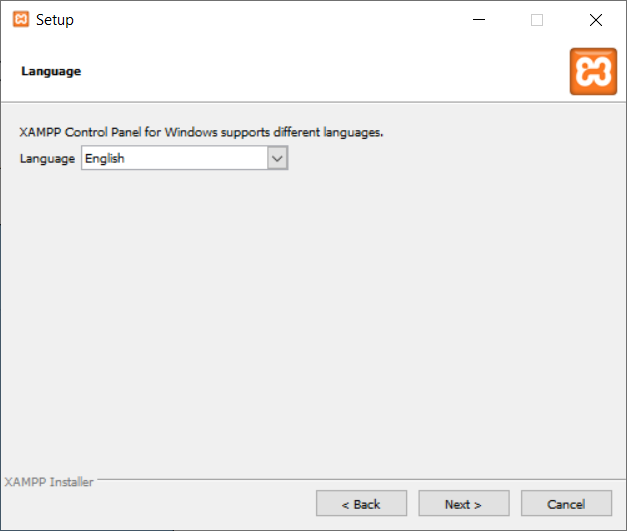
Step 6: Choose your language and click on Next.
Step 7: Click on Next again.
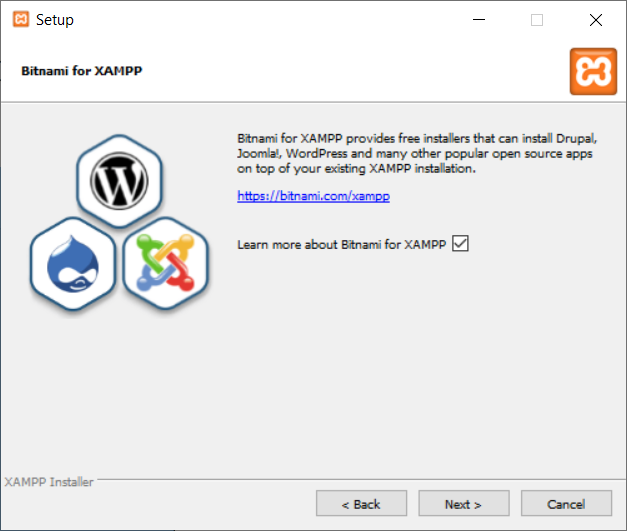
Step 8: Click on Next to start the installation.
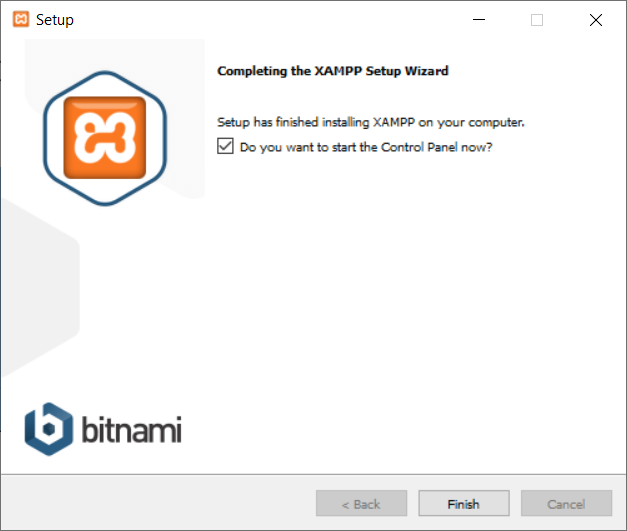
Step 9: Once the installation is complete, click on Finish.
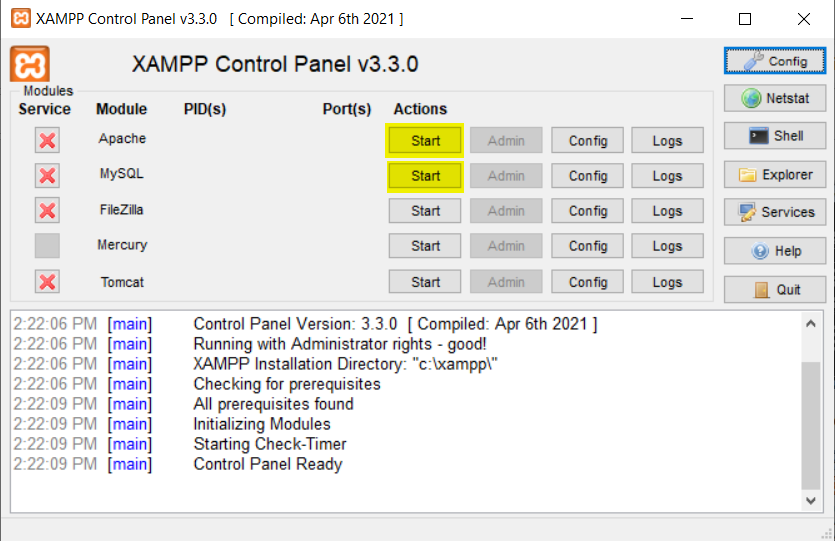
Step 10: After the installation, the XAMPP control panel will start automatically. Then, Apache and MySQL should be started. Click on the Start button.
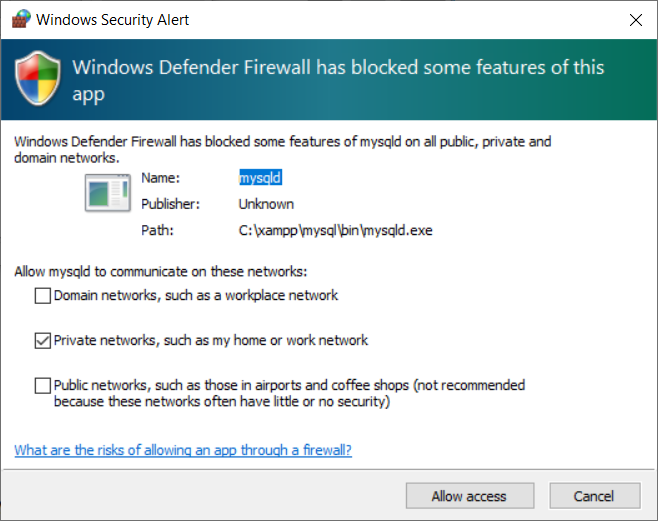
When you get this screen, click on 'Allow access'.
Installation of Xerte Online Toolkit
Step 1: Go to Xerte on Academic Software and click on 'Start procedure'.
Step 2: In order to download the software, you must first create an account.
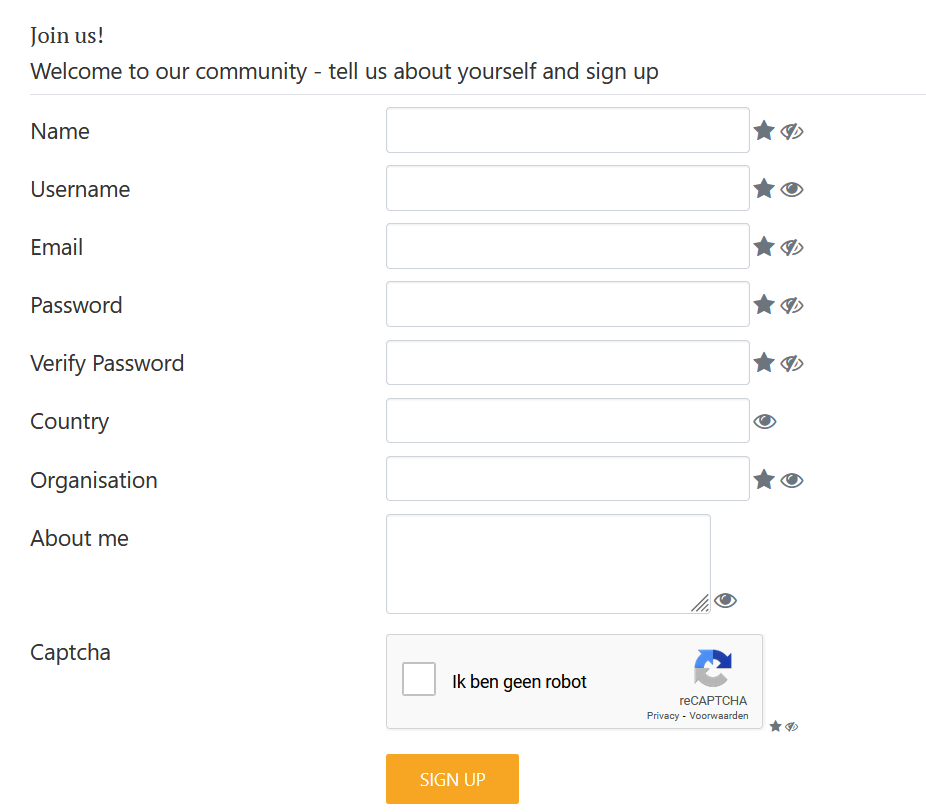
Step 3: Go back to Academic Software and click on the button 'Download Xerte Online Toolkit'.
Step 4: On the website, scroll down to the latest version. Then click on 'Read more'.
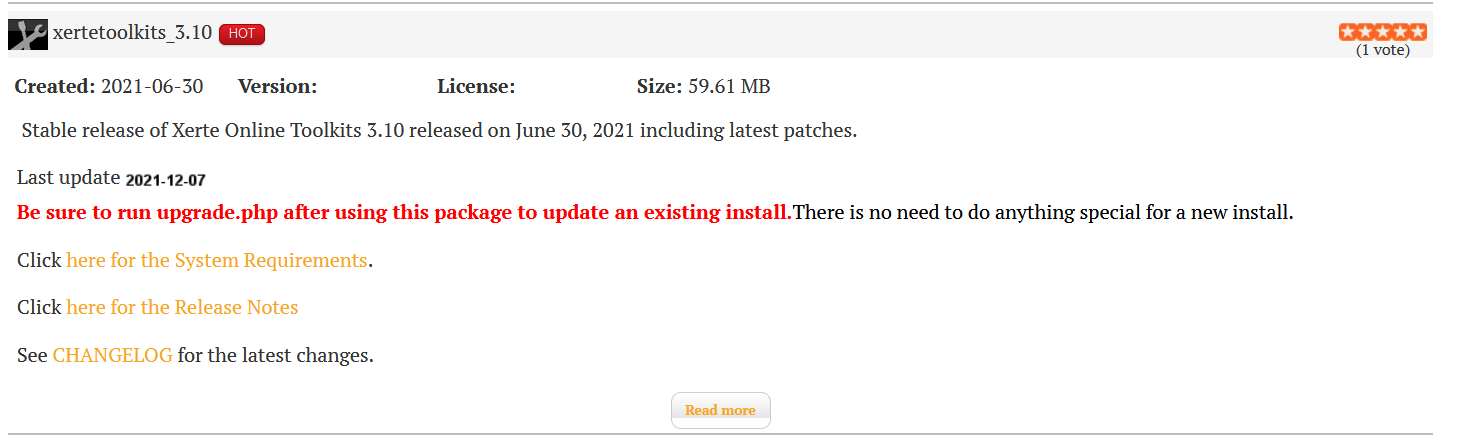
Step 5: Click on Download.
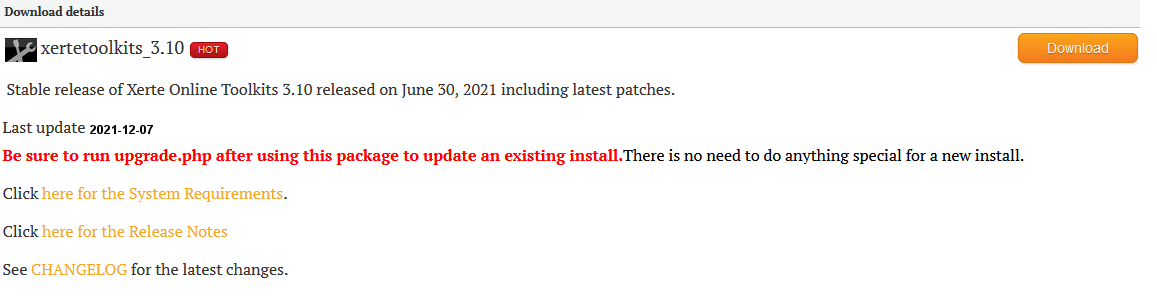
Step 6: After downloading, go to your downloads folder and extract the ZIP file: c:/xampp/htdocs/xertetoolkits
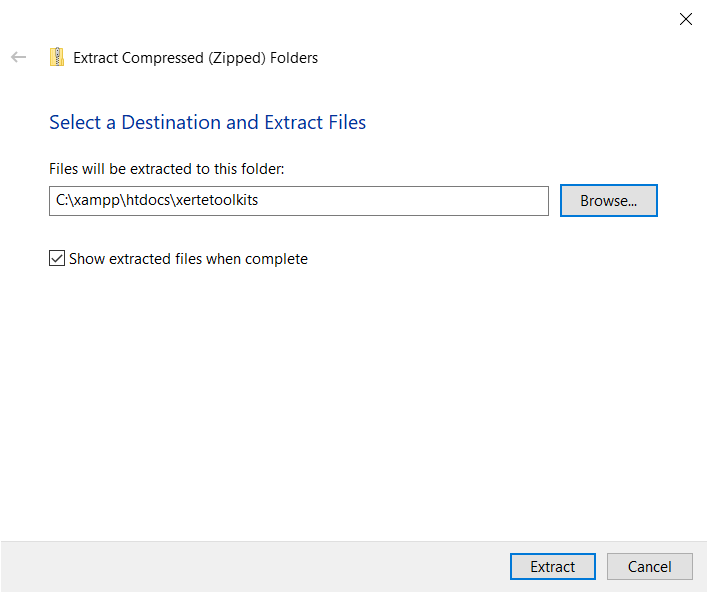
The drive letter depends on the location where you initially saved the ZIP file.
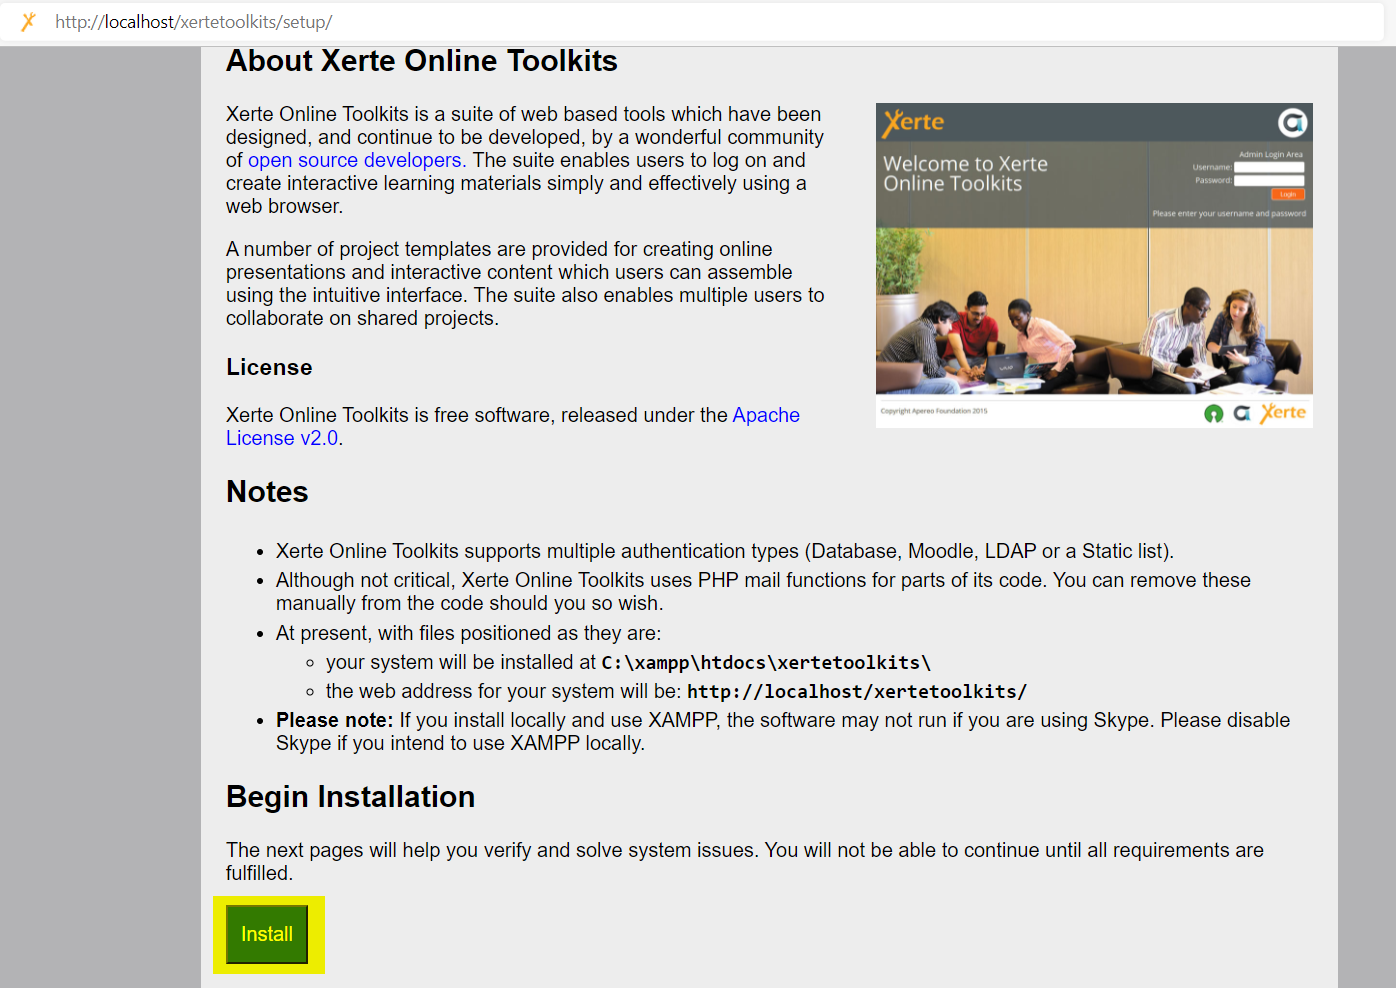
Step 7: Open a browser window and enter the following address: http://localhost/xertetoolkits/setup/
Click on Install.
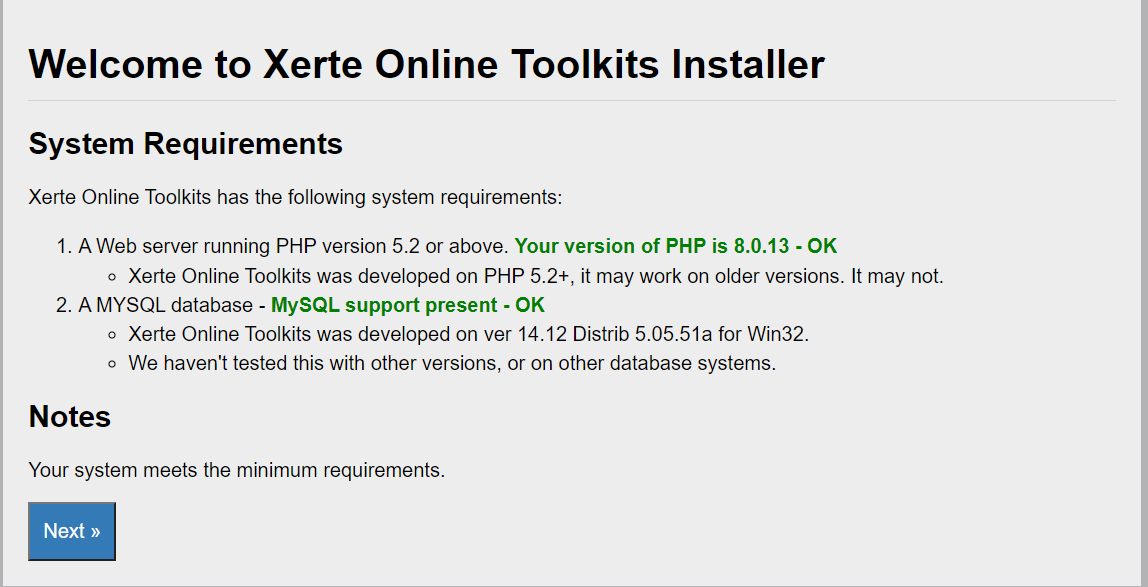
Step 8: Click on Next.
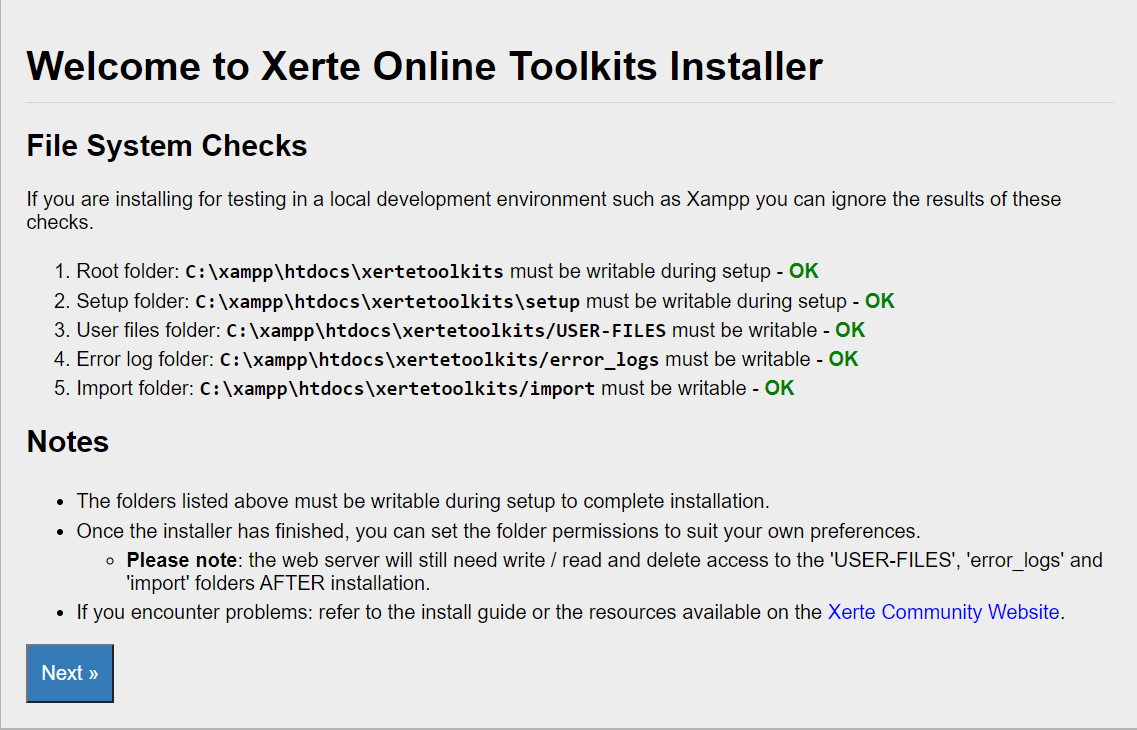
Step 9: Click on Next.
Step 10: Click on Next.
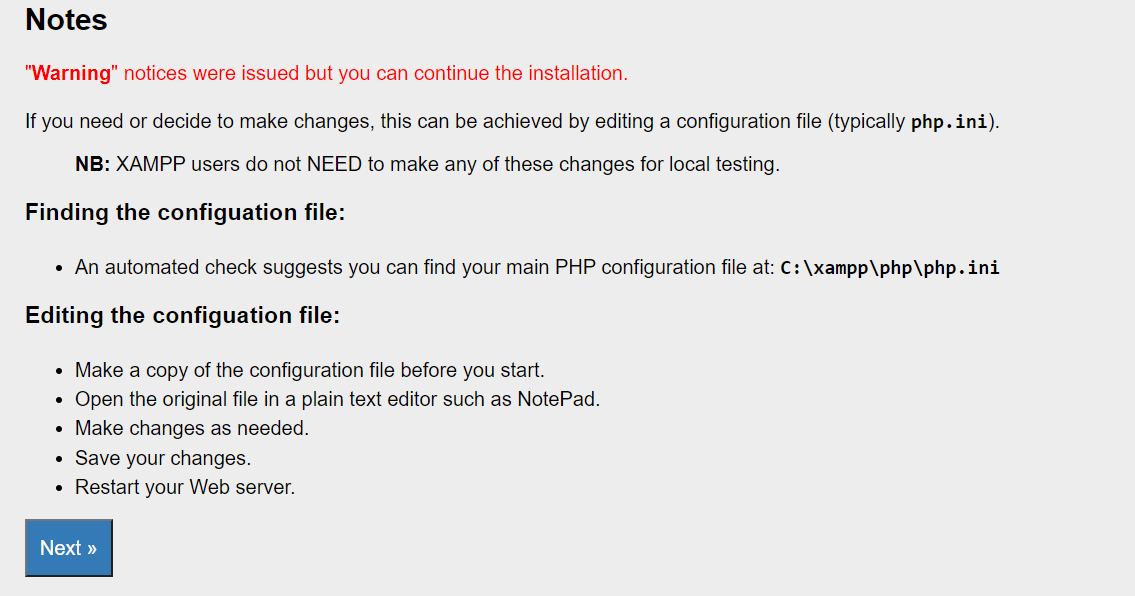
Step 11: Click on Next.
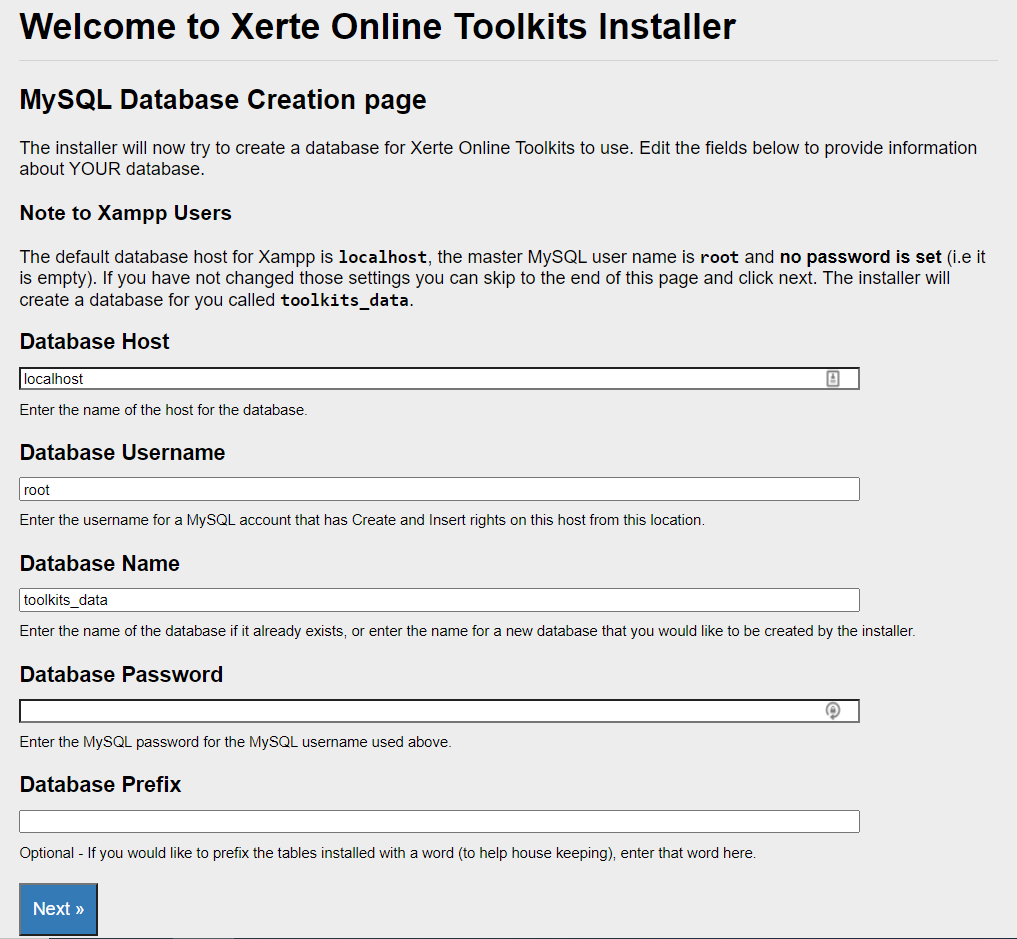
Step 12: Click on Next.
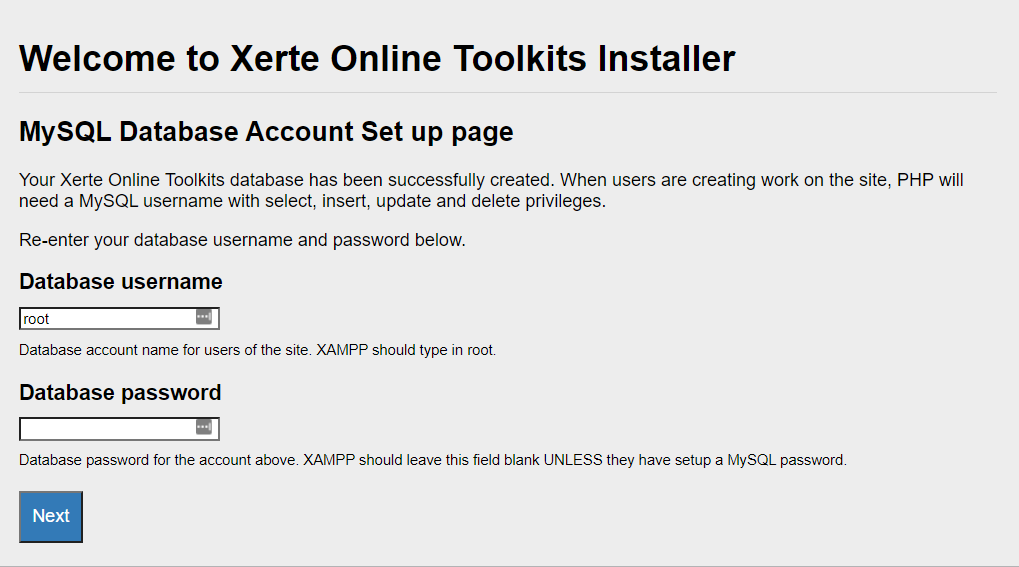
Step 13: Choose an admin user name and password and click on Next.

On the next page you can make quite a few adjustments on the site. Then click on Save.
If the installation was successful, you will see the following screen.
