How to install C3A-Extensions
Step 1: Go to the C3A page on Academic Software and click on the download button to download the software.
Step 2: Go to your downloads folder and unzip the ZIP file.

Step 3: Open the installation file by double-clicking on it.

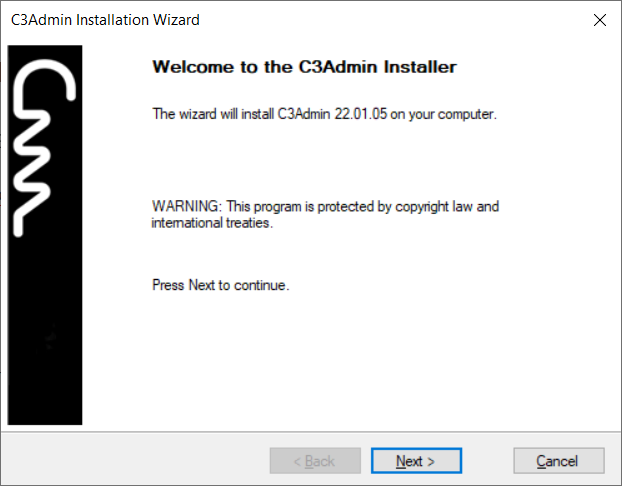
Step 4: Click on Next.
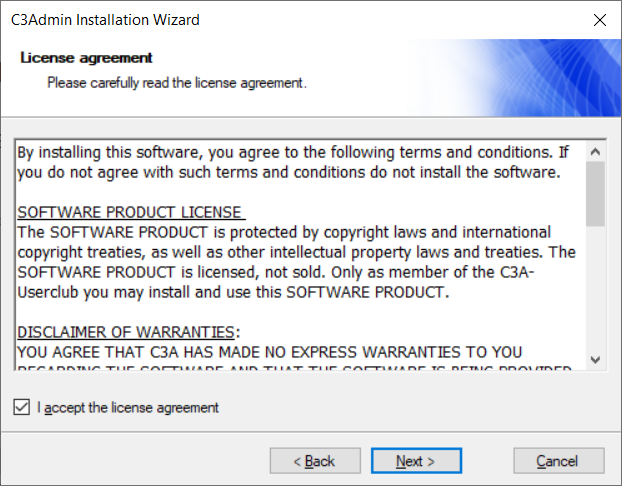
Step 5: Accept the licence agreement and click on Next.
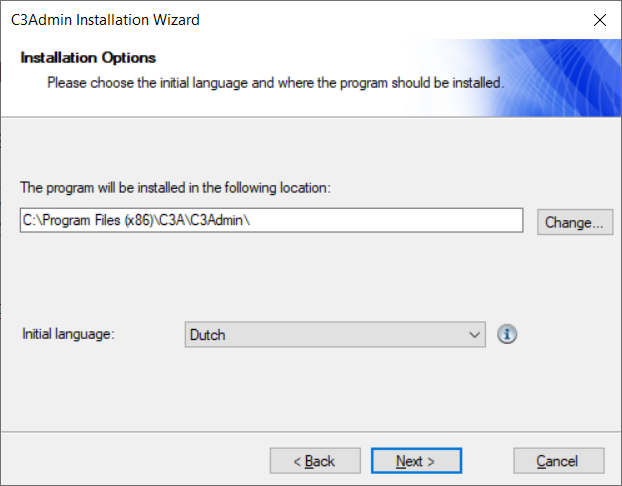
Step 6: Change the installation location if you want, choose a language and click on Next.
Step 7: Select the software for which the extension should be installed. By default, the Office module is preselected.
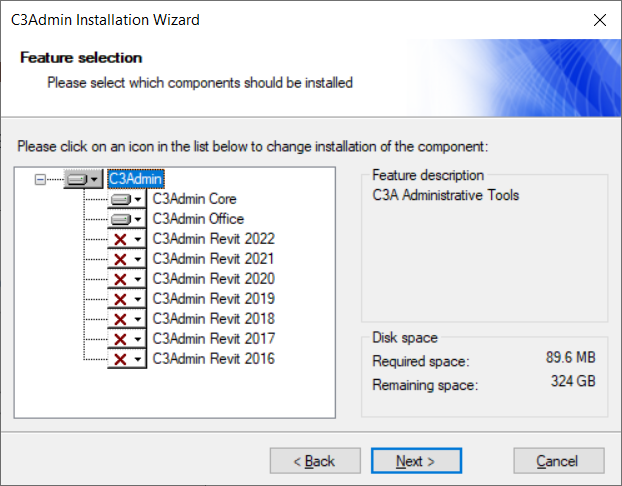
The extensions for Office and Revit can be installed even if there is not yet an existing version of the program installed. The extensions are activated as soon as the corresponding version of the program is installed.
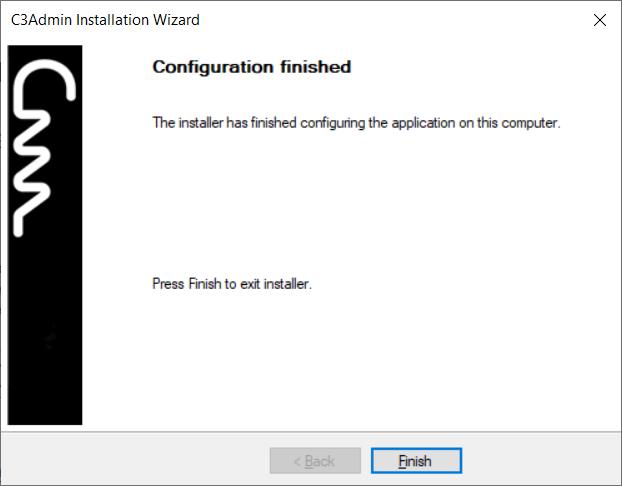
Step 8: Click on Finish.
Step 9: If you now open Excel or Word, you will see the following window.
If you have installed C3A for the first time, choose the first option.

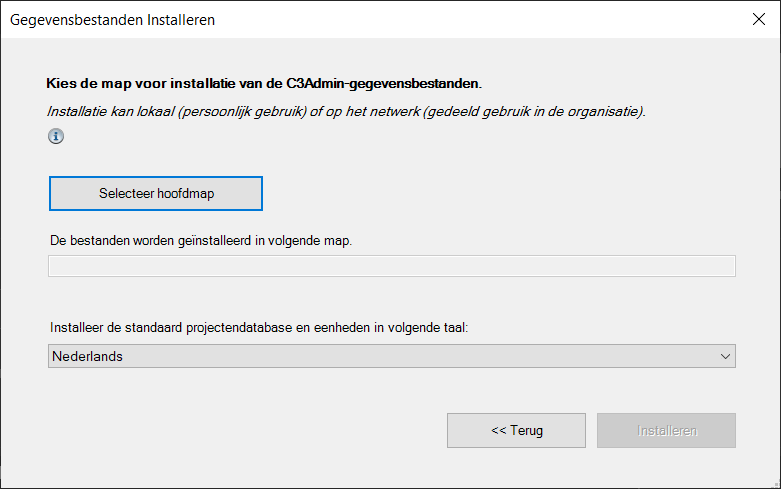
Step 10: To install the data files, you must choose an installation folder.
Then click on Install (Installeren).
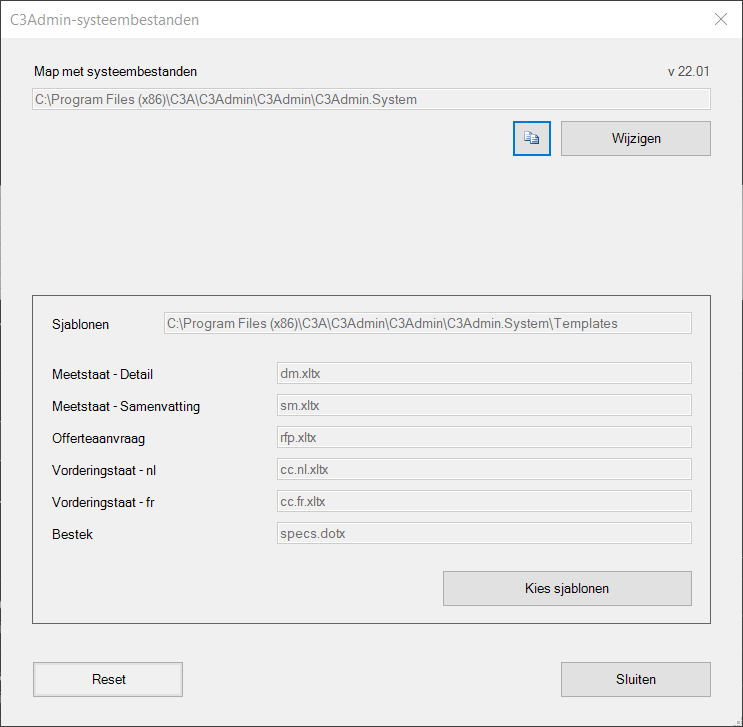
Step 11: Click on Close (Sluiten).
Step 12: In the Excel and Word toolbar you now see the extra tab C3A.

You can also find it in the Autodesk software.
