How to install Windows on a virtual machine
Step 1: Go to Windows 11 Education on Academic Software and click on the download button on the right to download Windows 11 ISO.
Step 2: You can choose whether to install Windows on a virtual machine via VMware or via Virtualbox. Follow the corresponding steps below.
Via VMware Workstation
Step 1: Install VMware Workstation. To do this, go to VMware Workstation on Academic Software and/or follow the steps in this manual.
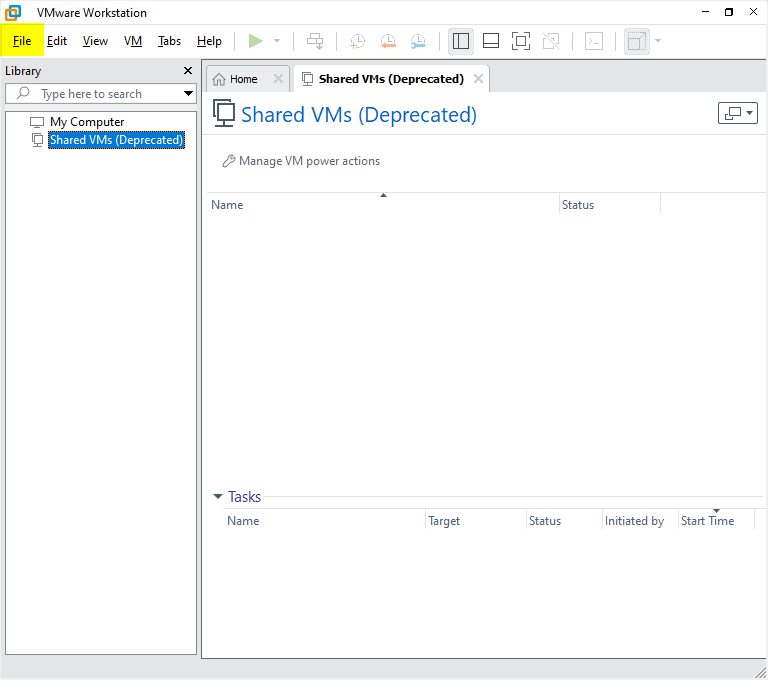
Step 2: Open VMware Workstation and click on File > New Virtual Machine...
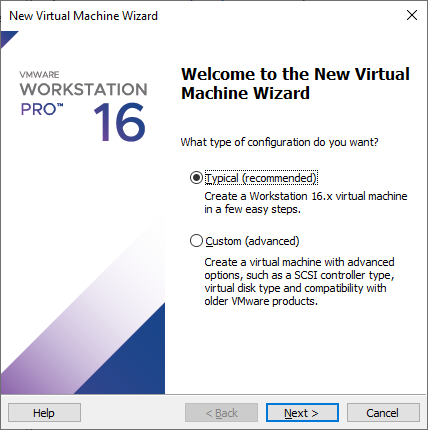
Step 3: A new window opens. Select the desired configuration:
- Choose Custom (advanced) if you still want to adjust some things
- Choose Typical (recommended) if you do not want to adjust
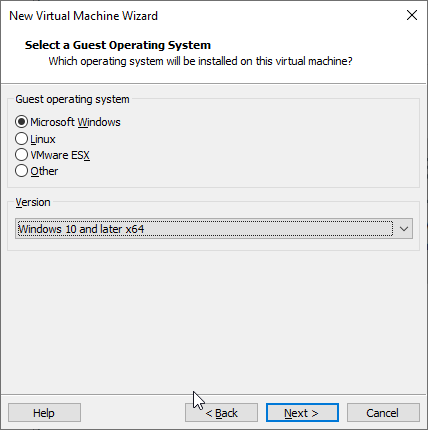
Step 4: Select the operating system that will be installed on the virtual machine. Select Microsoft Windows and choose the correct version.
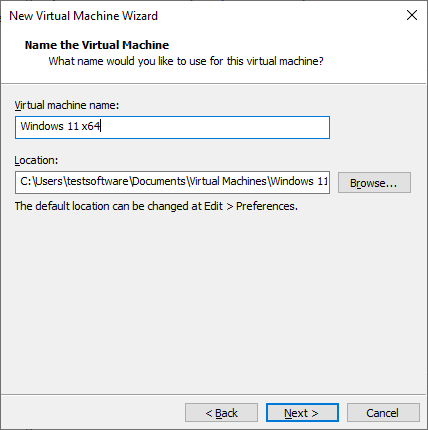
Step 5: Choose a name for your virtual machine and the location where the data will be stored.
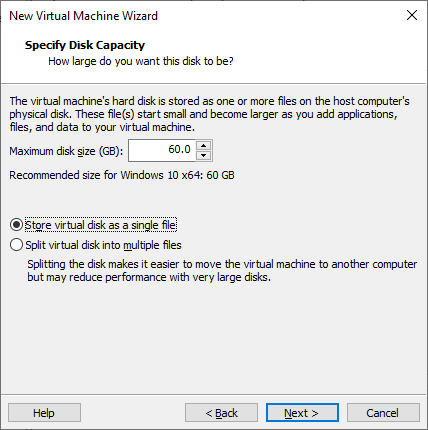
Step 6: Determine your disk size and select how the virtual disk will store the files (as a single file or multiple files).
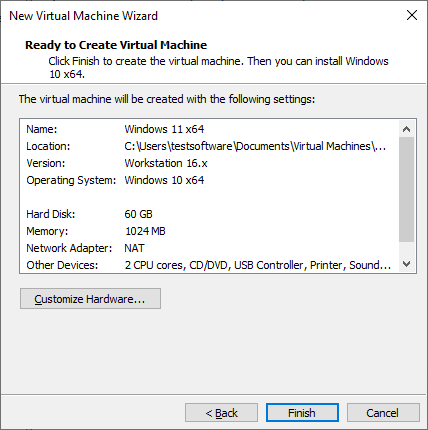
Step 7: Check all the settings and click on Finish to complete the configuration.
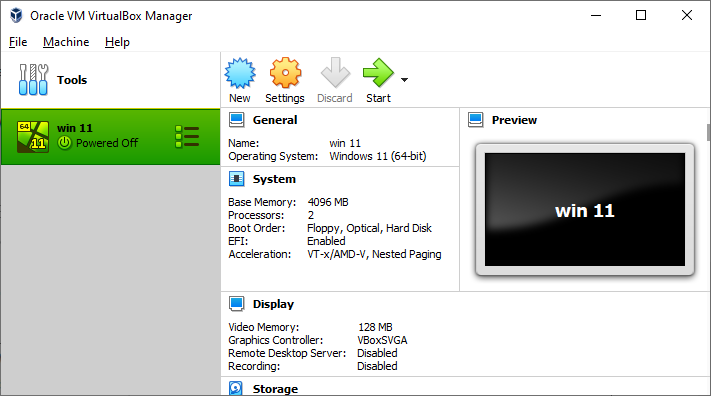
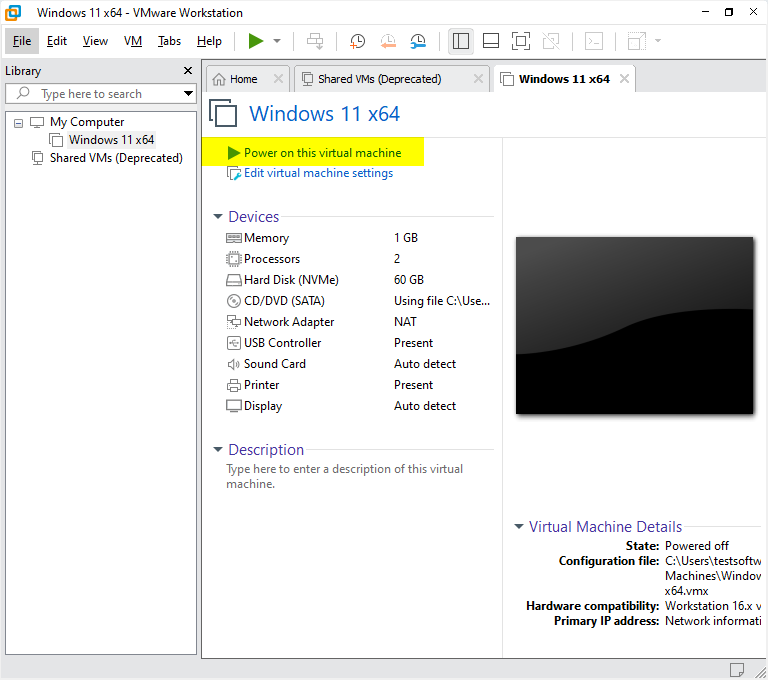
Step 8: Click on the virtual machine you have just created and then on 'Power on this virtual machine'.
If you want to upgrade to Windows 11, you can follow the instructions here from Part 3 'Installing Windows 11 using the installation medium'.
Via Virtualbox
If you prefer to install Windows on a virtual machine via Virtualbox instead of VMware, you can follow the steps below.
Step 1: Install Virtualbox. To do this, go to Virtualbox on Academic Software and/or follow the steps in this manual.
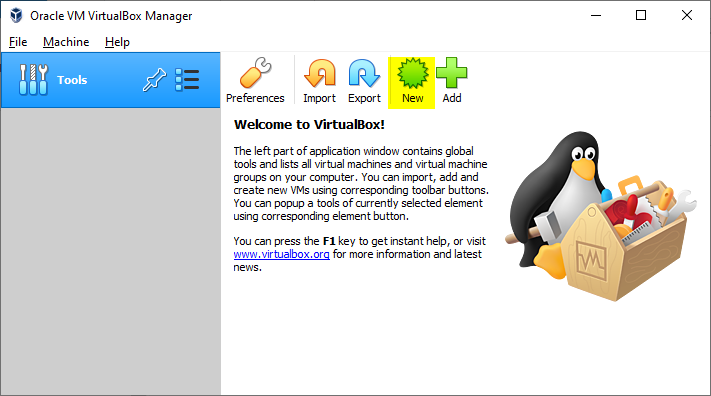
Step 2: Open Virtualbox and click on New to create a new virtual machine.
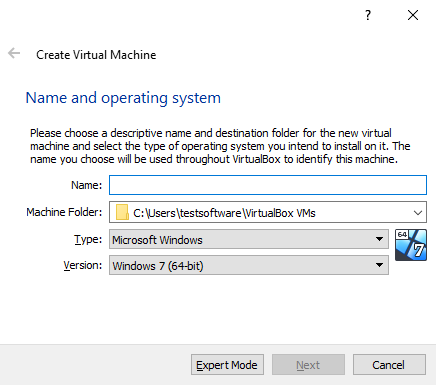
Step 3: Name the virtual machine and select the folder where it will be stored.
Step 4: Select the amount of RAM memory the virtual machine can use.

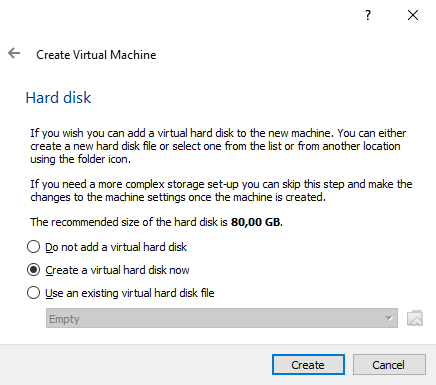
Step 5: Choose what disk will be added to the virtual machine. By default the choice will be made to create a new virtual disk.
Step 6: Choose the file type of the virtual disk. By default it is recommended to work with VDI (Virtualbox Disk Image).

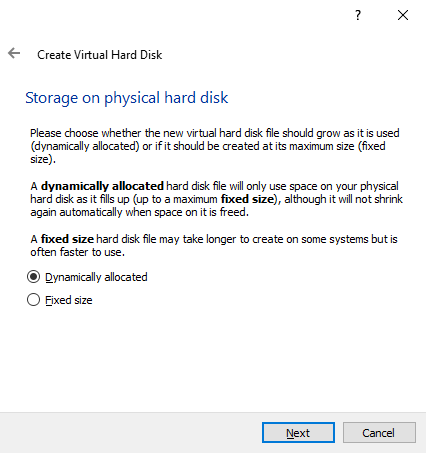
Step 7: Select how the virtual disk is allocated.
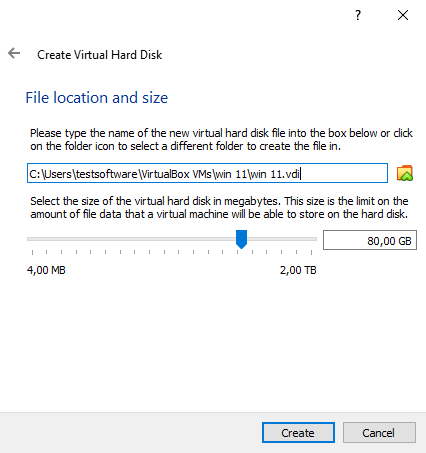
Step 8: Determine the disk size.
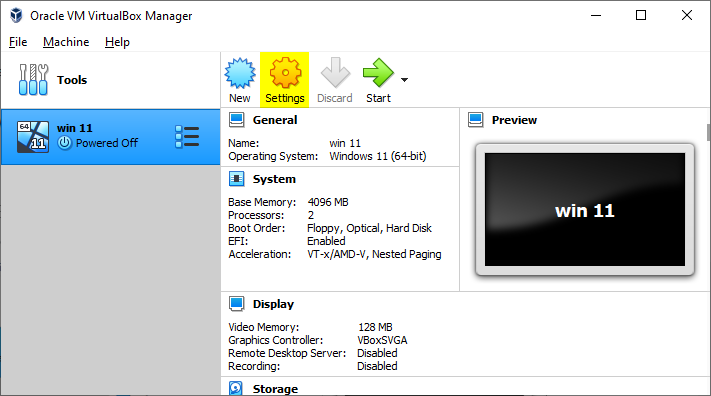
Step 9: Click on Settings.
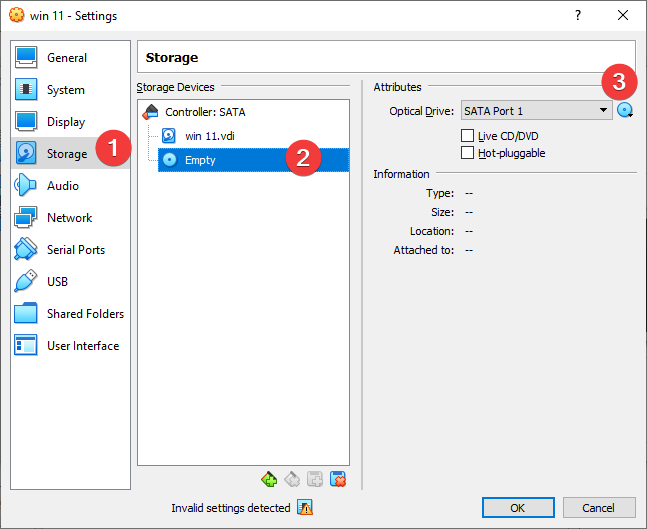
Step 10: Click on Storage > Empty disk. Click on the disc icon and click on 'Choose a disk file'. Then select the ISO file you downloaded in the first step.
Step 11: Double-click on the virtual machine to start.