How to install SAP GUI
Download and install SAP GUI
1. Windows
Step 1: Go to SAP GUI on Academic Software and select your group under 'Select version'.
Step 2: Click on the button 'Download SAP GUI' to download the software.
Step 3: Extract the Zip file, run the installation file and follow the steps in the installation wizard to complete the installation.
2. MacOS X
Step 1: Go to SAP GUI on Academic Software and select your group under 'Select version'.
Step 2: Click on the button 'Download SAP GUI' to download the software.
Step 3: Double-click on the DMG file and follow the steps in the installation wizard.
Step 4: Download and install OpenJDK11 – SapMachine 11.
SapMachine is an OpenJDK release maintained and supported by SAP. You can always choose a different version of OpenJDK as well.
You can download SapMachine 11 from the official website: https://sap.github.io/SapMachine/
Step 5: Download and install OpenJFX 11. You can find this here: https://gluonhq.com/products/javafx/
Step 6: Extract and move the contents of the ‘legal’ and ‘lib’ folder into the ‘legal’ and ‘lib’ folder of the previously installed OpenJDK 11 installation location.
Add a new connection (Windows/Mac)
Step 1: Launch the SAP GUI client and add a new connection by clicking on the paper icon in the toolbar.
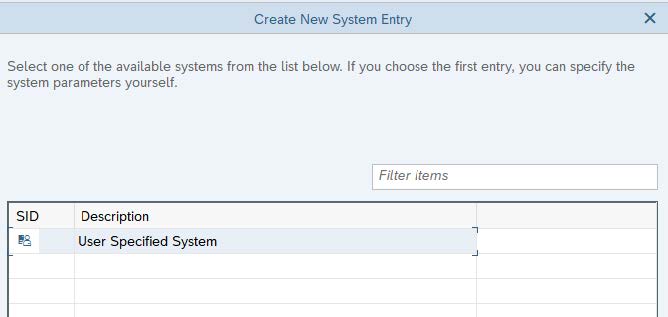
Step 2: To continue, double-click on ‘User Specified System’ and fill in the server details.
Magdenburg connection details
Step 1: Fill in the details you can find on the Academic Software page of SAP GUI and click on Finish.
Step 2: Click on 'Log On'.
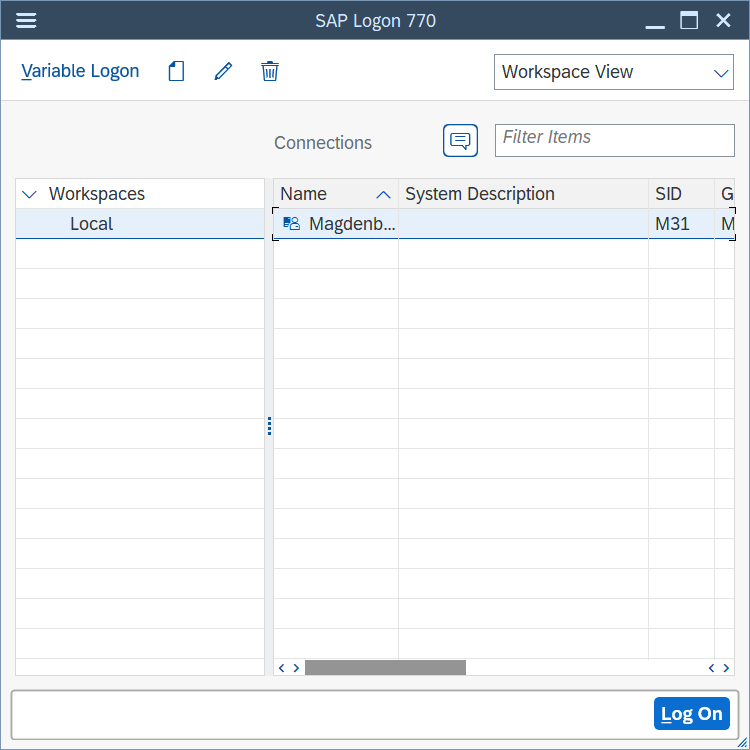
Step 3: Go back to the Academic Software page of SAP GUI and click on the Request button.
Step 4: Use the details you requested to log into SAP GUI.
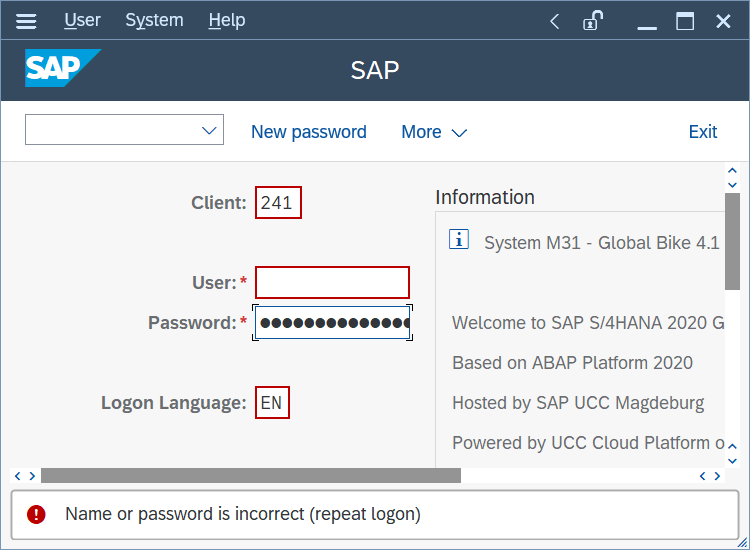
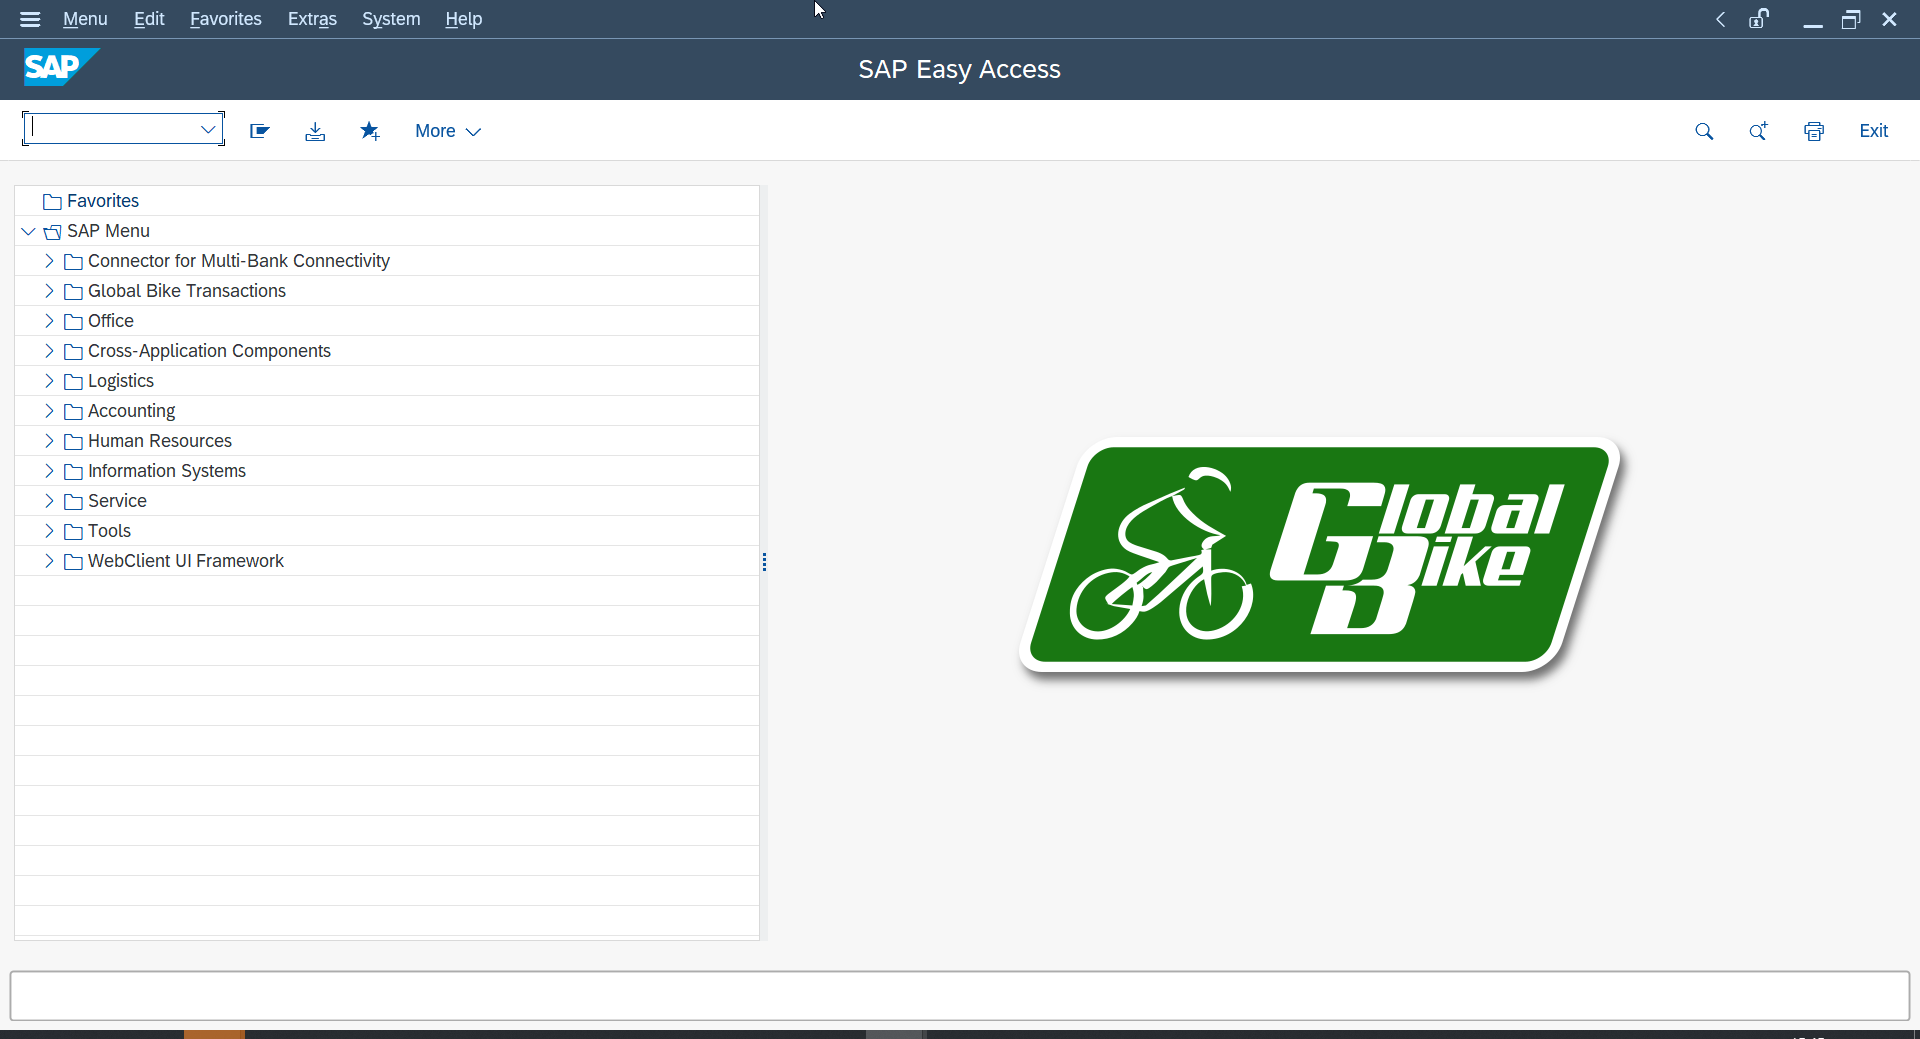
Once you are logged in, you will see the following screen and you can get started.