How to install Unity Pro XL
Step 1: Go to Unity Pro XL on Academic Software and click on the download button on the right to download the ZIP file.
Step 2: In this folder you will find an ISO file and the patch files. Double-click on the ISO file to mount it. Now go to this location and double-click on the file 'setup.exe' to start the installation.
Step 3: Select your preferred language for the installation.

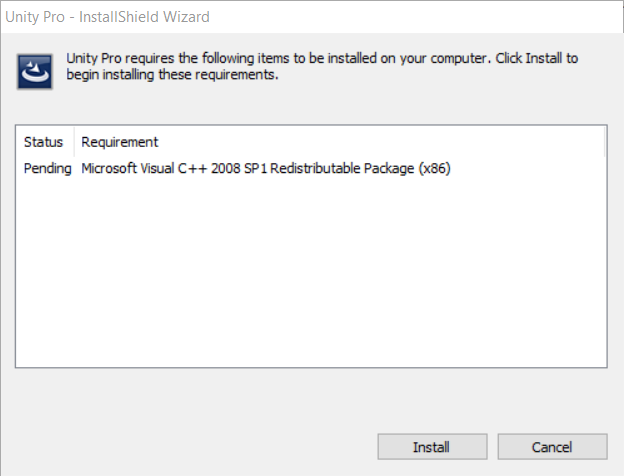
Step 4: Now you can see which additional software needs to be installed before you can install Unity Pro XL. Click on Install at the bottom.
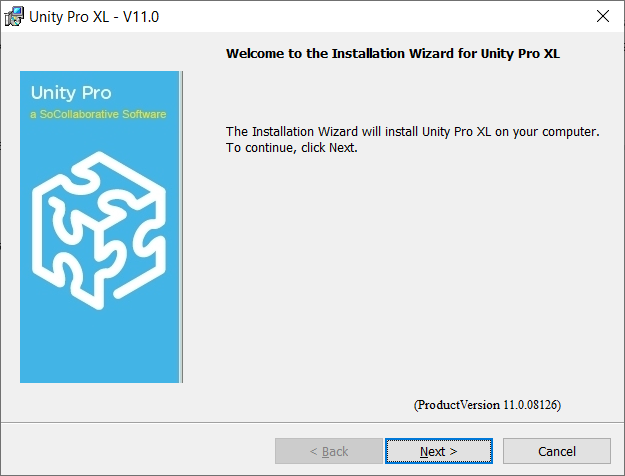
Step 5: After installing the additional software, the Unity Pro XL installation wizard opens. Click on Next to continue.
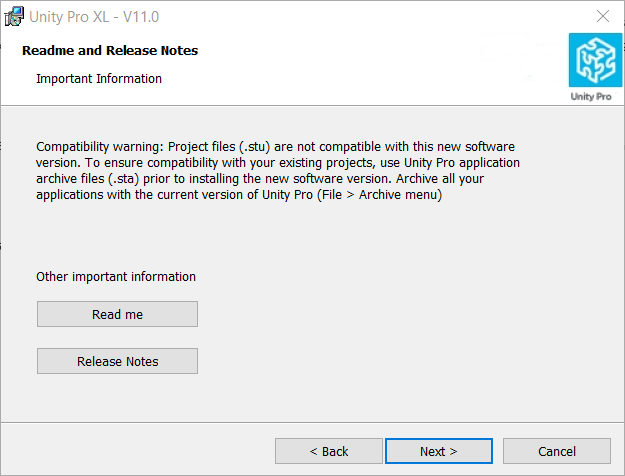
Step 6: Then you will be able to go through the 'Read me' file and the 'Release Notes' if you want. Click on Next to continue.
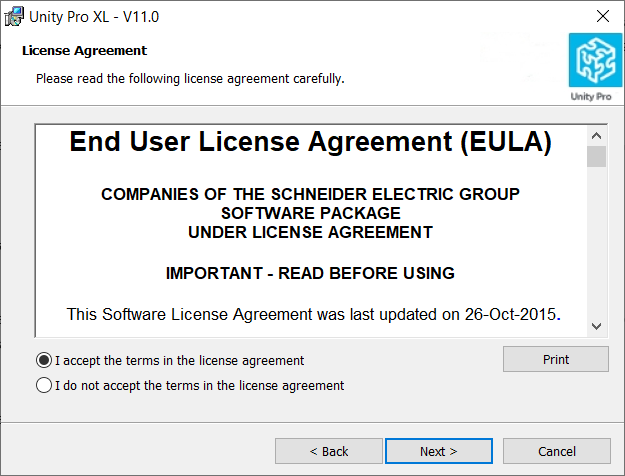
Step 7: Accept the licence agreement by checking the box 'I accept the terms in the licence agreement' and click on Next.
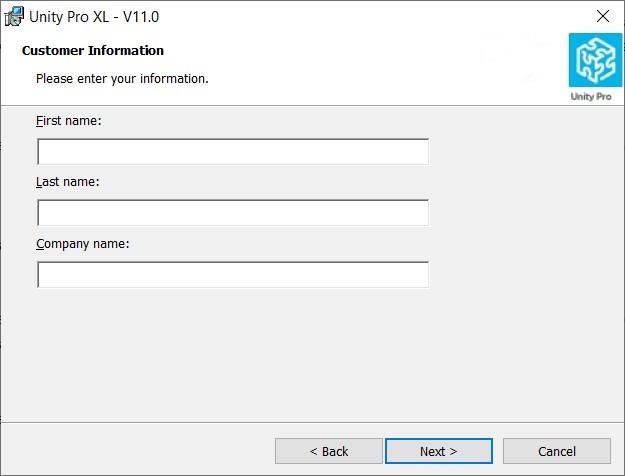
Step 8: Fill in your details and click on Next.
Step 9: Select the component you wish to install. Select UNYSPUEZTV1X as the Part Number and 13345618595 as the Serial Number. Then click on Next.

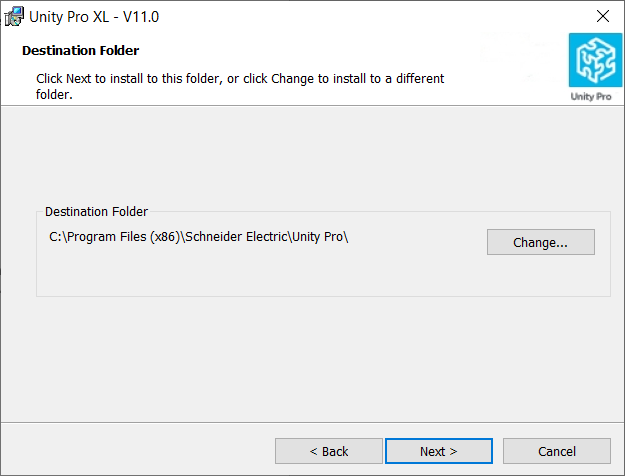
Step 10: Now select the folder where you want to install the software and click on Next.
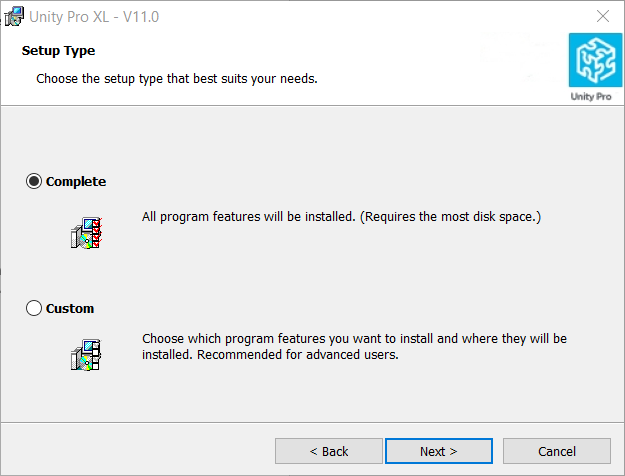
Step 11: Now choose which installation you want to carry out. Leave this on Complete by default and click on Next.
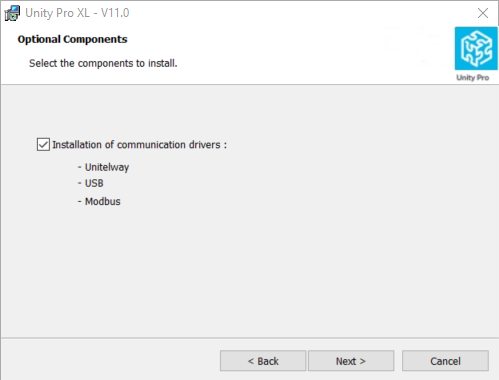
Step 12: Check the box next to 'Installation of communication drivers' and click on Next.
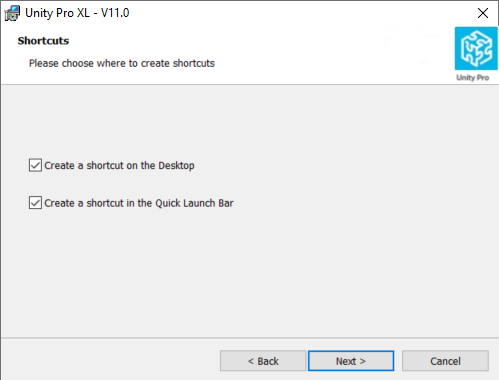
Step 13: Select whether you want a shortcut on your desktop and click on Next.
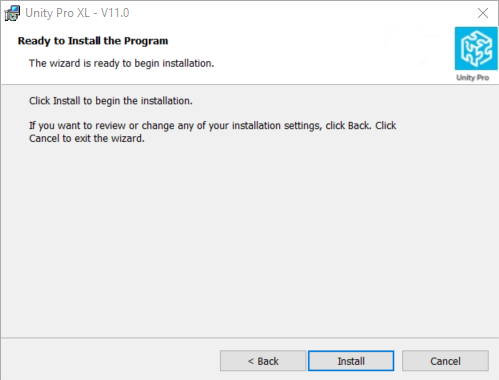
Step 14: Click on Install.
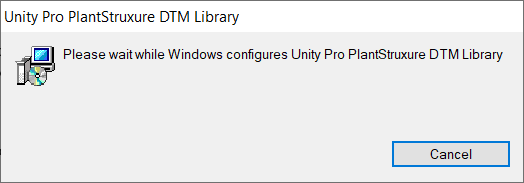
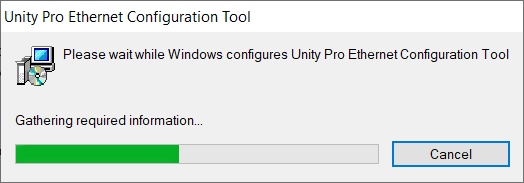
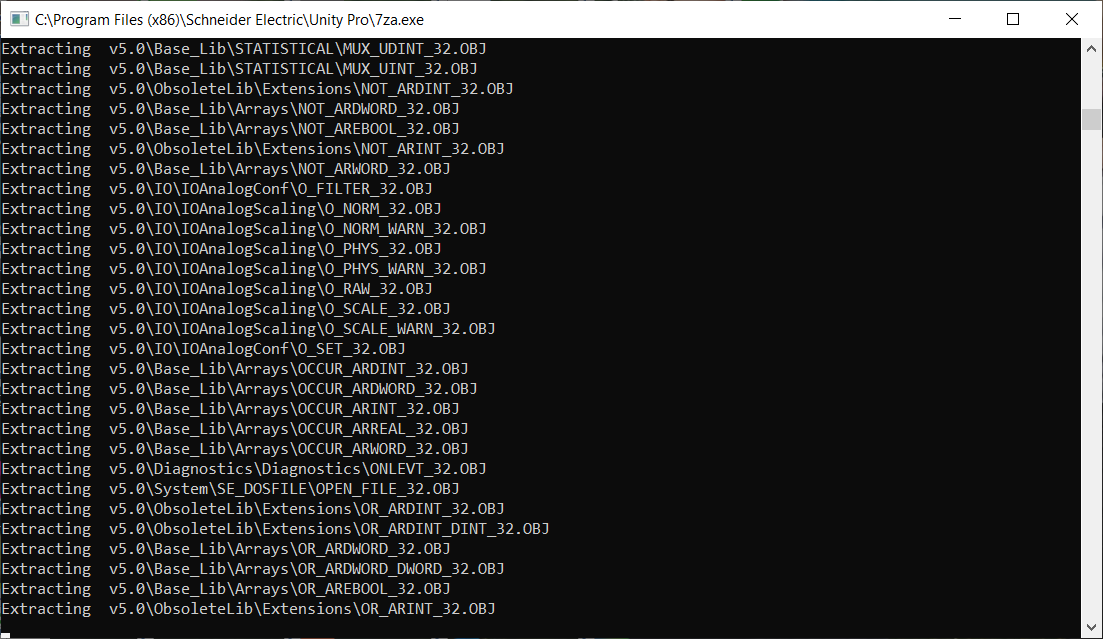
Step 15: Make sure nothing is checked here and click on Finish.

Step 16: After the installation, go back to the downloaded folder and open the patch folder. Double-click on the file 'PrvDisk.exe' to start the installation.
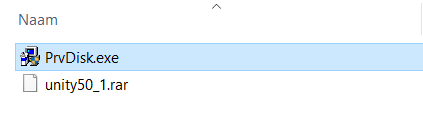
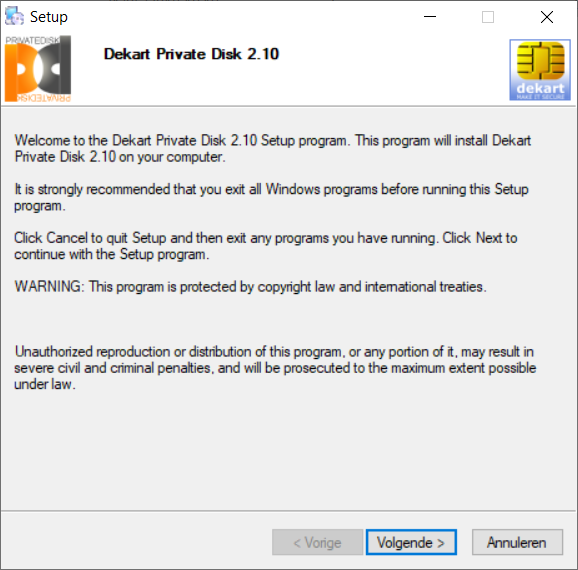
Step 17: In the first step, click on Next.
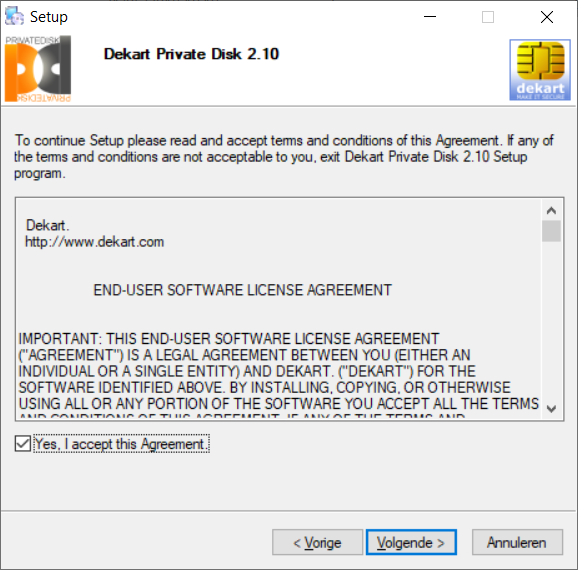
Step 18: Then accept the licence agreement and click on Next.
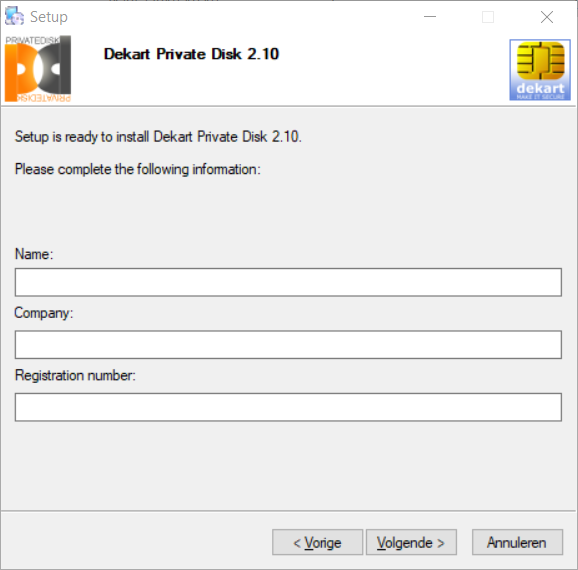
Step 19: Now fill in all your details. You may leave the field 'Registration number' empty.
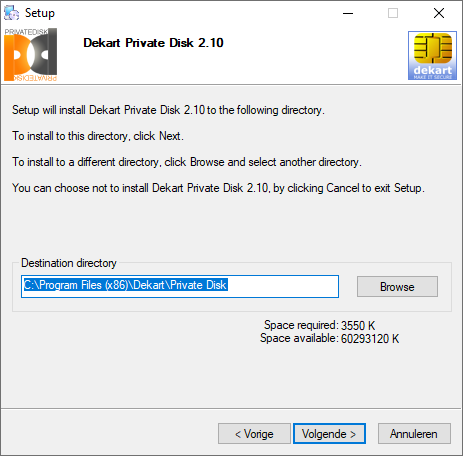
Step 20: Select where you want to install the software and then click on Next.
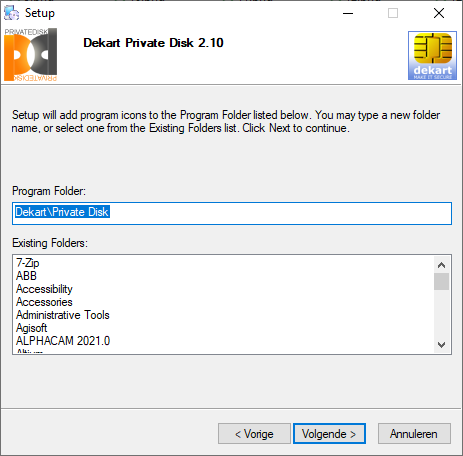
Step 21: Now define the name of the folder and click on Next.
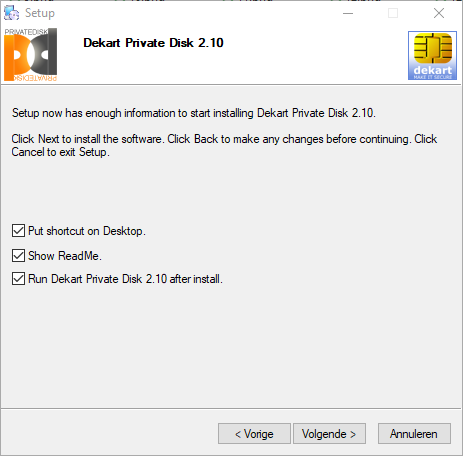
Step 22: Make sure that all the boxes are checked and then click on Next.
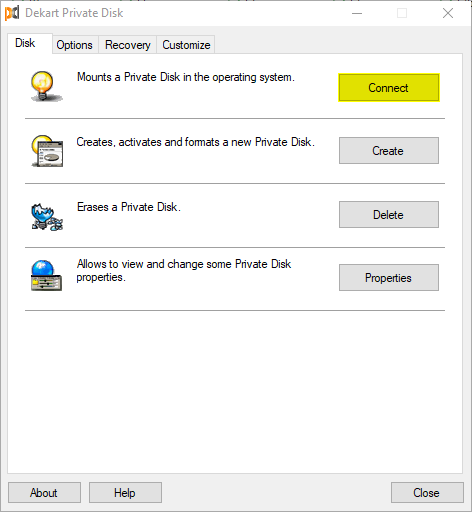
Step 23: You can read the text file that appears if you want and then close it. In the 'Dekart Private Disk' window, click on Connect.
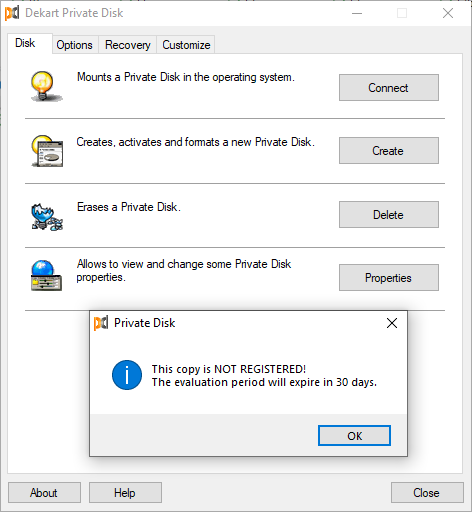
Step 24: An additional screen will pop up, warning you that the evaluation period expires after 30 days. Click on OK to continue.
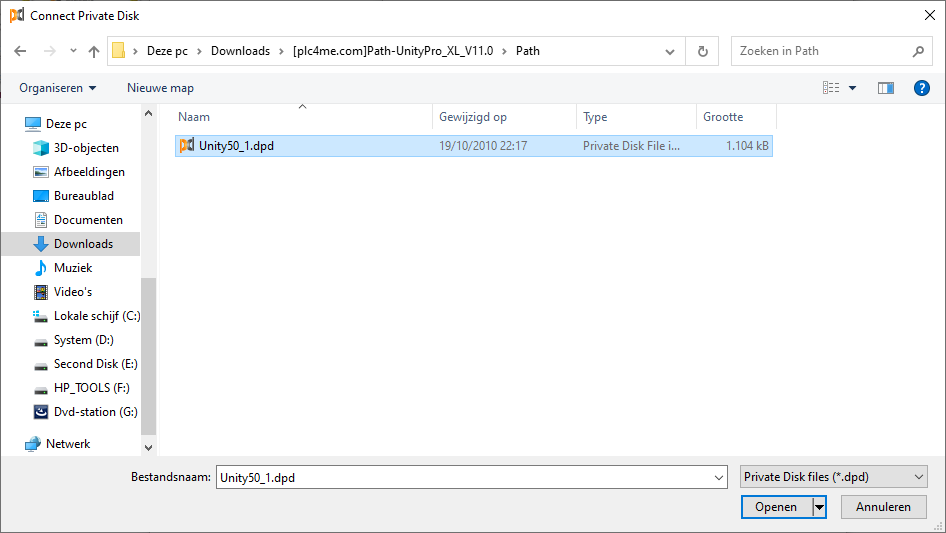
Step 25: Now you have to mount a file to open. Go to the folder you downloaded and click on the 'patch' folder. In it you will find the file 'Unity50_1.dpd'. Select this file and click on Open.
Step 26: You will be asked to enter a password. The password you must enter is unity50_1.
After entering the password, you will see that additional options have been added to the 'Dekart Private Disk' screen.
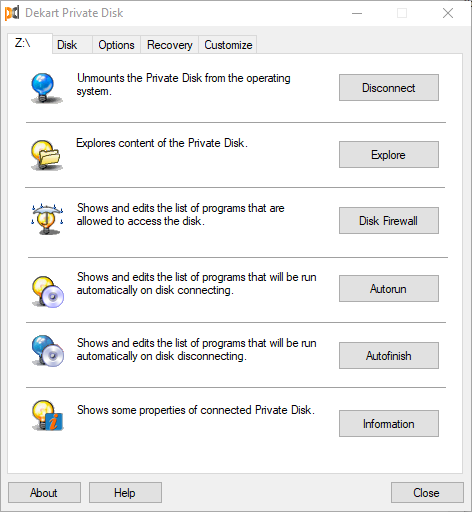
Step 27: You will see that an additional folder with the drive letter Z has been added to the explorer. You can now find the shortcut on the desktop or in the start menu.

Step 28: When you open the program, you will see a screen that says the product has not been registered yet. Click Yes to register the software.
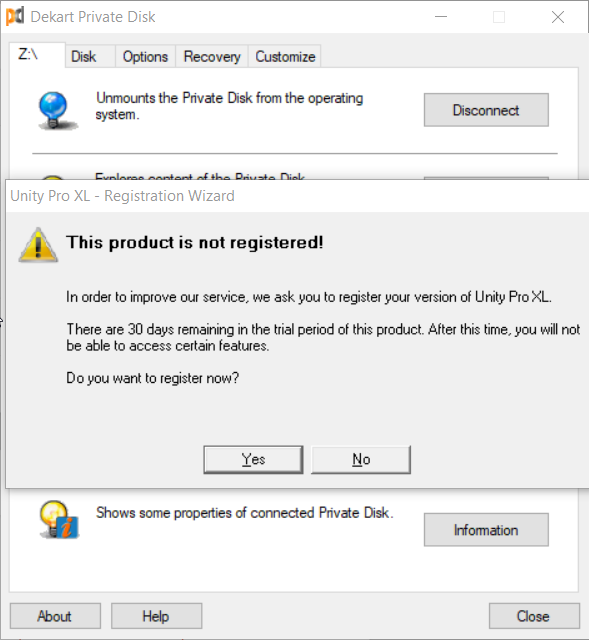
Step 29: Select 'Transfer license rights from a removable media to this PC' and click on Next.

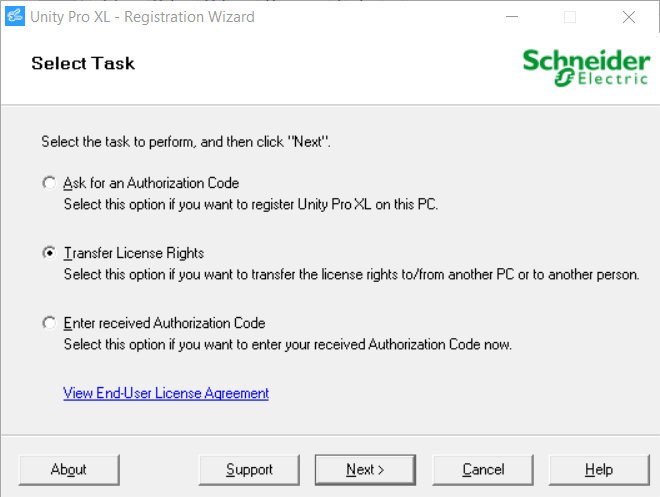
Step 30: Check the middle option and click on Next.
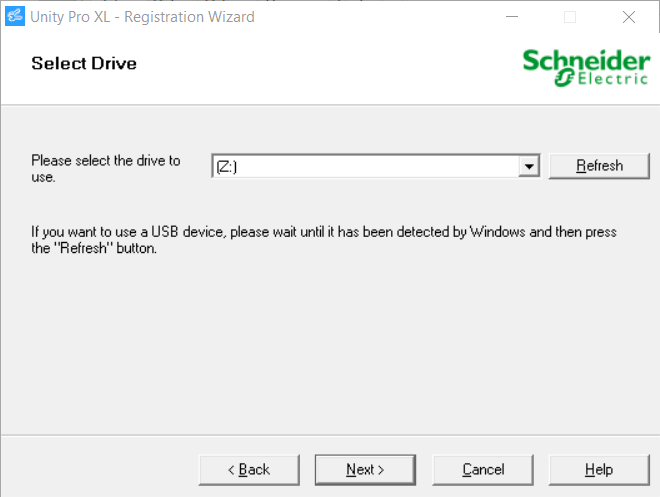
Step 31: Select the new drive that has been added. If you have not added any other USB storage devices, only the new drive will be visible. Then click on Next.
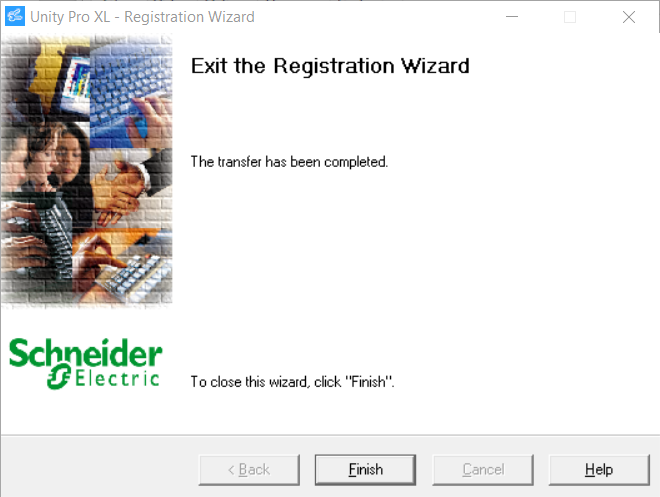
Step 32: Clilck on Finish.
Step 33: Unity Pro XL will now launch and import the necessary data.