How to install RobotStudio with RobotWare
Install RobotStudio
Step 1: Click the button 'Download RobotStudio' on the RobotStudio page of Academic Software to download the installation file.
Step 2: Extract the download file.
- Open the installation file in your downloads folder and go to the RobotStudio folder
- Double-click on the Setup.exe file to start the installation
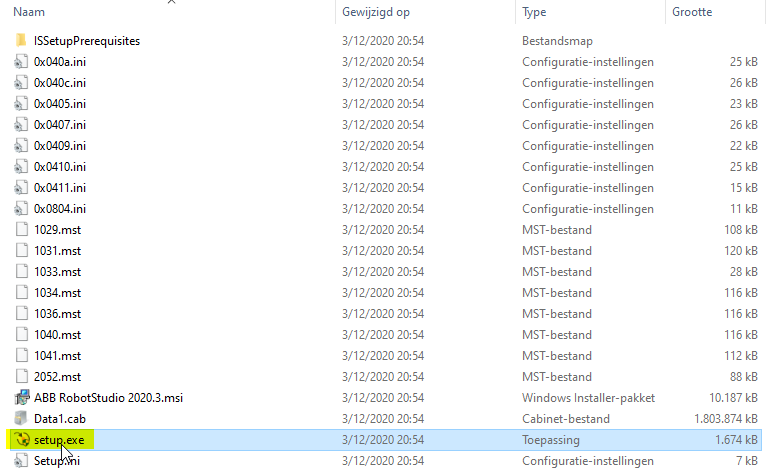
- If you are asked to make changes on your computer click on Yes
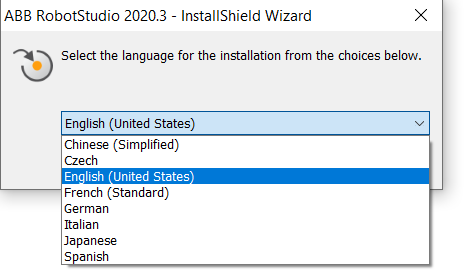
Step 3: Choose your language.
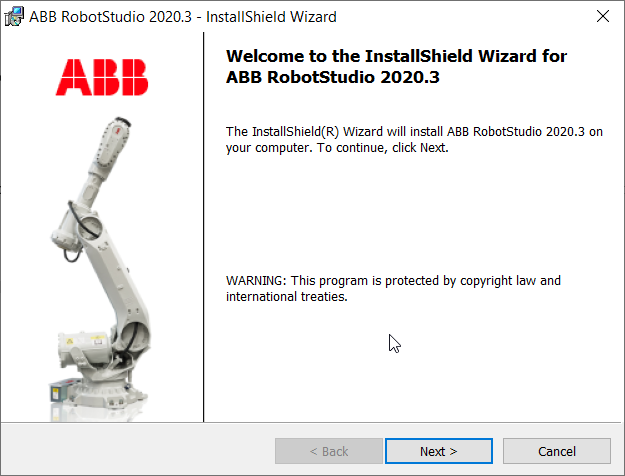
Step 4: In the next window, click on Next.
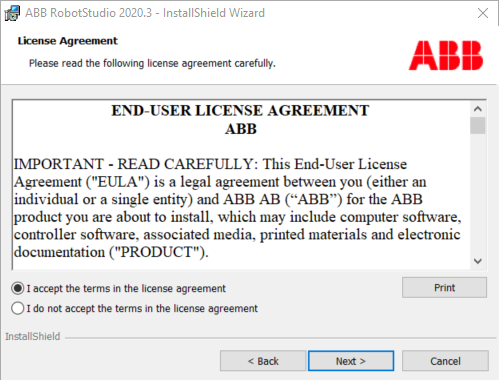
Step 5: Accept the licence conditions and click on Next.
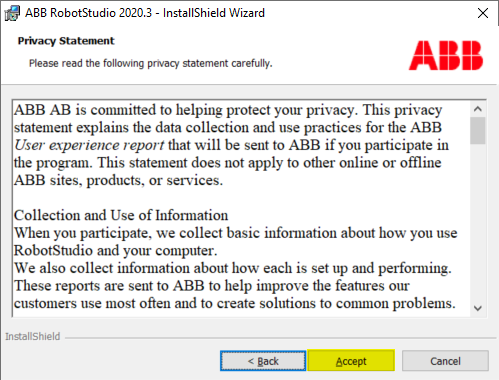
Step 6: Click on Accept at the bottom of the next window.
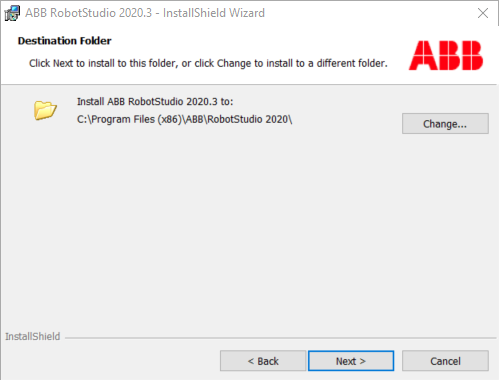
Step 7: Choose the location where you want to install the software on your computer and then click on Next.
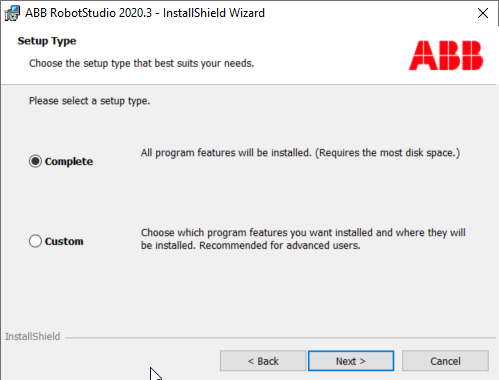
Step 8: In the next window, choose the installation you want to perform.
- By default you choose Complete here
- Then click on Next
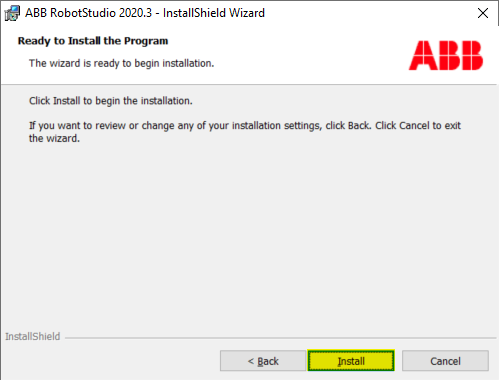
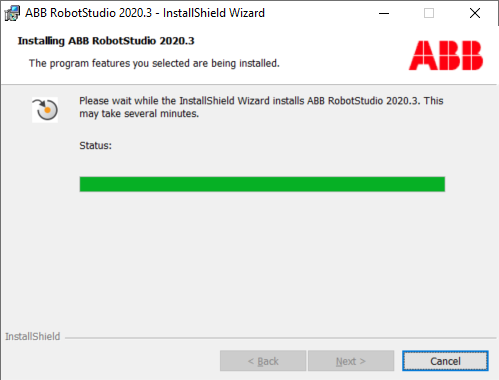
Step 9: In the next window, click on Install to install the software.
The program is being installed.
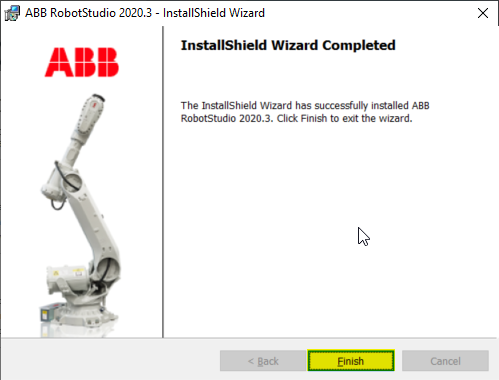
Step 10: After installation, click on Finish to exit the InstallShield Wizard.
Activate RobotStudio
Attention: Connection to the VPN is required!
Make sure you are connected to Odisee's VPN.
- If you already have Odisee's VPN installed, make sure you are connected
- If you haven't installed Odisee's VPN yet, go to Odisee's VPN page here and follow the steps to download the VPN software
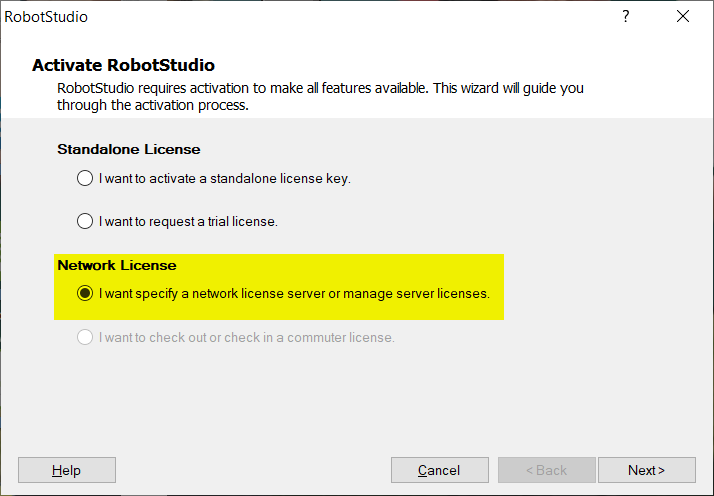
Step 1: Launch RobotStudio. The activation wizard launches.
- Check the first option under 'Network License' ('I want to specify a network license server or manage server licenses.') and click on Next
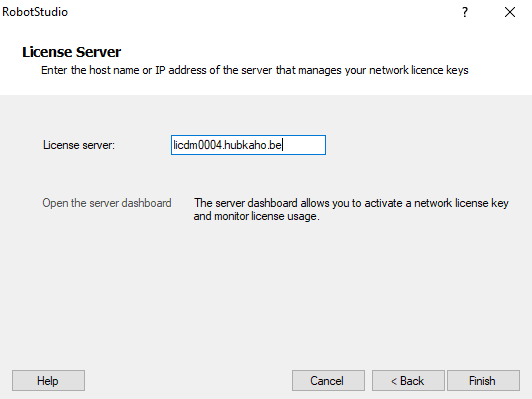
Step 2: Enter the IP address next to 'License server'. The address you enter is licdm0004.hubkaho.be
- Then click on Finish
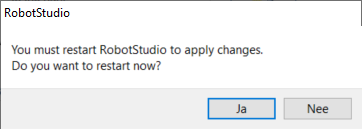
Step 3: You will receive a message to restart the software.
- Click Yes to restart the software now
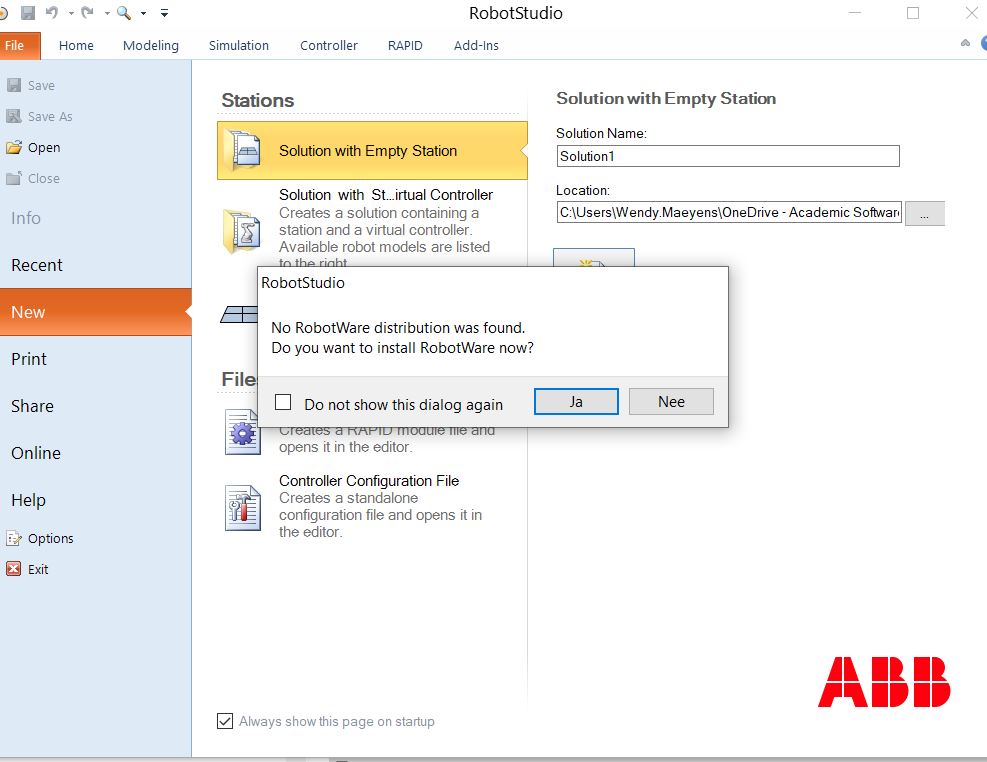
Step 4: RobotStudio closes and restarts. The software now launches with an activated licence.
- If you receive the message that no RobotWare distribution has been found:
- click on No if you do not know which RobotApp you want to use. You can still do this afterwards by going to the option RobotApps in RobotStudio
- click on Yes if you already know which RobotApp you want to use and you select the App
The program is installed and ready to use.
Note: You must always be connected to the VPN when using RobotStudio.
Installing RobotWare as an add-in
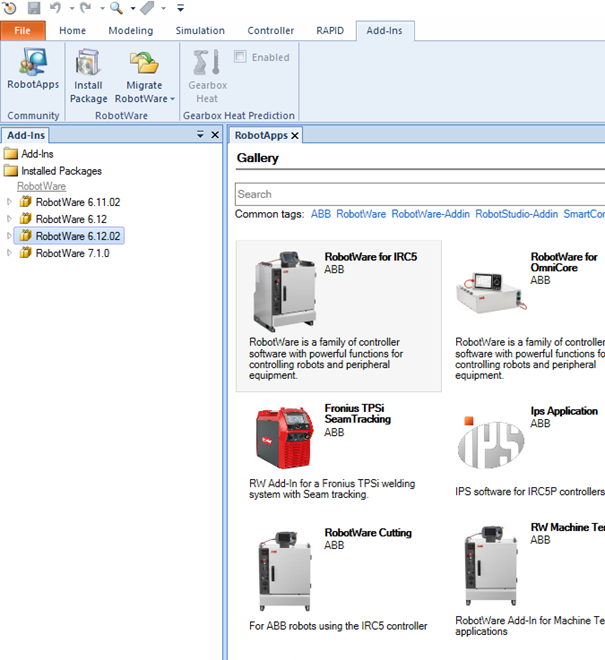
Step 1: Open RobotStudio and go to Add-ins.
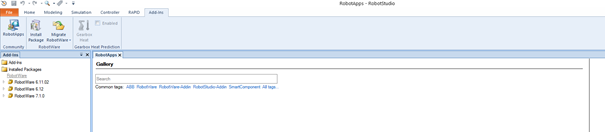
Step 2: Click on RobotApps. You will now see all kinds of icons in the Gallery.
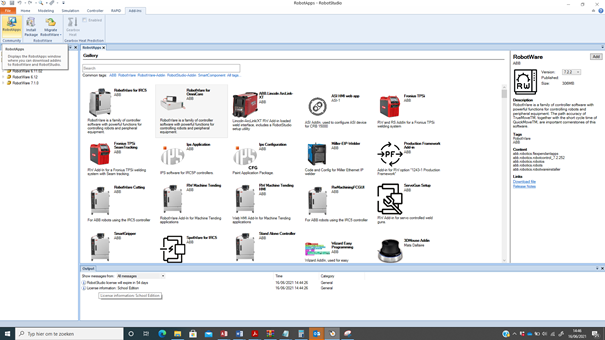
Step 3: Here you select RobotWare for IRC5.
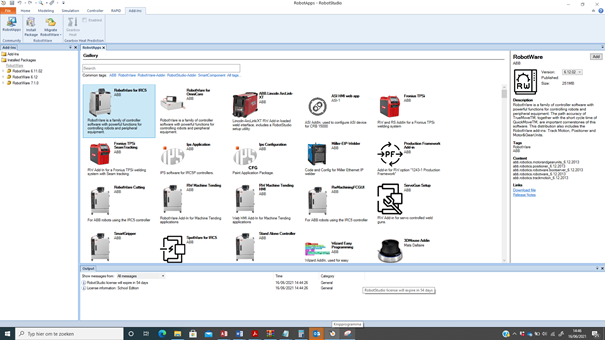
Step 4: On the right-hand side you will see all the information appear. Select the latest version here.
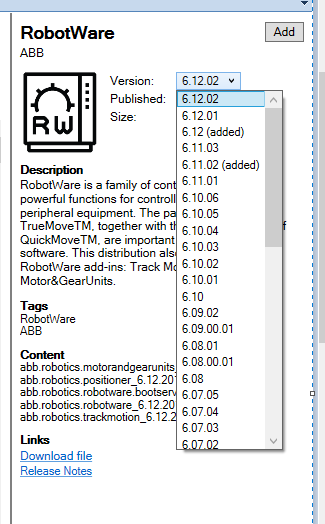
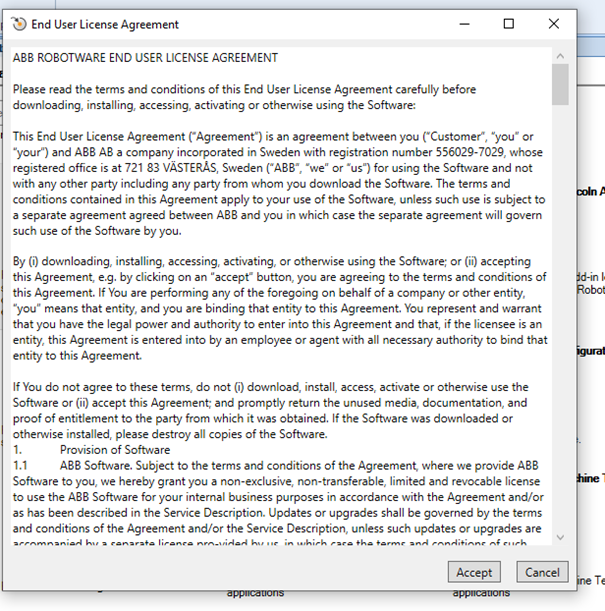
Step 5: Then click on Add. A pop-up window appears with the End User License Agreement. Read it and then click on Accept.
Step 6: At the bottom left of your screen in RobotStudio you will receive the following message.
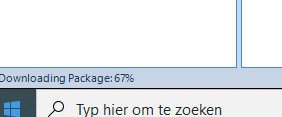
Step 7: Afterwards, Install will also appear. You do not have to click on anything here. After 2-3 minutes, the installation will be complete and you will be able to find the RobotWare add-in under Add-ins > Installed Packages.
Step 8: RobotWare is installed in RobotStudio and you can use it now.