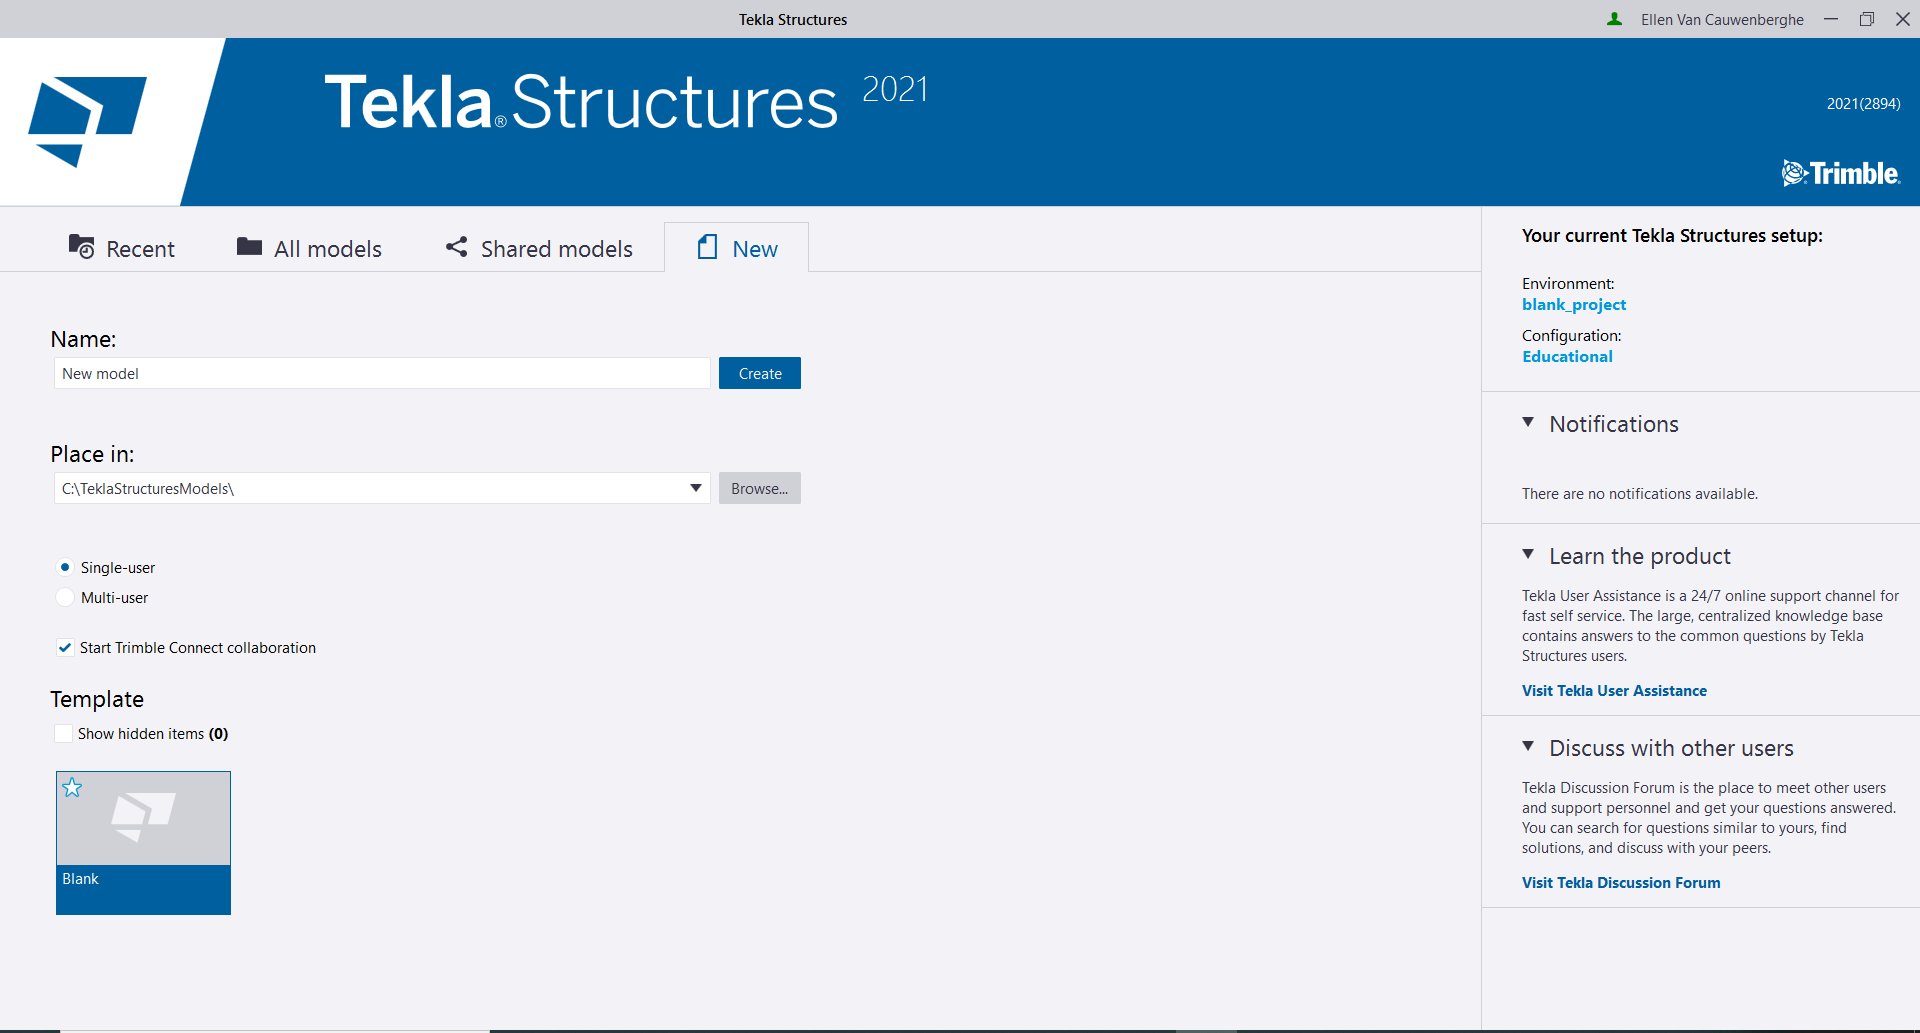
How to install Tekla Structures
Requesting your licence
Step 1: Go to the Academic Software page of Tekla Structures and click on the 'Start procedure' button in the top right to request a student licence.
Step 2: Click on Register to create a Trimble account.

Step 3: Fill in your details and click on 'Create new account'.
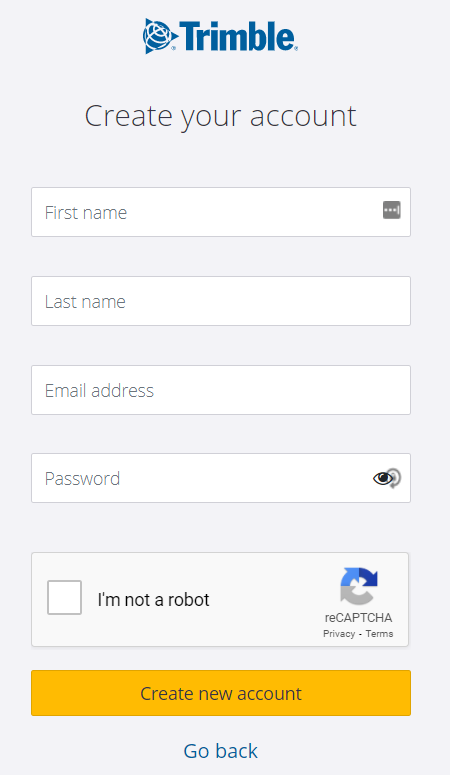
You will now receive a confirmation email. Please also check your junk mail if you have not received it.
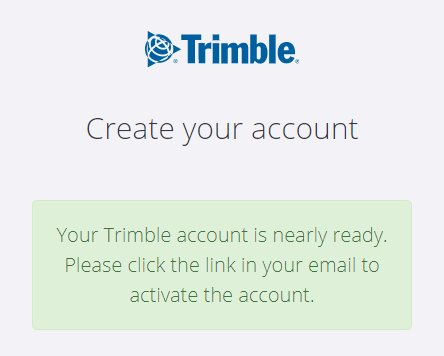
Step 4: Click on the 'Activate Identity' button in the confirmation email to confirm your account.

Step 5: Your account is now activated. Click on here and log in with your account.
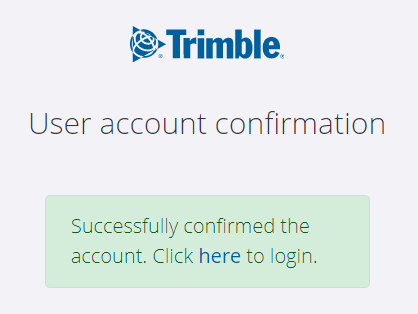
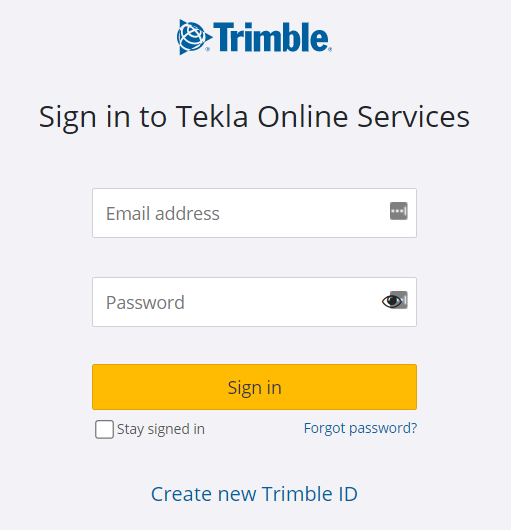
Step 6: Fill in the missing details in your account, accept the privacy policy and the terms and conditions and click on Save.
Installing and activating the software
Step 1: Go back to Academic Software and click on the download button on the right to download the software.
Step 2: Open the installer in your download folder.
Step 3: Choose an installation language and click on OK.
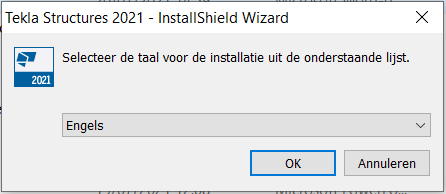
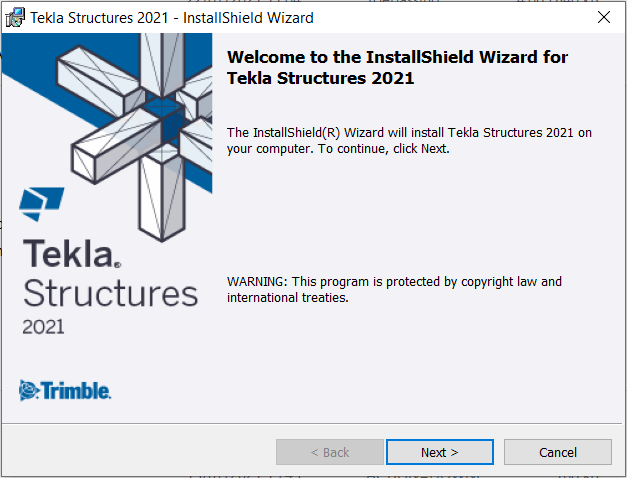
Step 4: Click on Next.
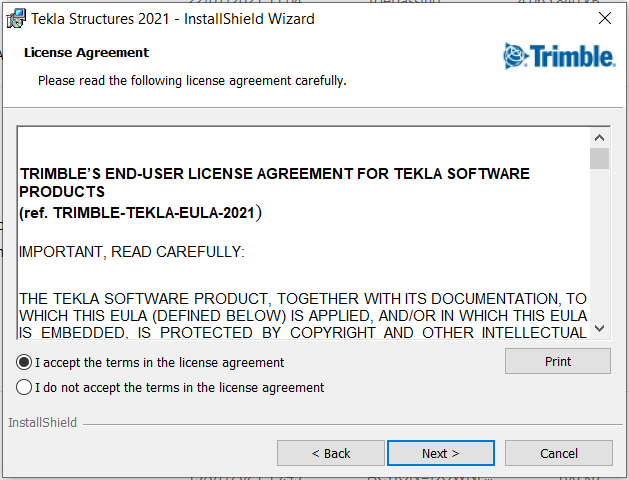
Step 5: Accept the licence agreement and click on Next.
Step 6: Do not change the installation location and just click on Next.
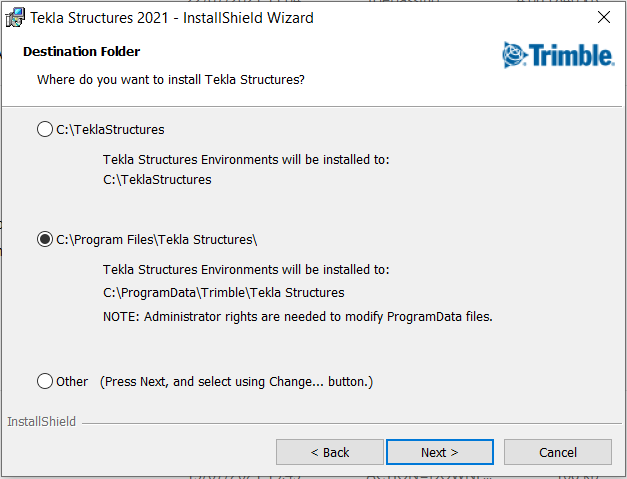
Step 7: Click on Next again.
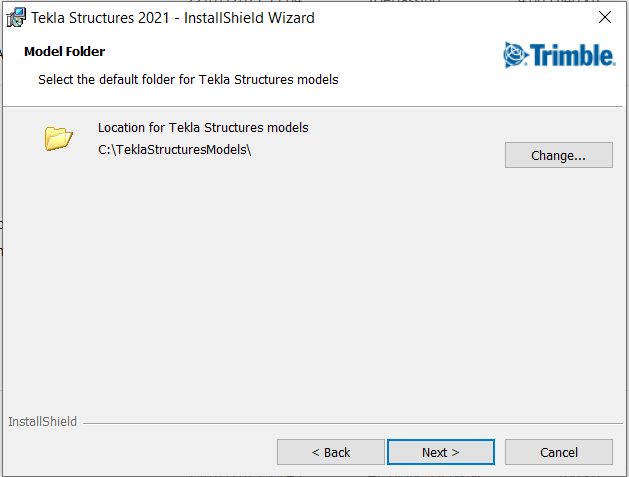
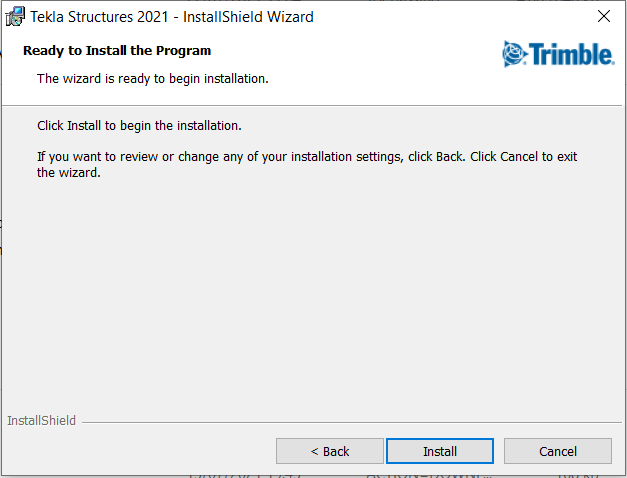
Step 8: Click on Install.
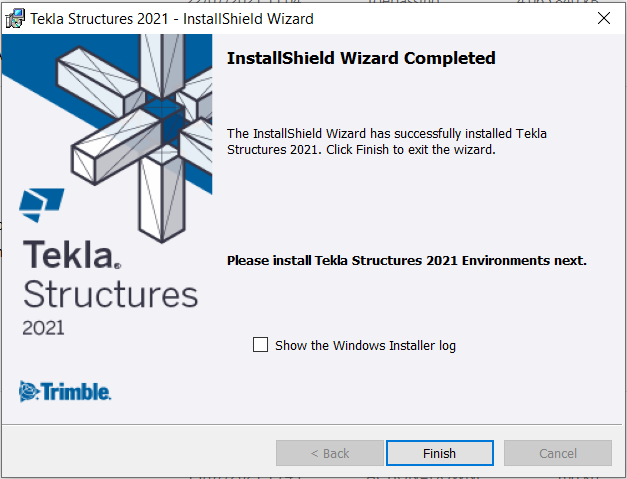
Step 9: Click on Finish once the installation is complete.
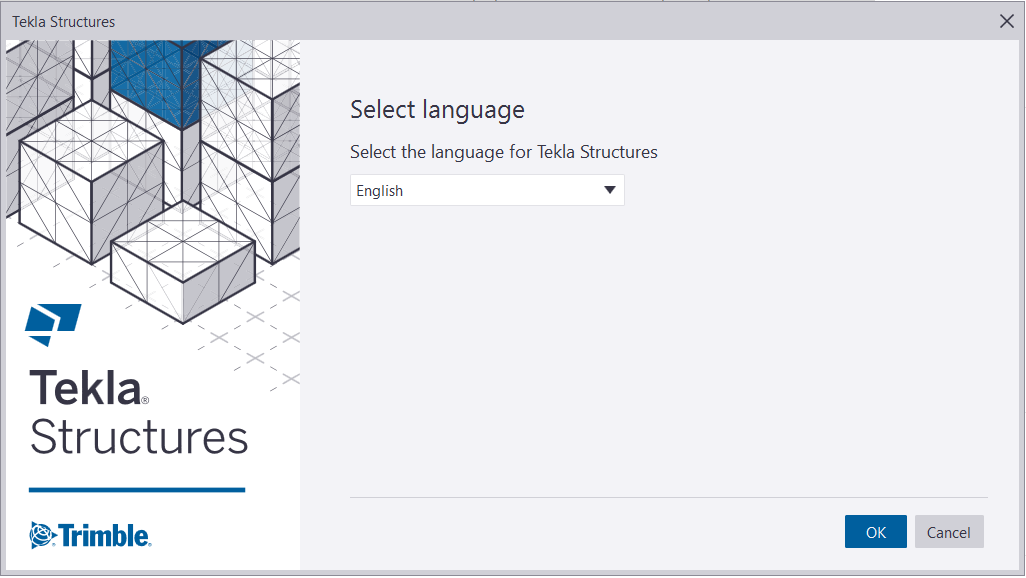
Step 10: Launch Tekla Structures, choose a language and click on OK.
Step 11: Log in with your Trimble account.
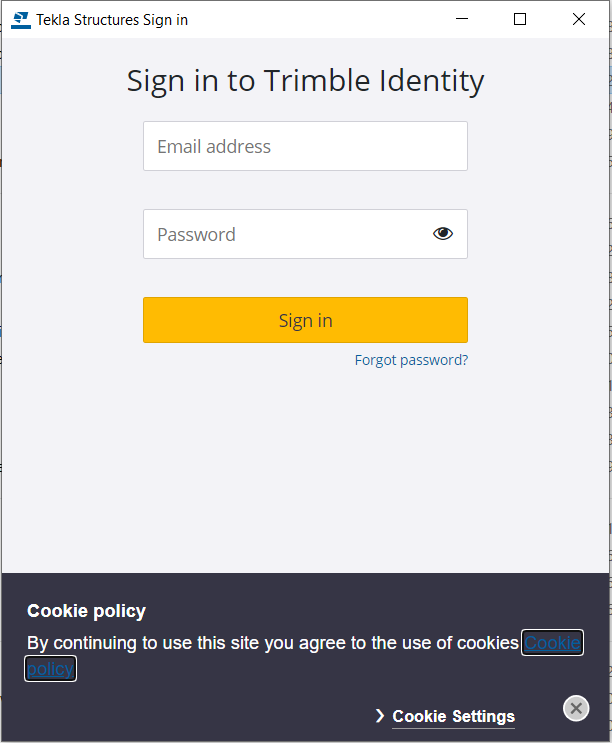
Your licence is now added.
Note: It may take some time before your licence is activated and appears in your account.
Step 12: Once you are logged in, the following message appears. You may ignore this message by simply clicking on OK.
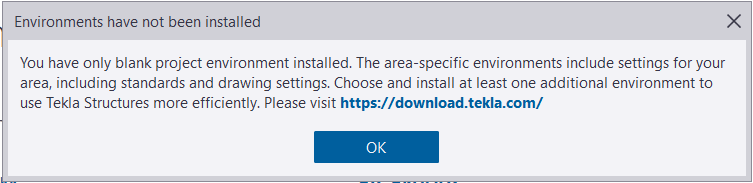
Step 13: Click on OK.
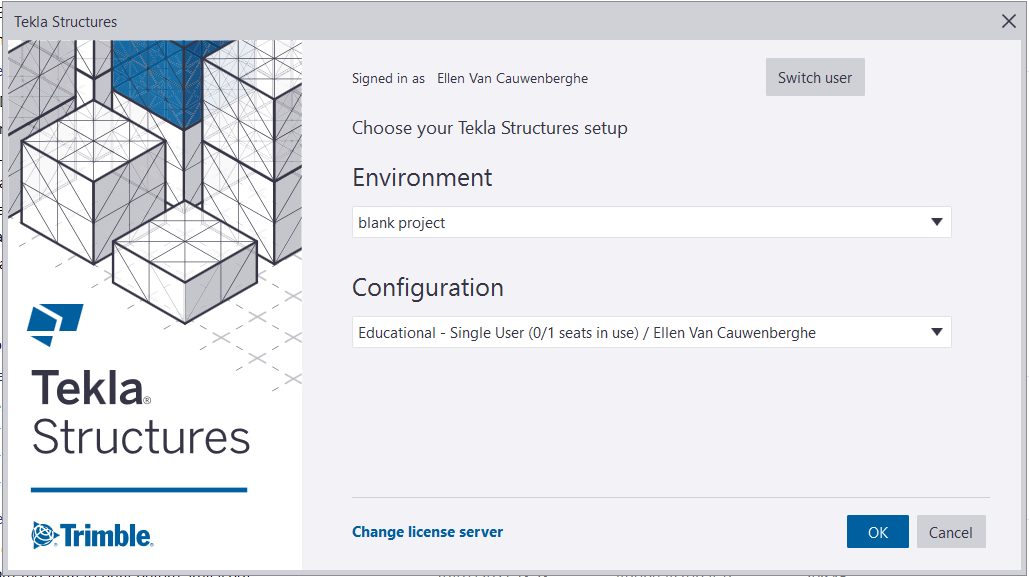
Your licence is now activated and the software is ready to use.