How to install Xilog
Installing Xilog Plus
Step 1: Go to the Academic Software page of Xilog and click on the download button on the right to download the software.
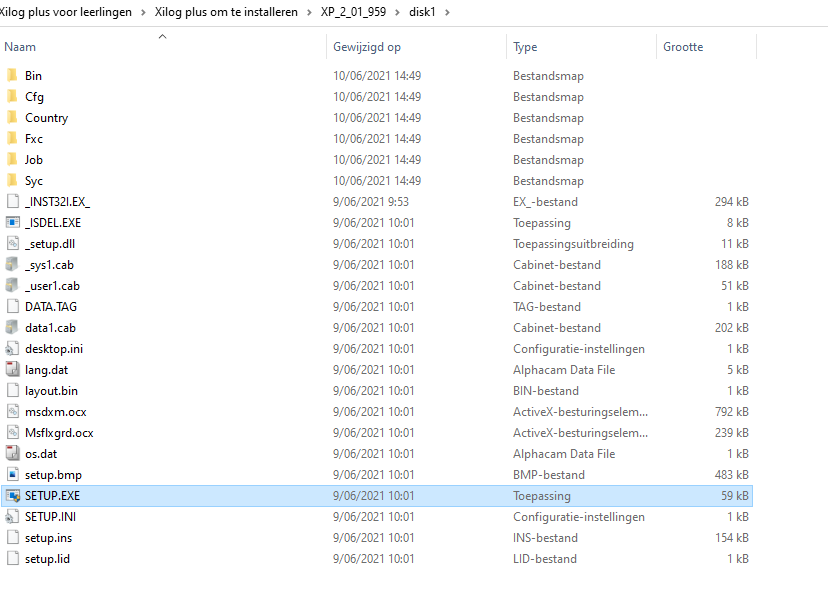
Step 2: Go to the download folder, open the folder ‘Xilog plus voor leerlingen' and then 'Xilog plus om te installeren'. Then open 'xp_2_01_959' and 'disk1'. Next open 'setup.exe' to start the installation.
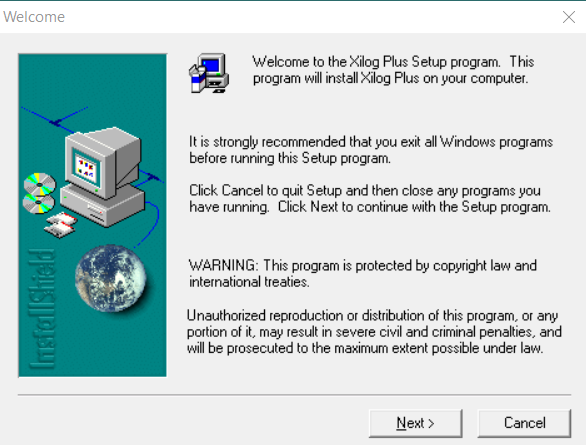
Step 3: Click on Next.
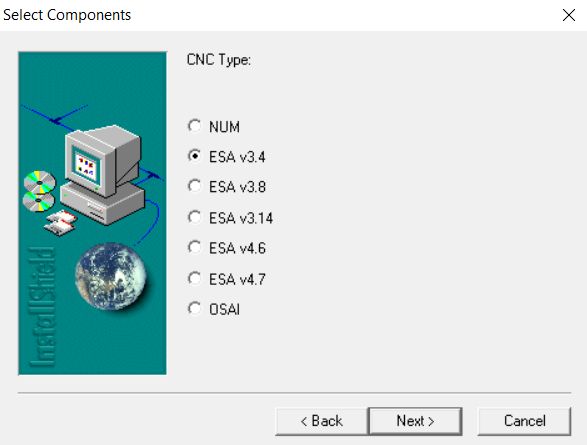
Step 4: Select ESA v3.4 and click on Next.
Step 5: Choose 'SCM PRATIX STANDARD' and click on Next.

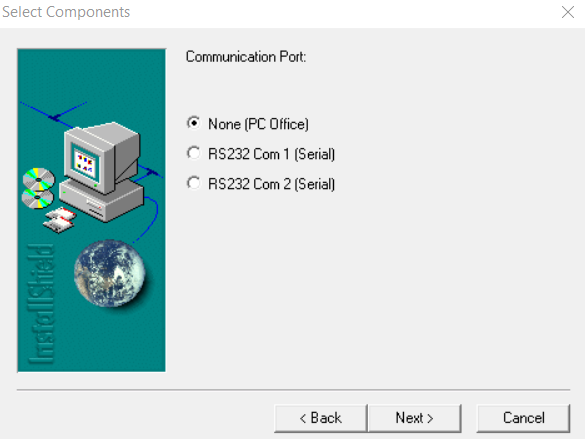
Step 6: Select 'None (PC Office)' and click on Next.
Step 7: Click on Next.
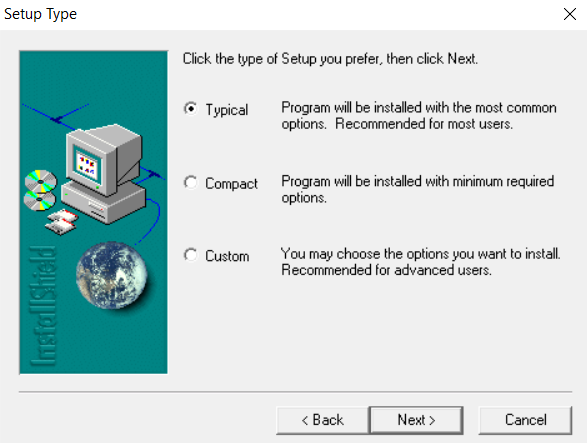
Step 8: Select Typical and click on Next.
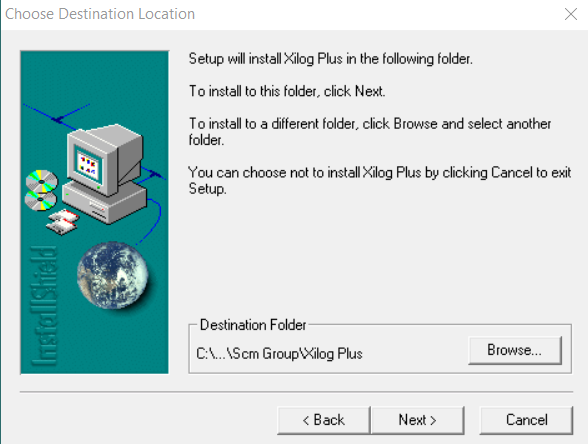
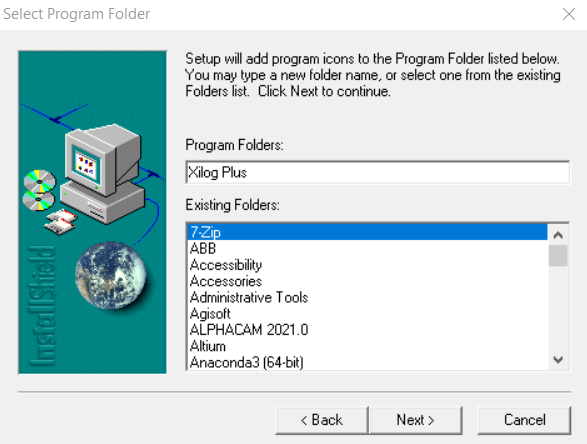
Step 9: Click on Next. The installation will start.
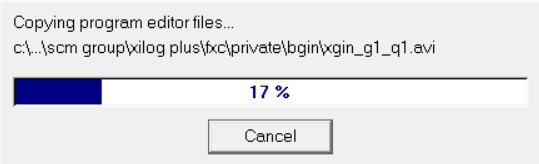
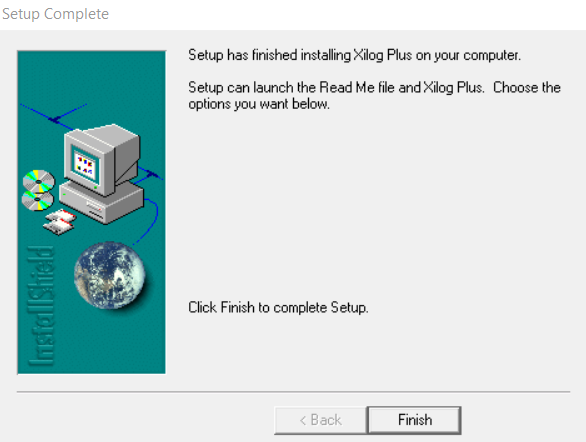
Step 10: Click on Finish once the installation is complete.
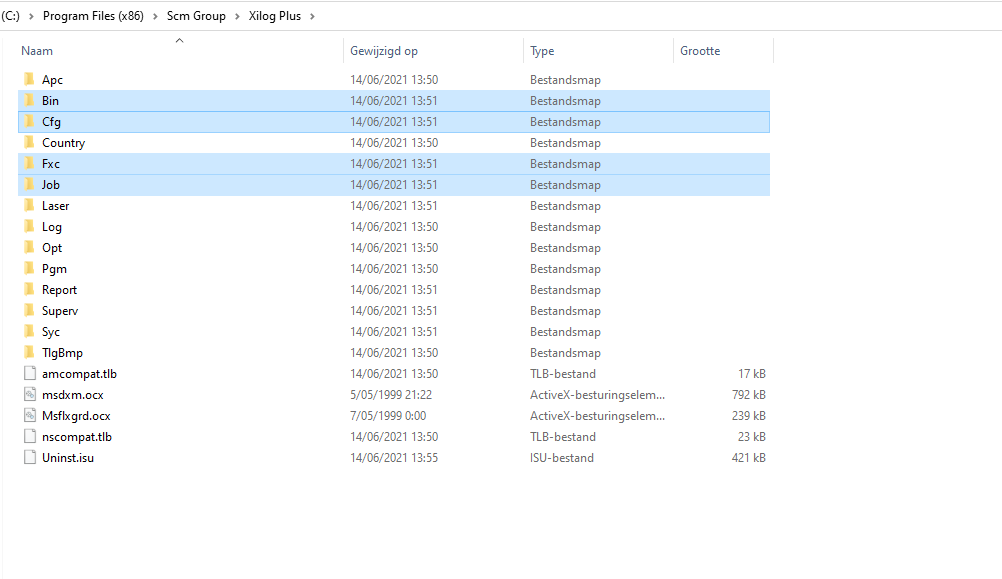
Step 11: In the explorer, go to the folder 'C:\Program Files (x86)\Scm Group\Xilog Plus\' and delete the folders CFG, JOB, BIN and FXC.
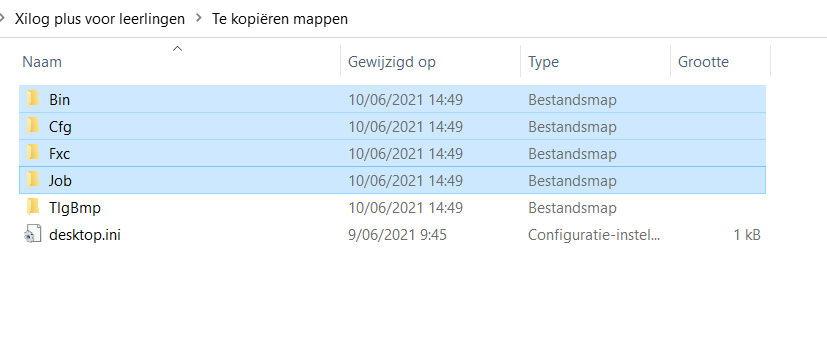
Step 12: Now open a second explorer and go to the downloaded Xilog folder. Open the folder 'Te kopiëren mappen' and copy the folders CFG, JOB, BIN and FXC. Paste these into the folder 'C:\Program Files (x86)\Xilog Group Plus'.
Step 13: Now launch the software.
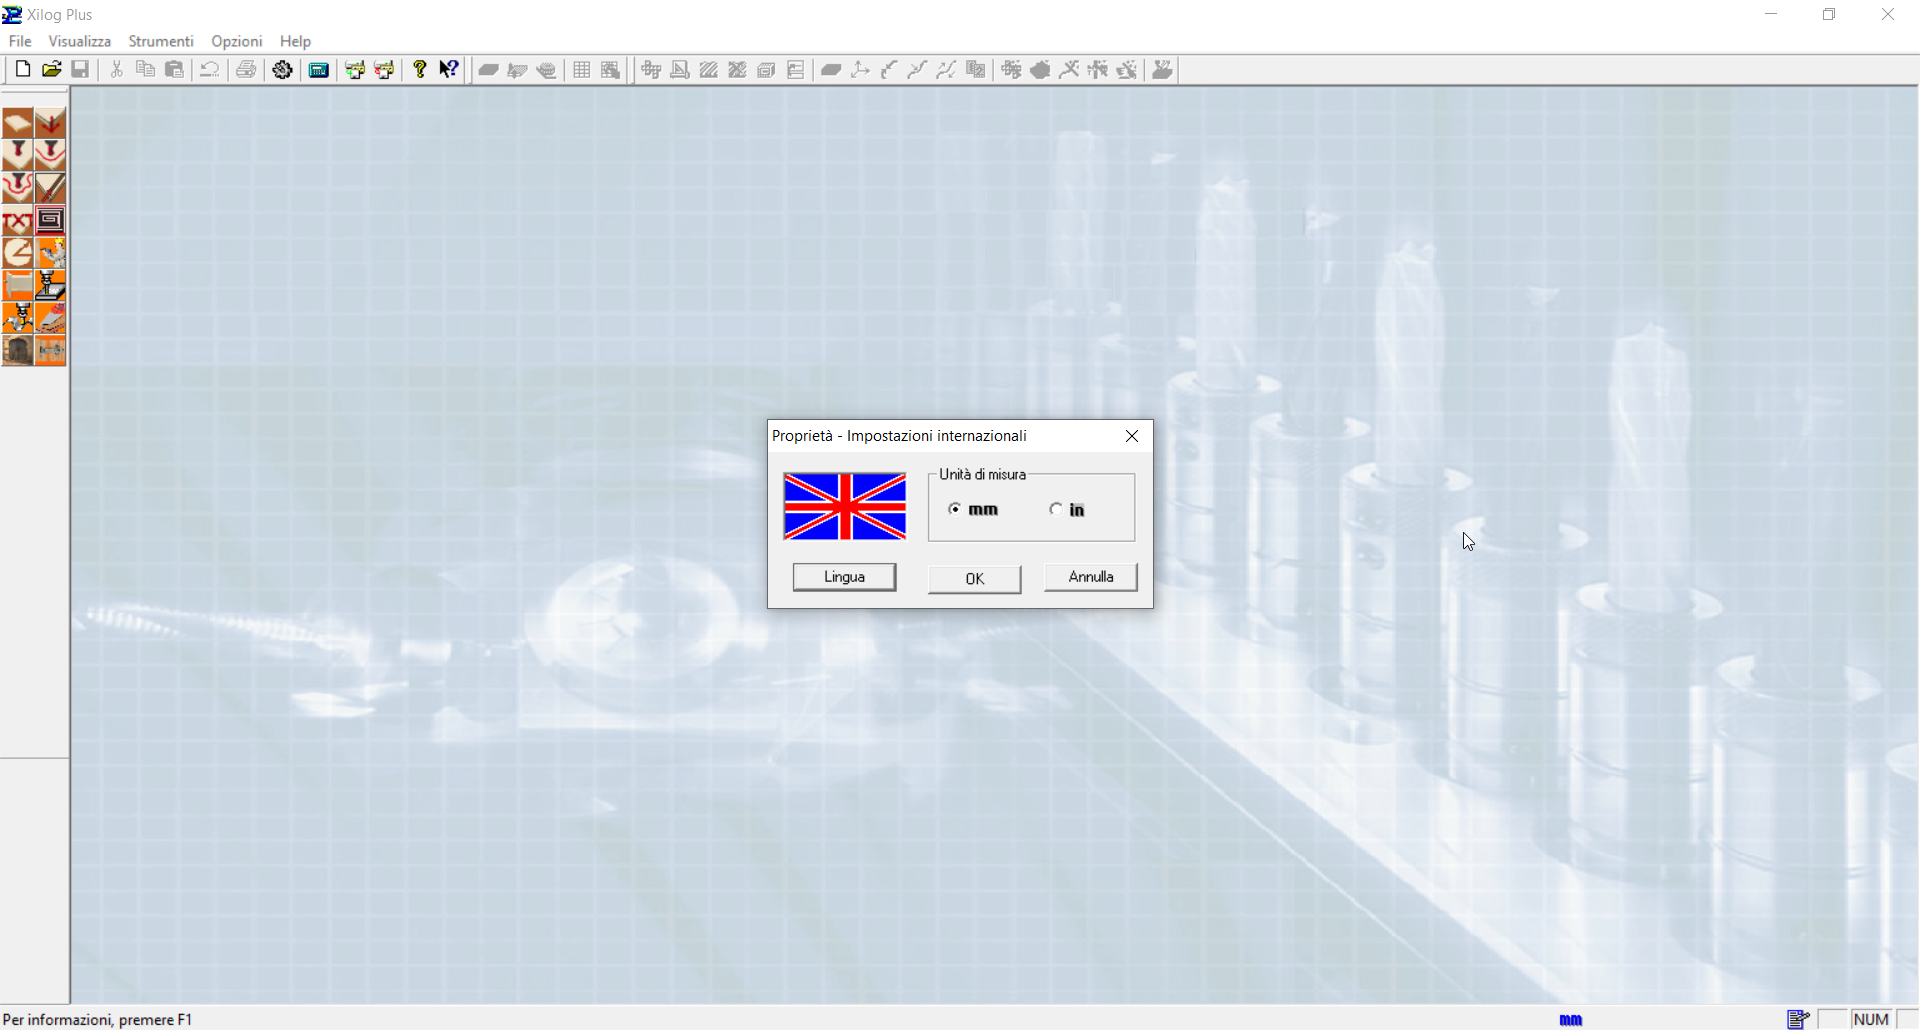
Step 14: The first time you start the software it may be in Italian. To change this, click on Opzioni at the top. Click on 'impostazioni internationali...' in the drop-down menu. Then click on the button under the flag and select the English flag. The programme will now be in English when you restart it.
Adding Maestro to Xilog Plus
Important: Before installing Xilog Maestro, you must first have installed Xilog Plus.
Step 1: Go to the Academic Software page of Xilog, choose 'Xilog Maestro' under 'Select version' and click on the download button on the right.
Step 2: Unpack the zipped folder, open it and select the Maestro folder.
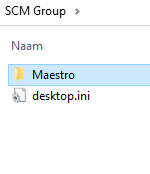
Step 3: Copy this folder and paste it into the folder 'C:\Program Files (x86)\Scm Group'.

Maestro is now ready to use.