How to install Parallels Desktop for Mac
Step 1: Go to the Academic Software page of Parallels Desktop and click on the Request button at the top right to request your licence.
Step 2: Click on the download button on the right to download the software.
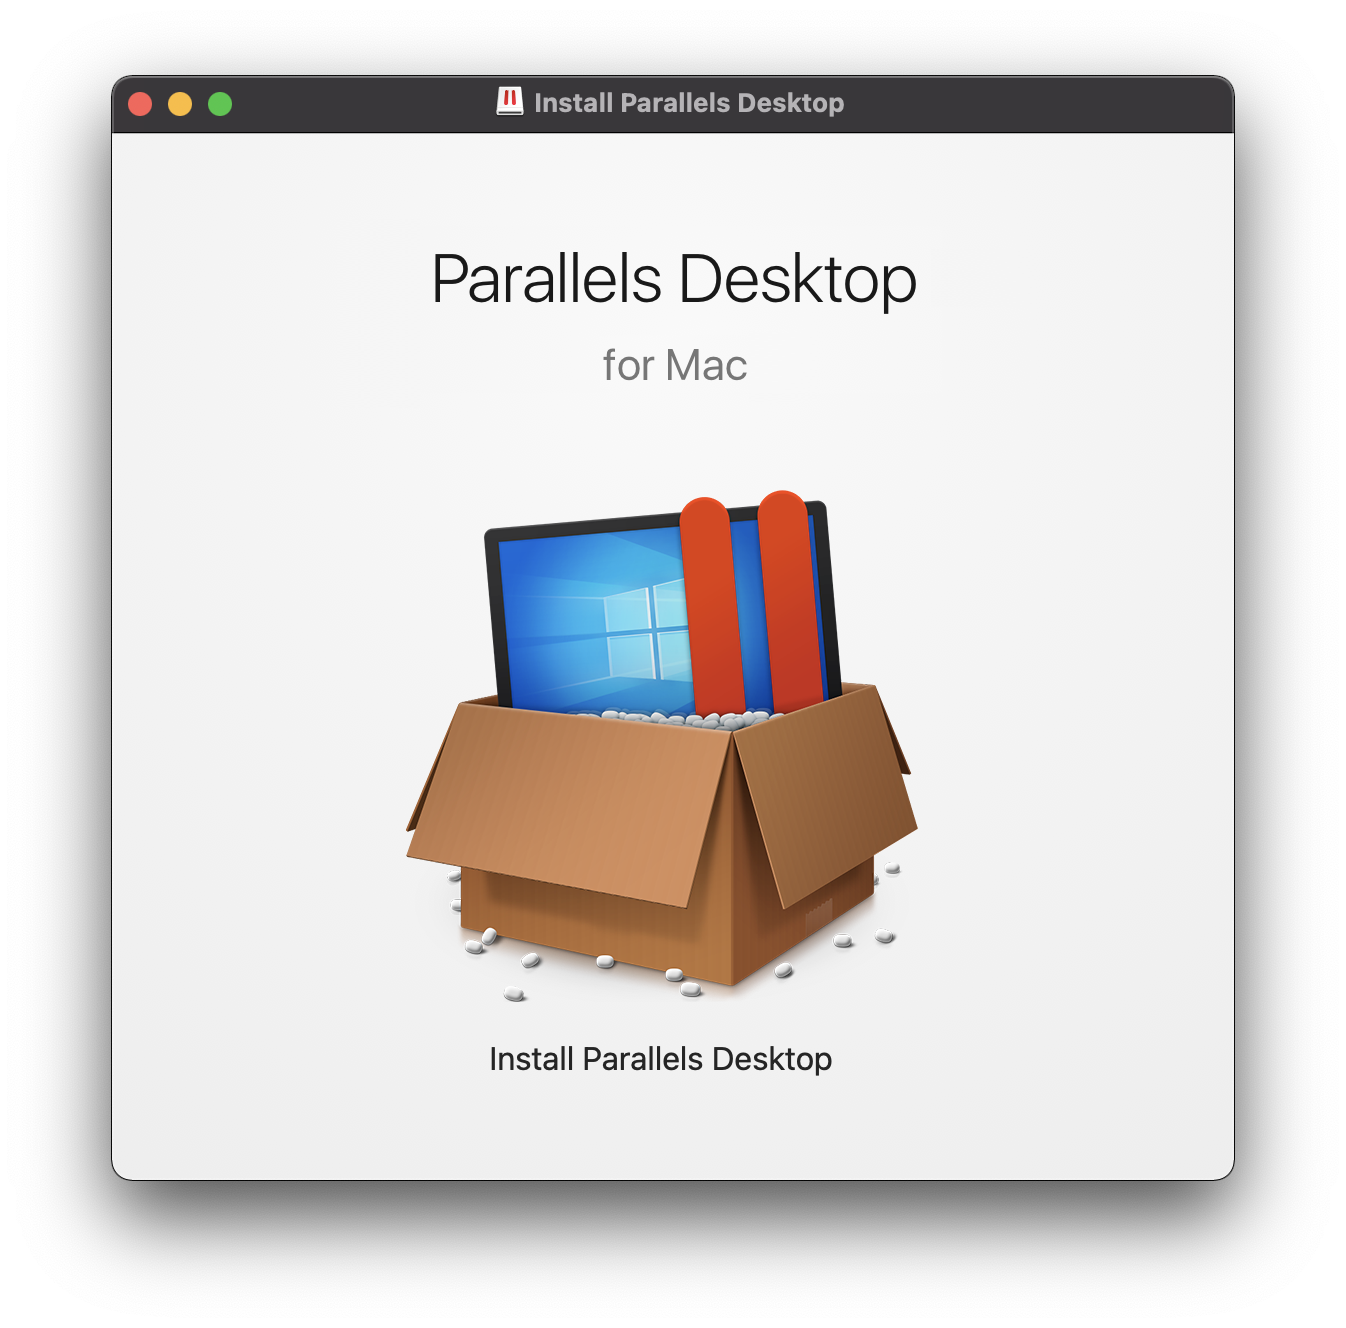
Step 3: Open the installation file in your download folder. The installation starts.
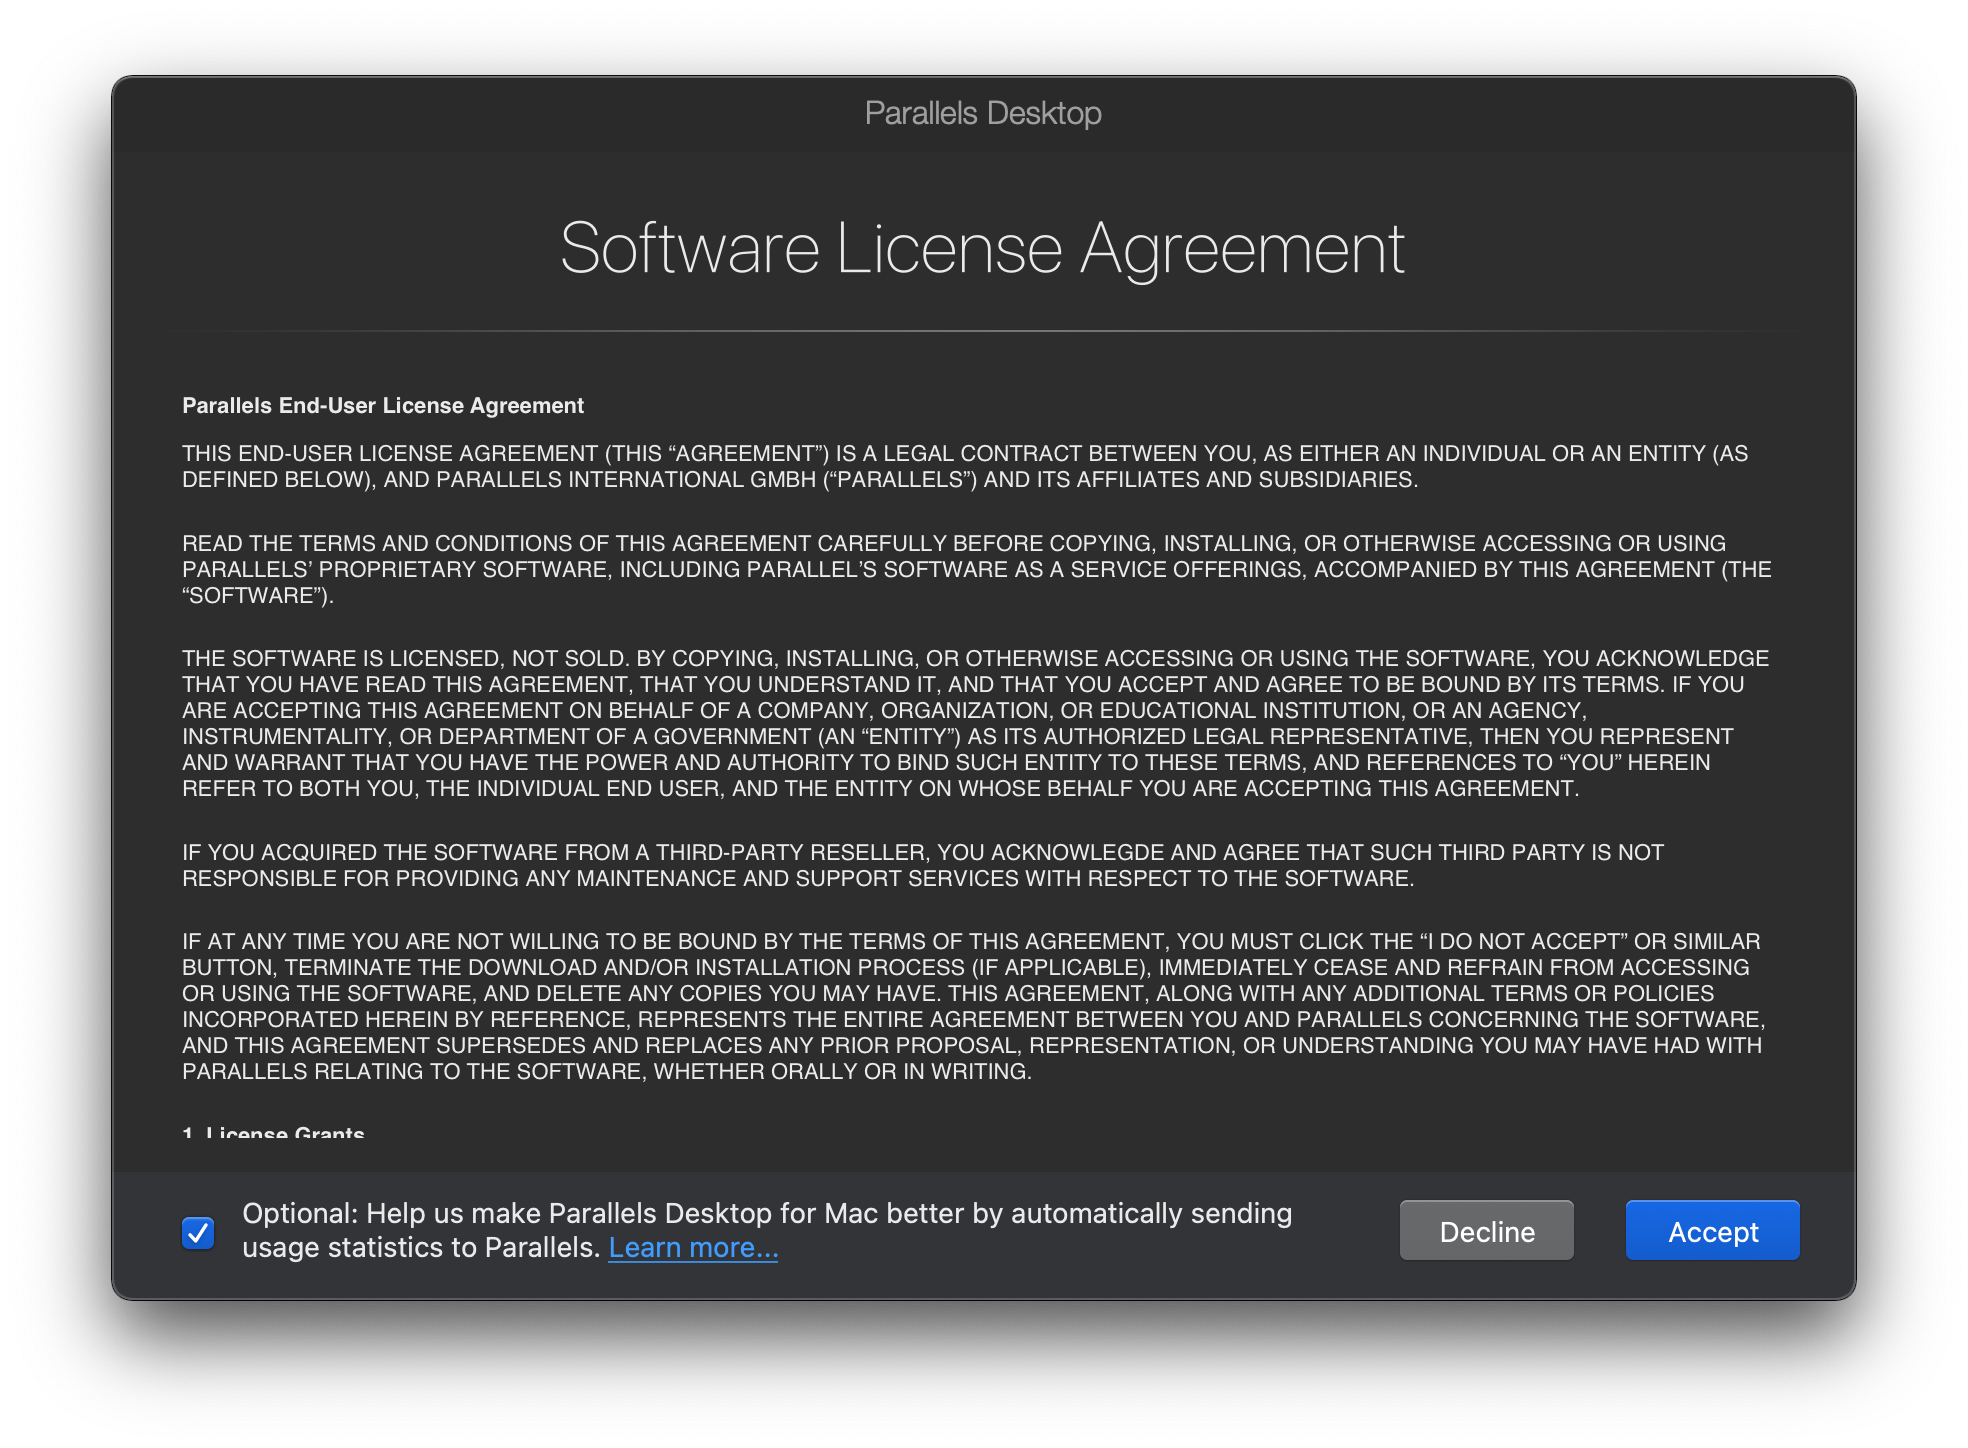
Step 4: Accept the licence agreement by clicking on Accept.
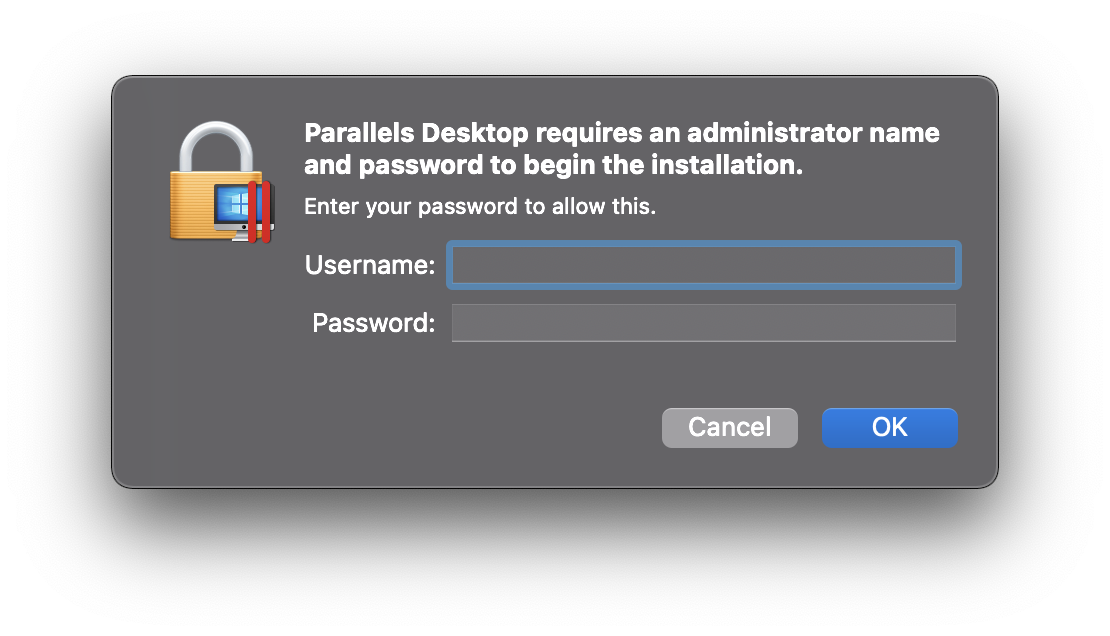
Step 5: Enter the administrator's user name and password and click on OK.
Step 6: Click on Next.
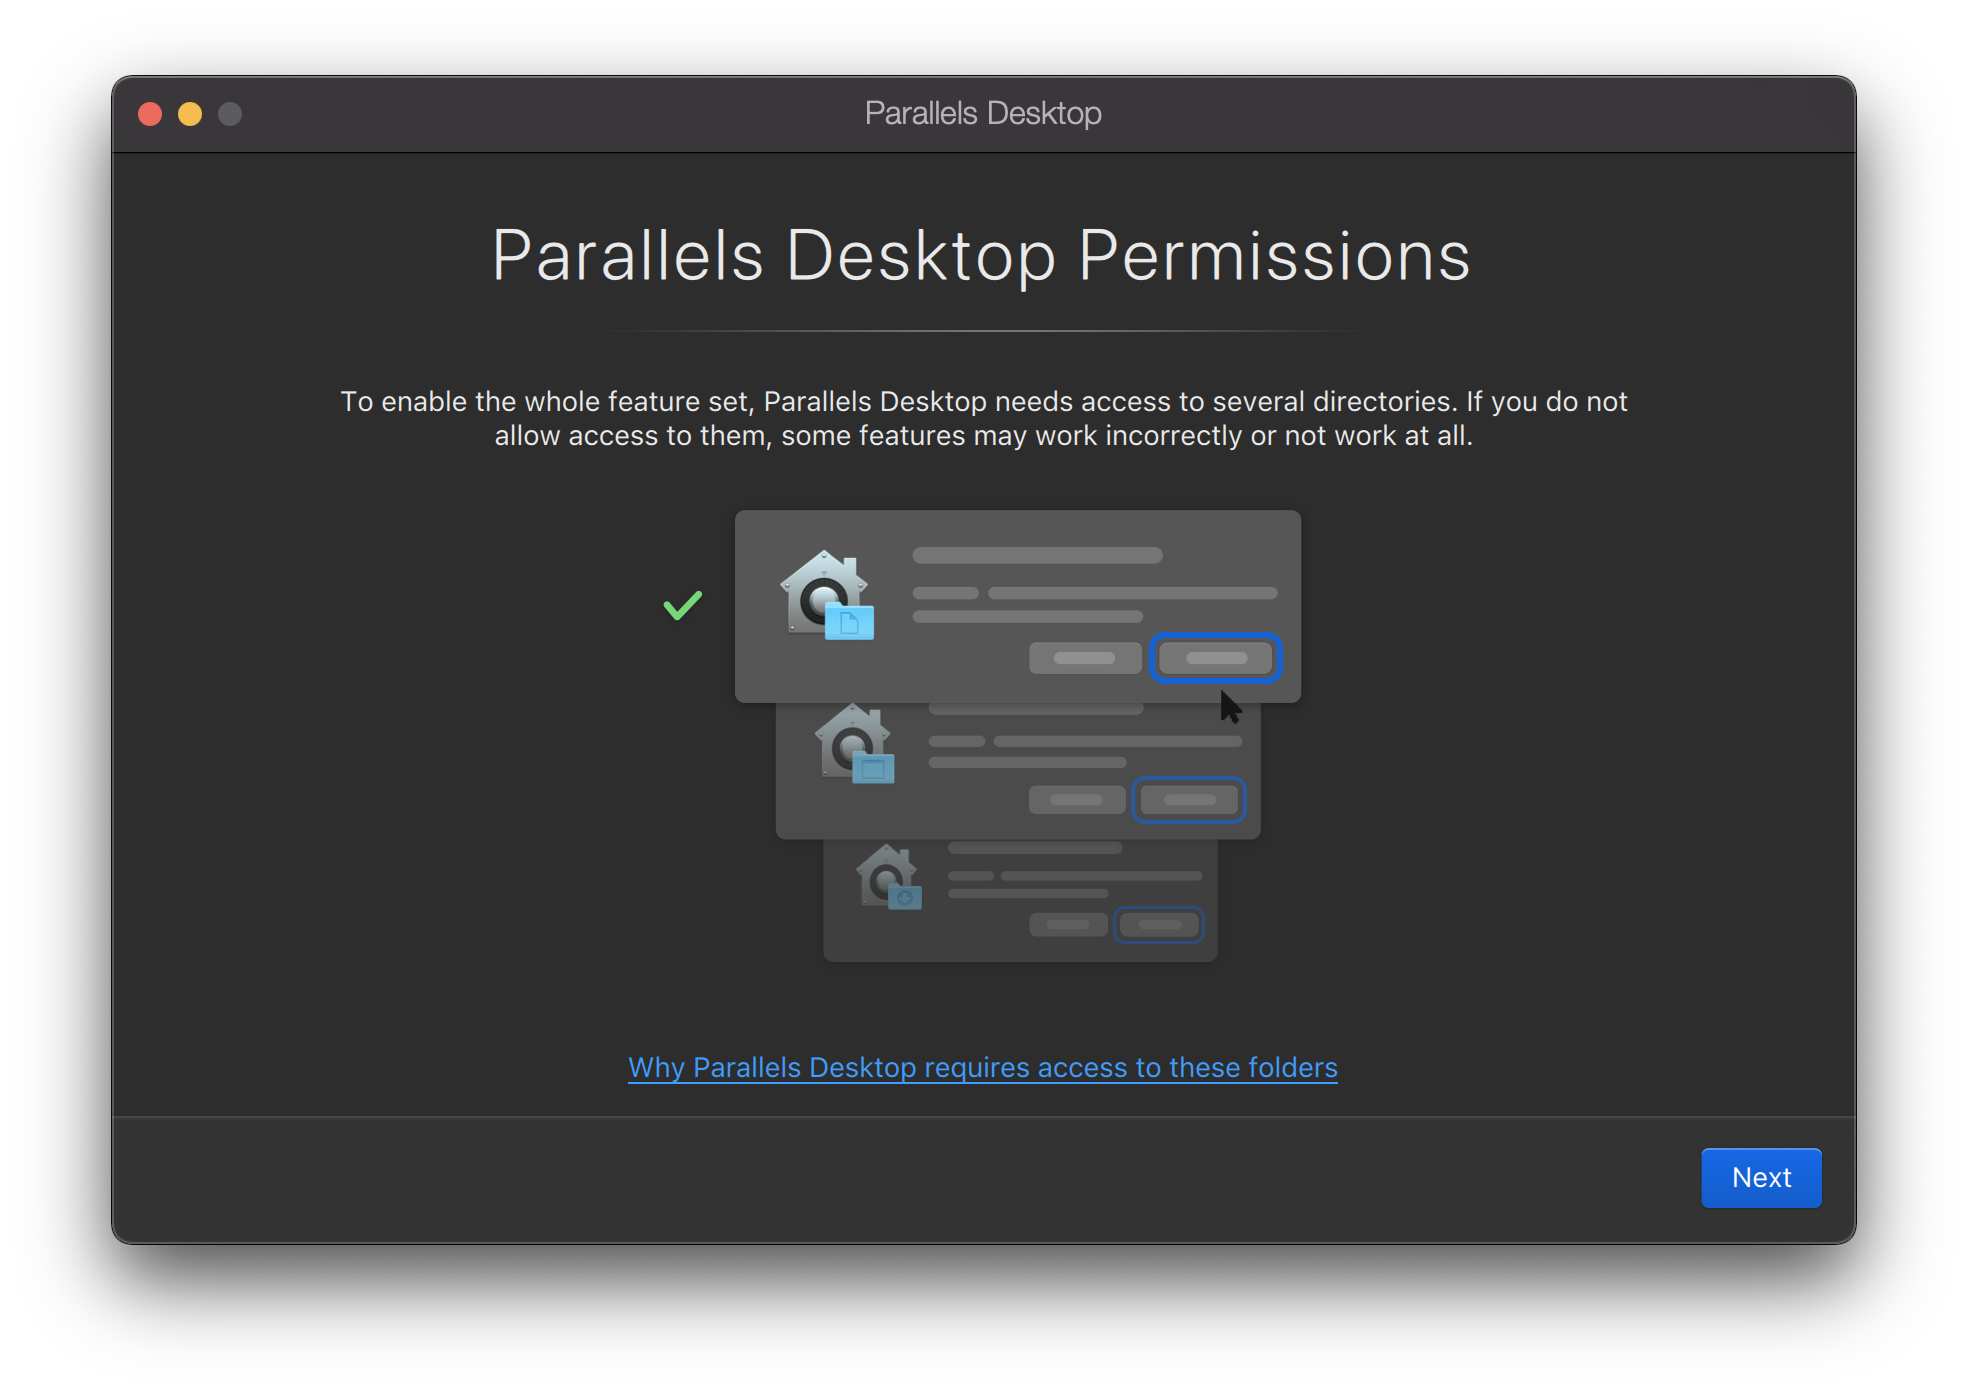
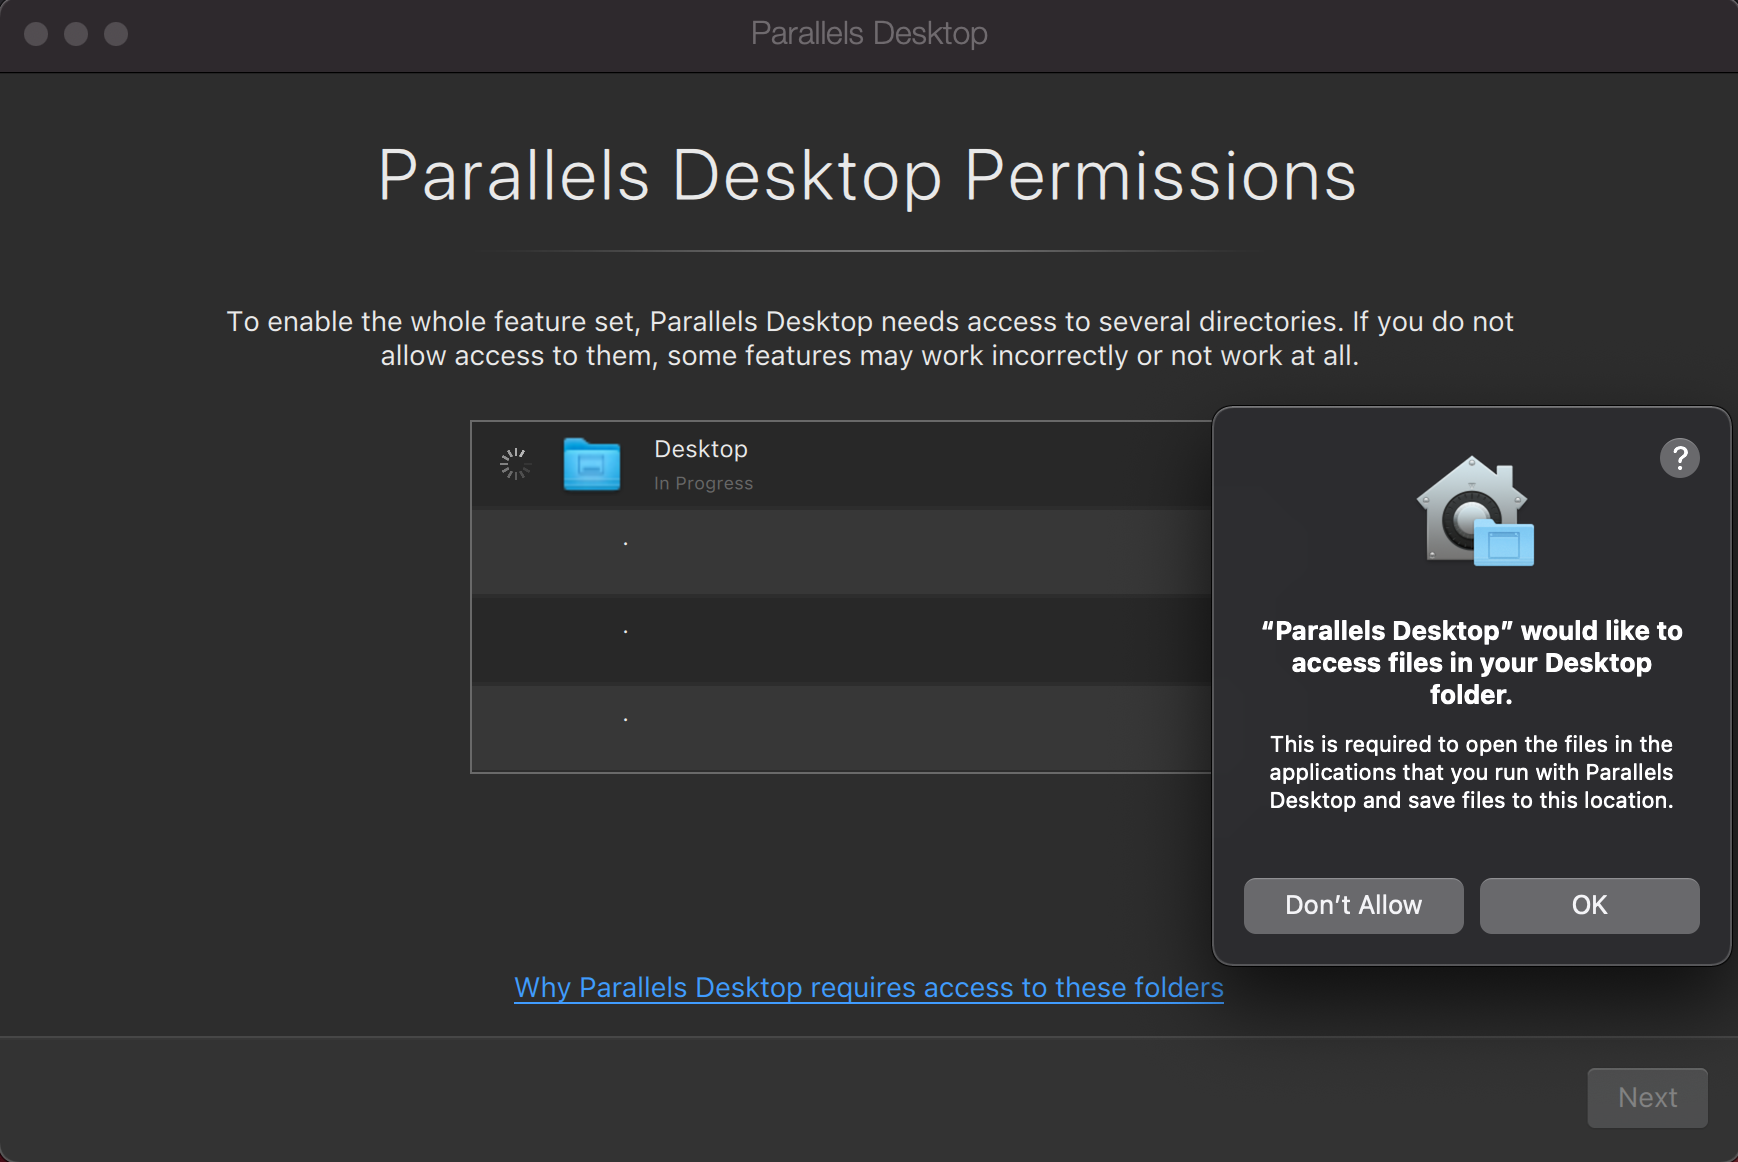
Step 7: Click on OK to allow Parallels to access files on your computer.
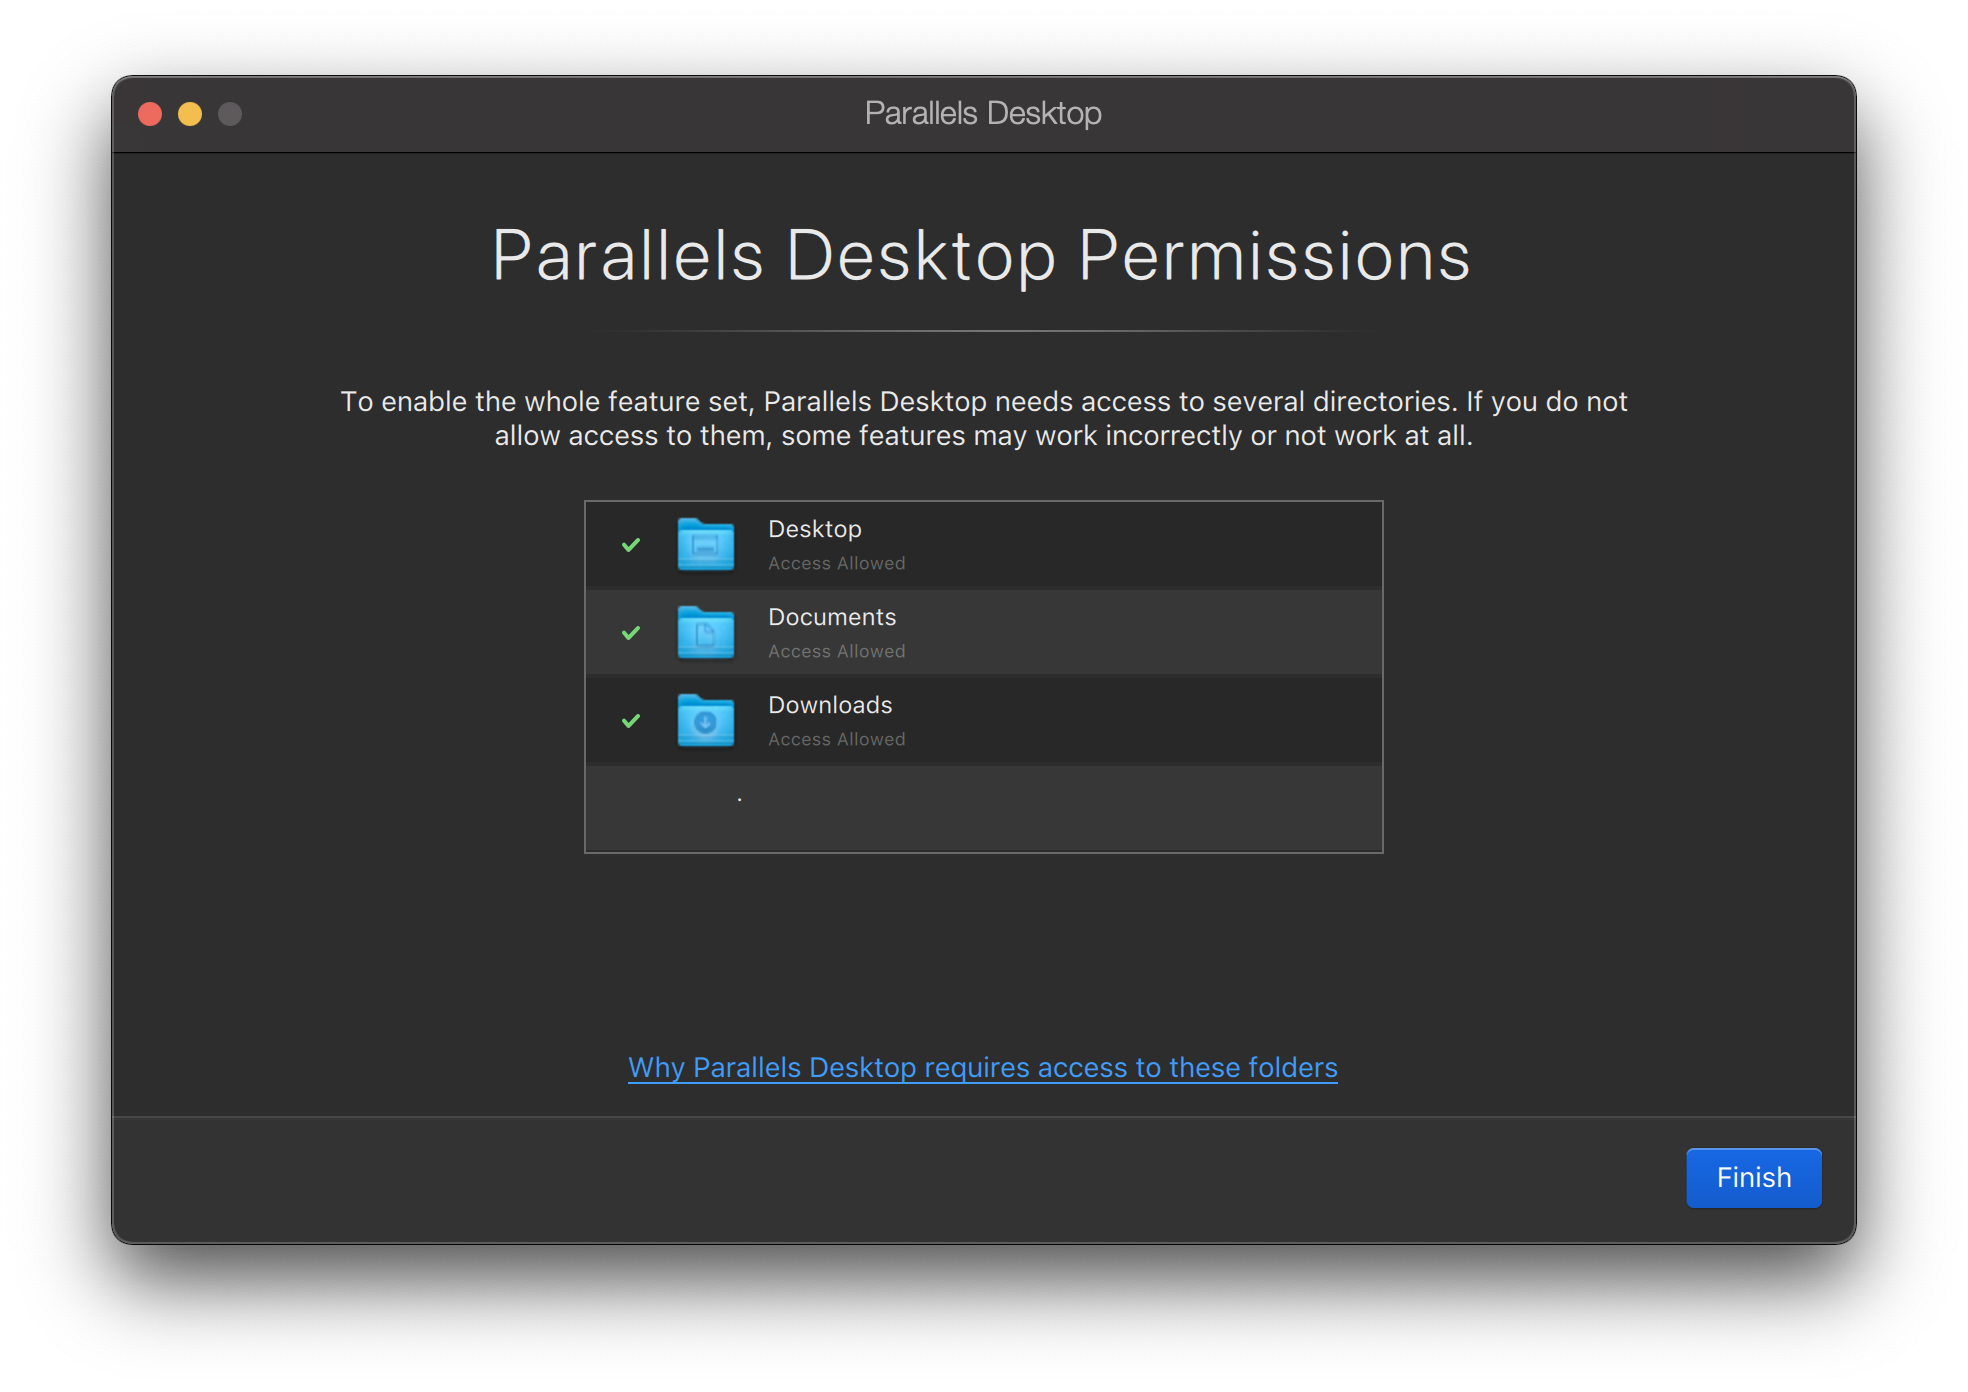
Step 8: Click on Finish.
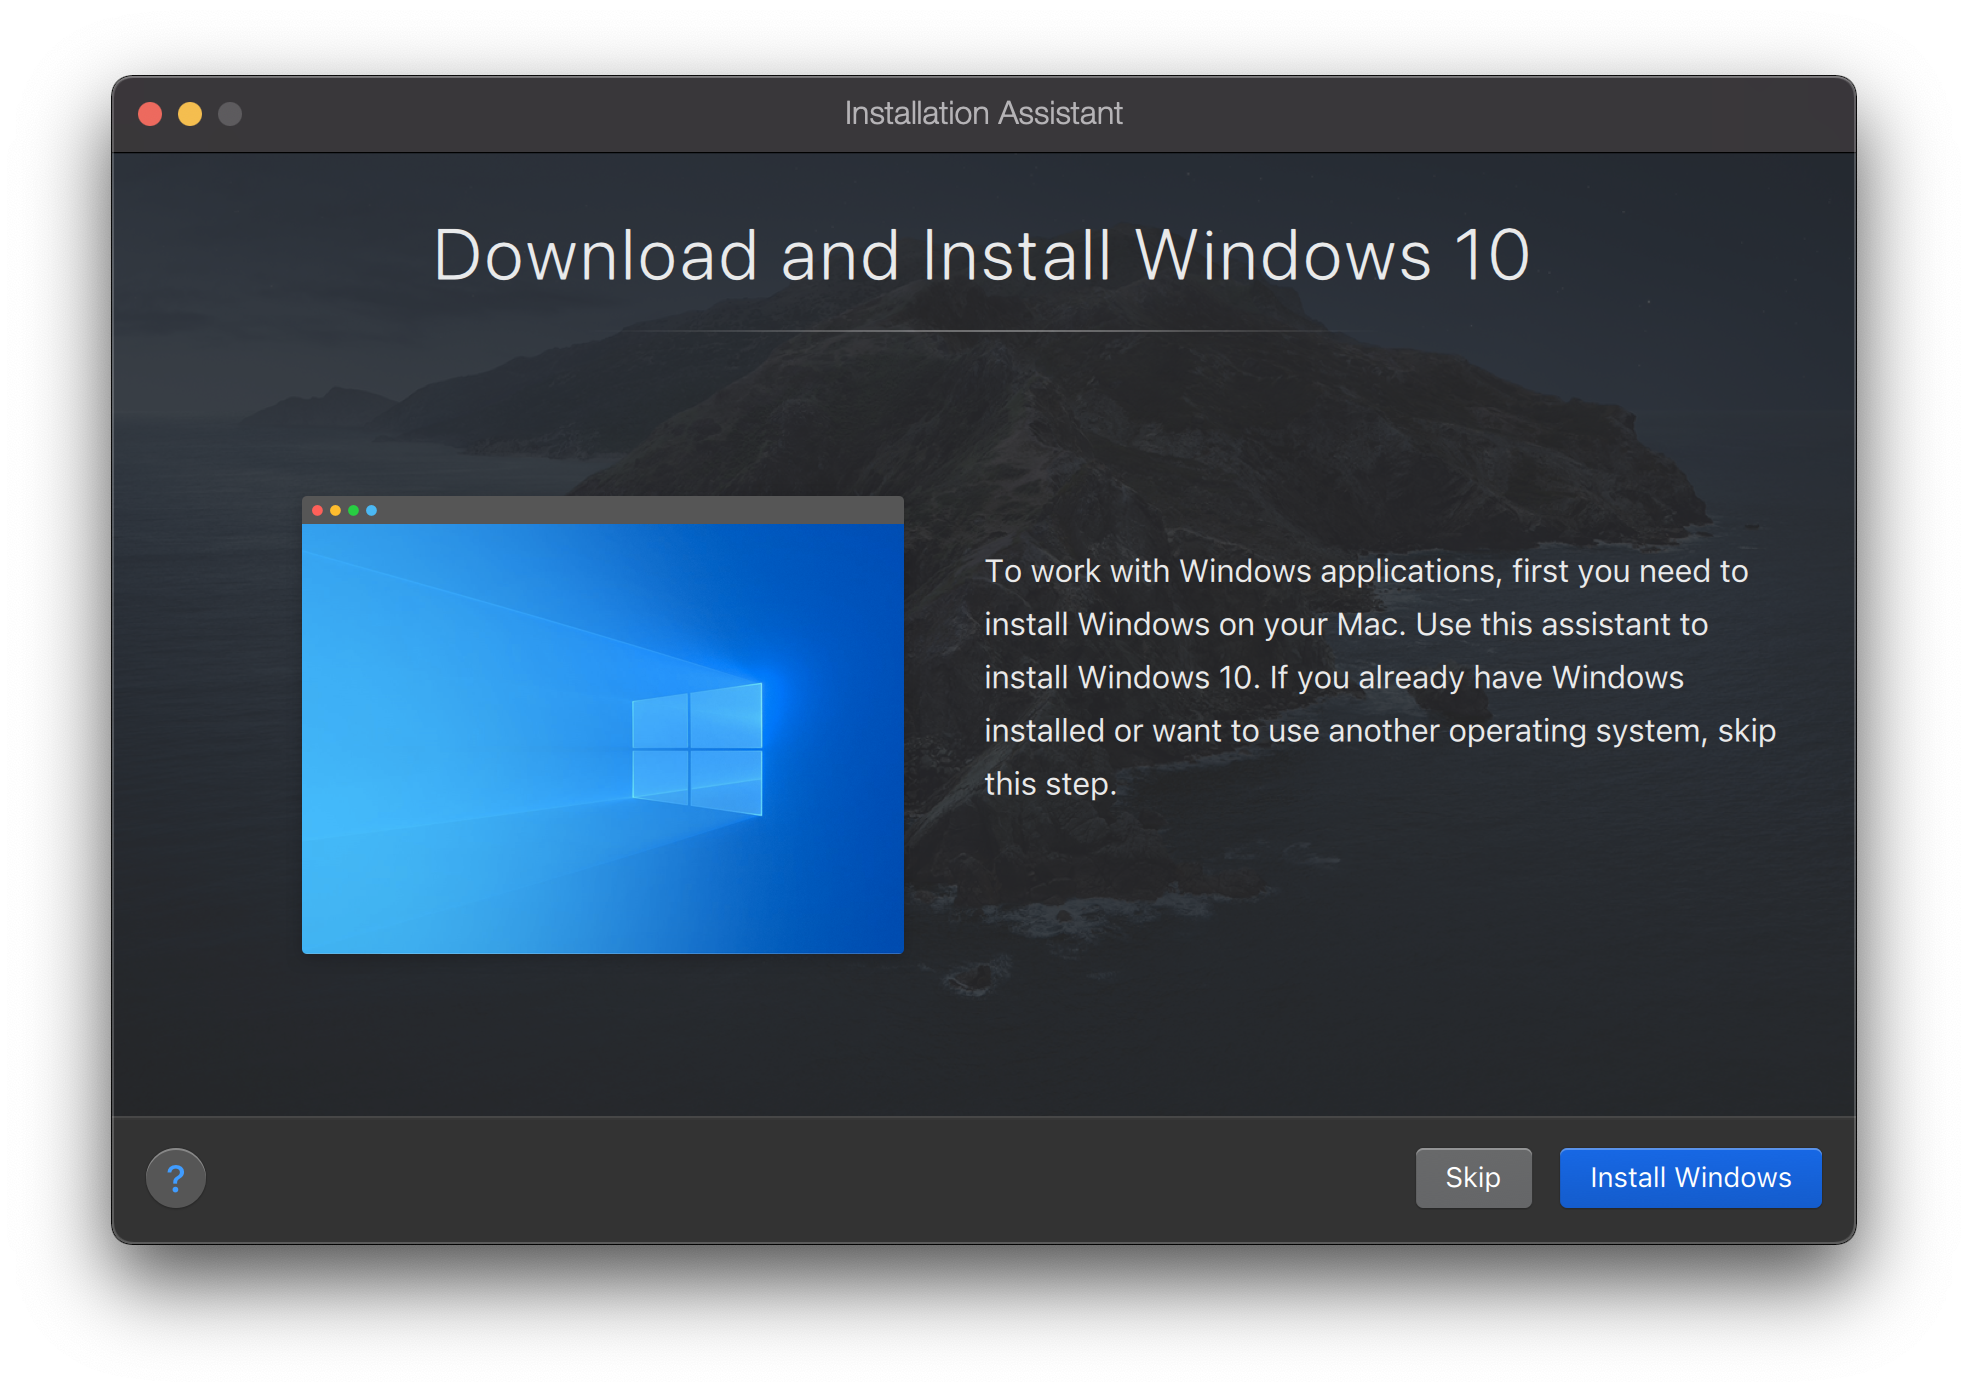
Step 9: Click on 'Install Windows'.
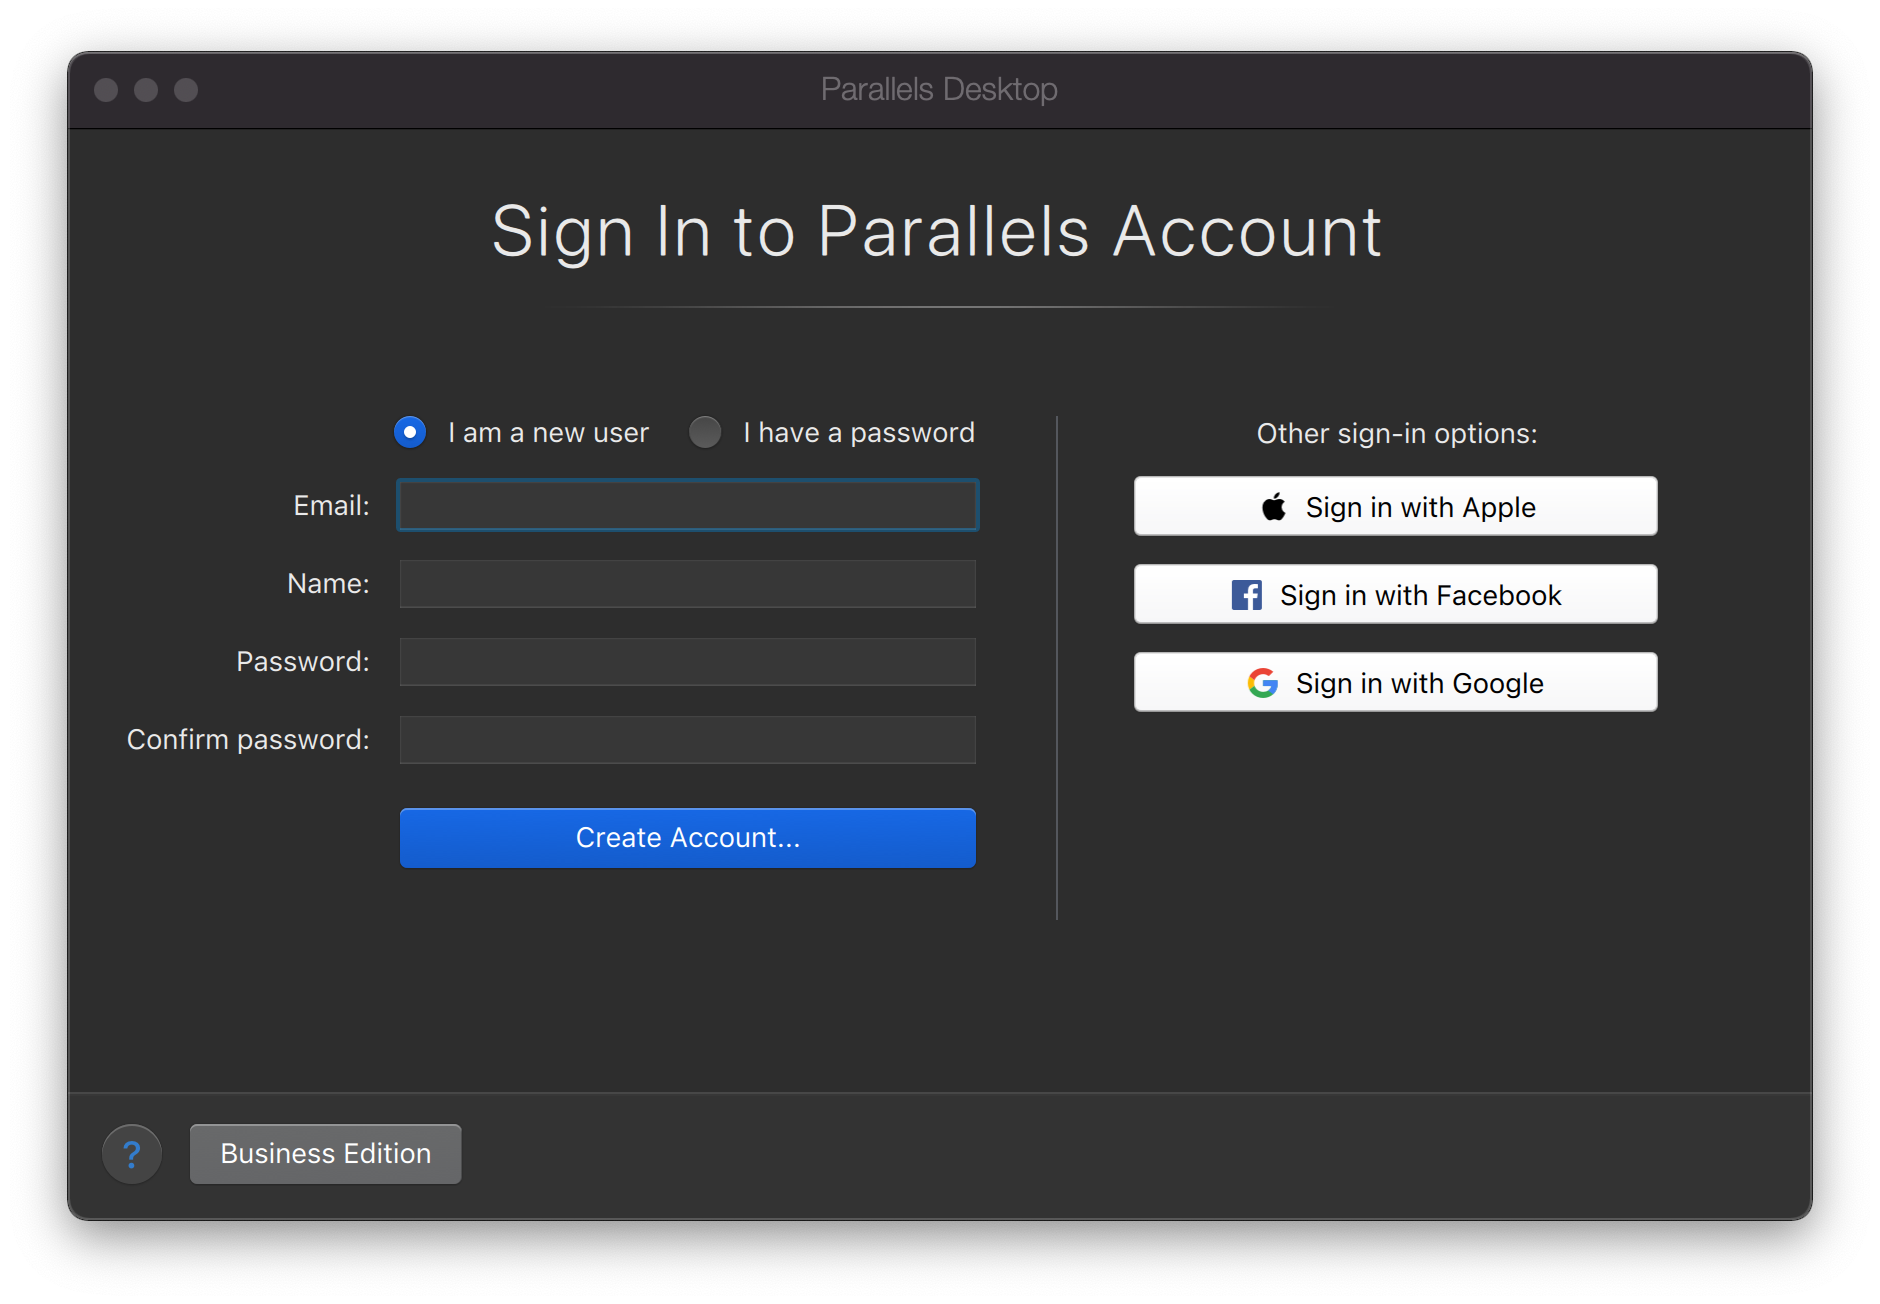
Step 10: Fill in your details and click on 'Create Account' to create a Parallels account.
Step 11: Click on Continue.

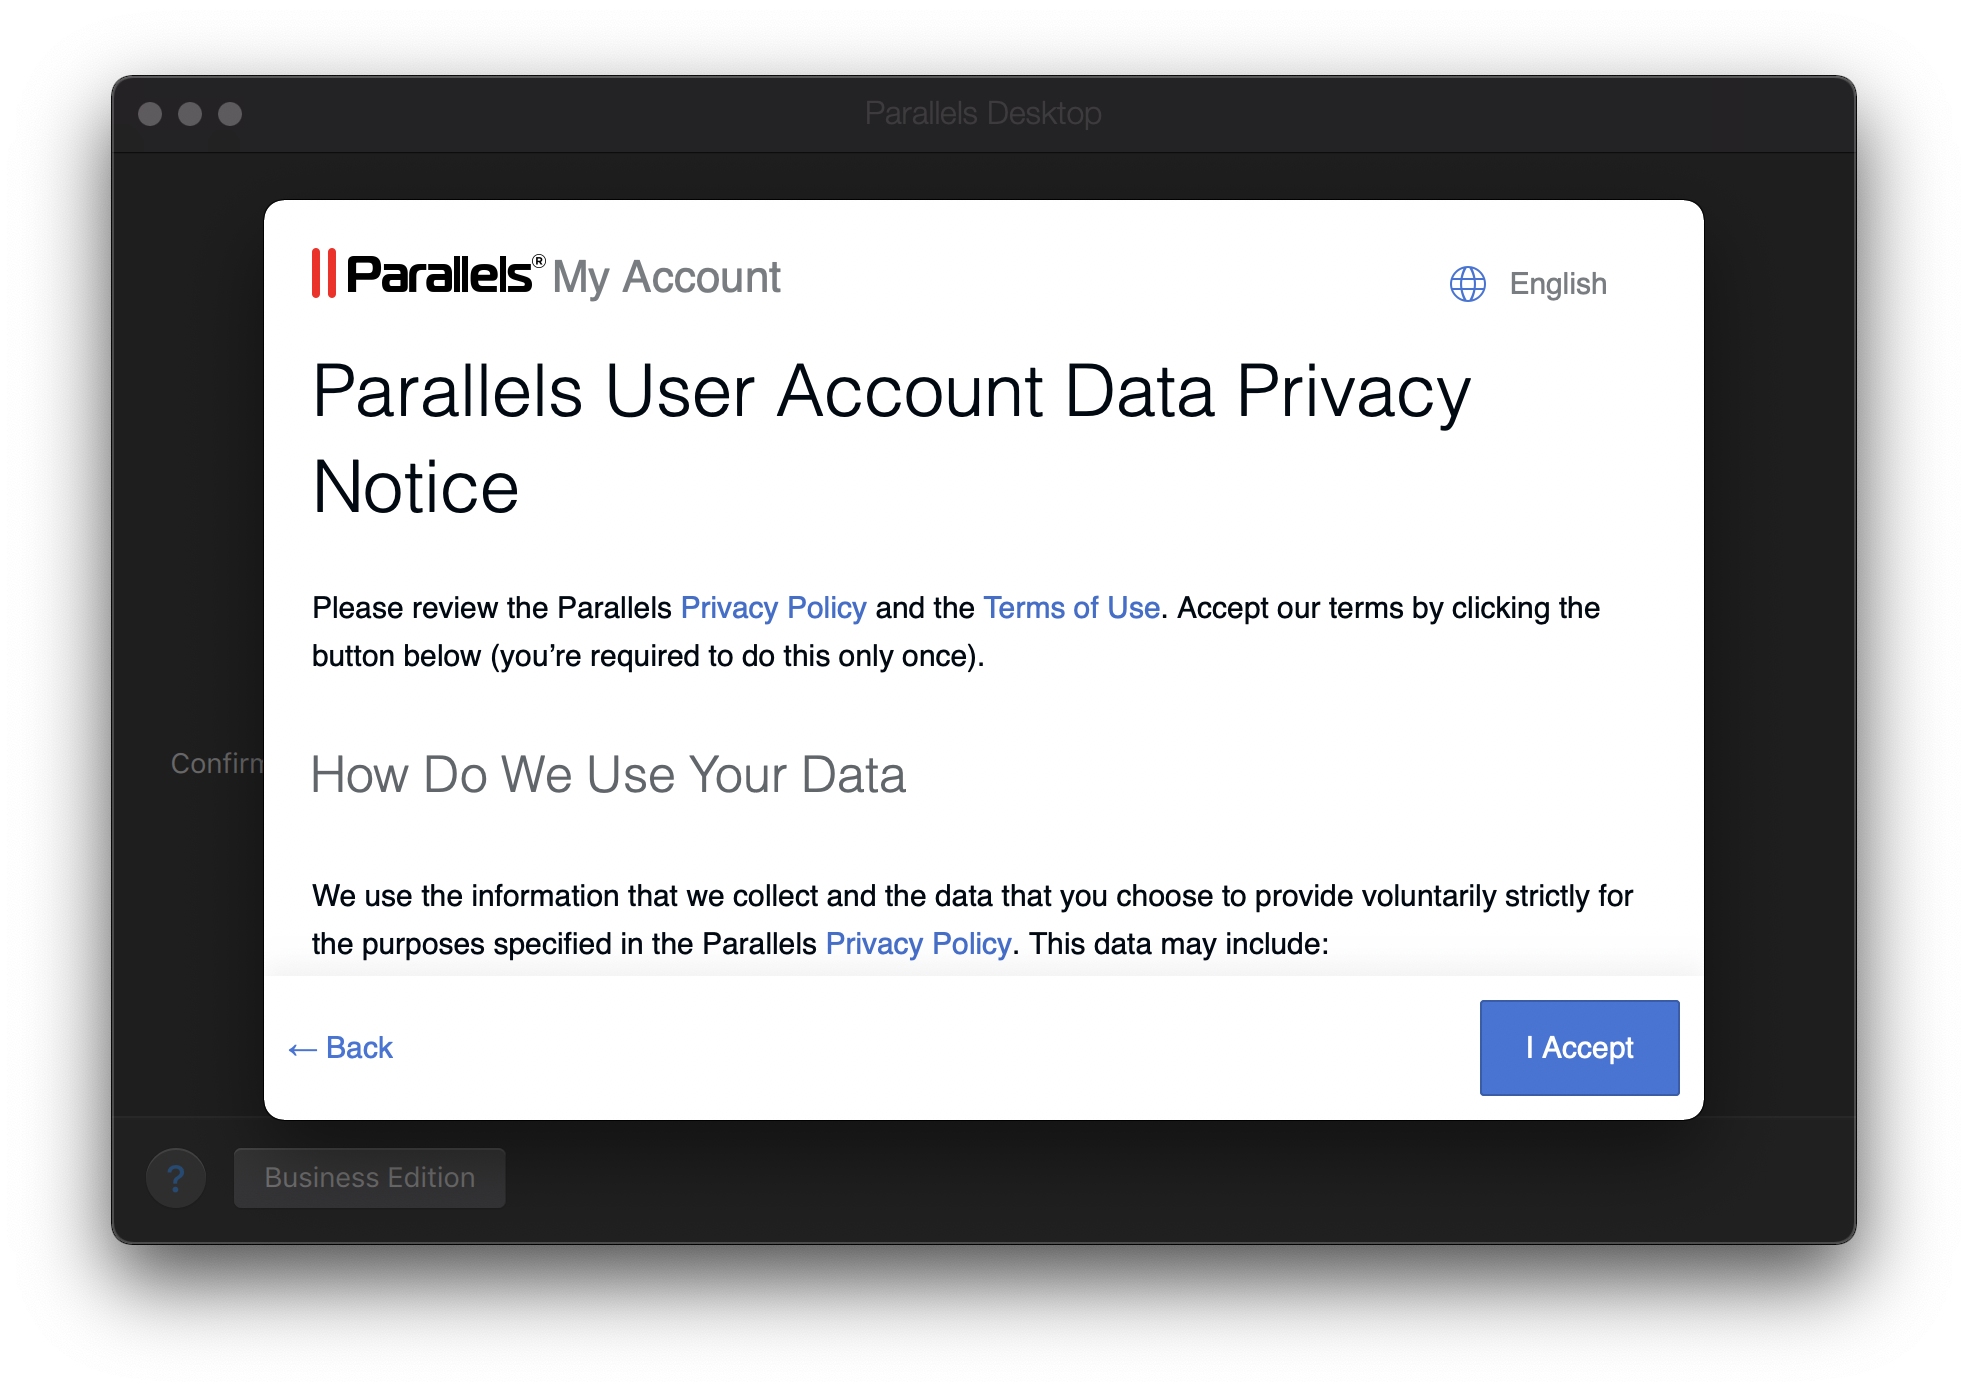
Step 12: Accept the Privacy Policy by clicking on 'I Accept'.
Step 13: The software is now installed. Open Parallels by clicking on the icon in the task bar.

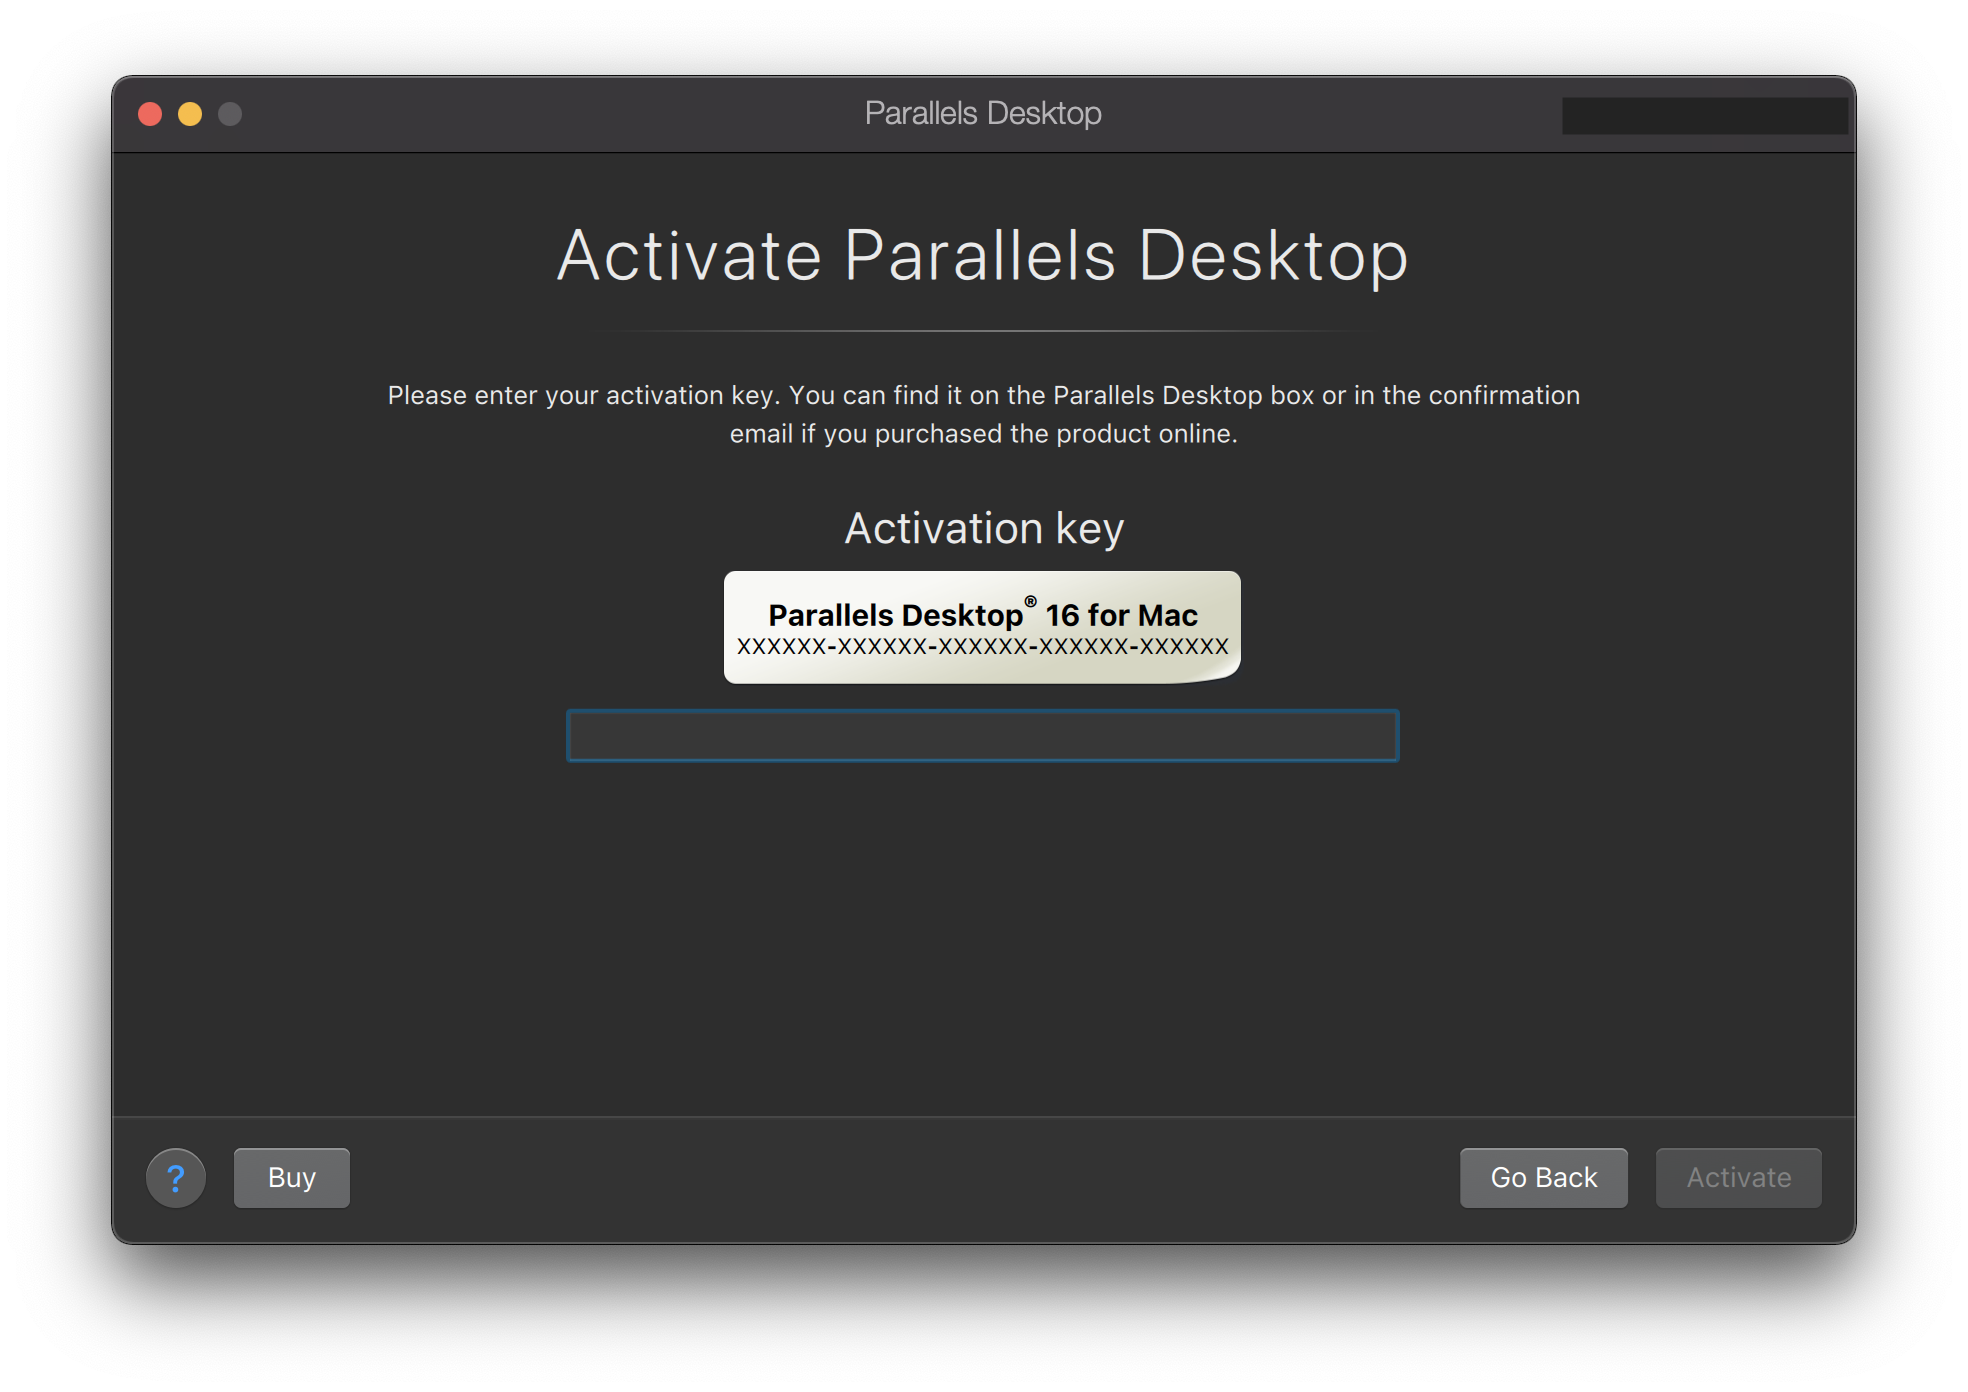
Step 14: Click on 'Enter a key' to enter a licence code.

Step 15: Enter the code from step 1 and click on Activate.
Your licence is activated and you can now start working.