How to install ArcGIS Desktop
Step 1: Go to the Academic Software page of ArcGIS and choose your version from the drop-down menu on the right.
Step 2: Click on the Request button to obtain your authorisation number.
Step 3: Download the installer by clicking on the download button on the right.
Step 4: Open the installer in your download folder.
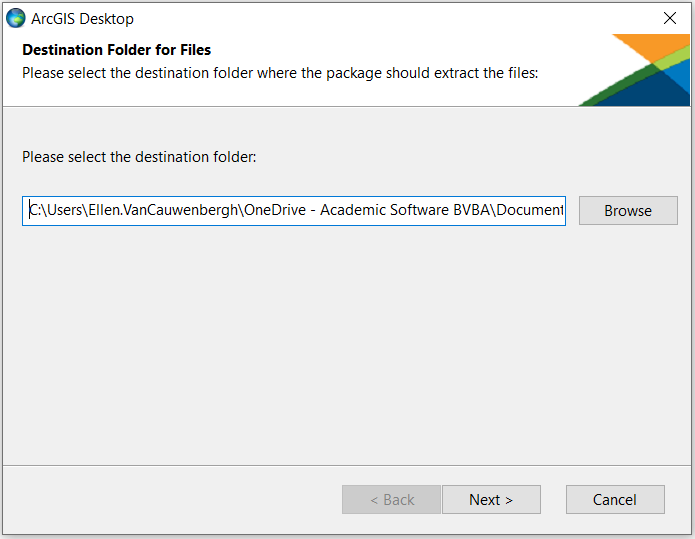
Step 5: ArcGIS will first extract the installation files. Choose a location for these files and click Next. After the installation, you can delete these files.
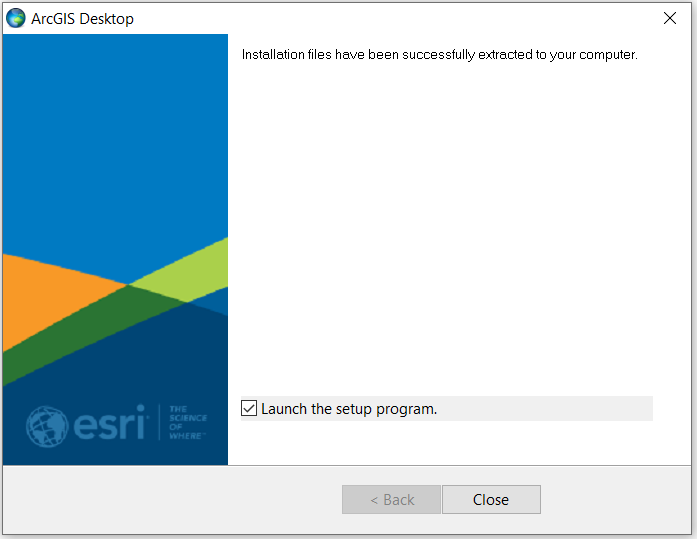
Step 6: The installation files have been extracted. Click on Close.
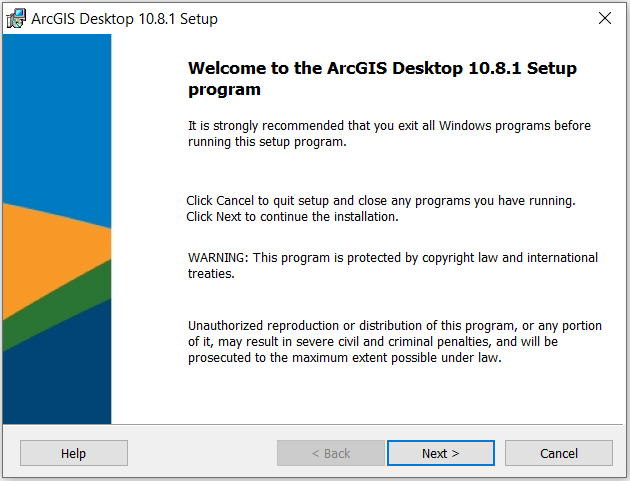
Step 7: Now the actual installation will start. Click on Next.
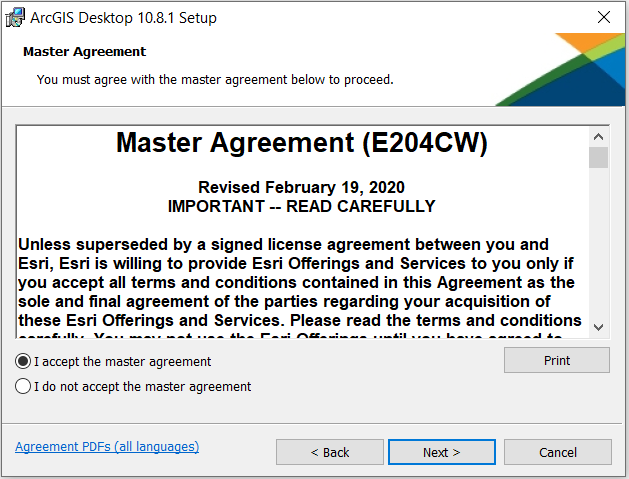
Step 8: Accept the Master Agreement and click on Next.
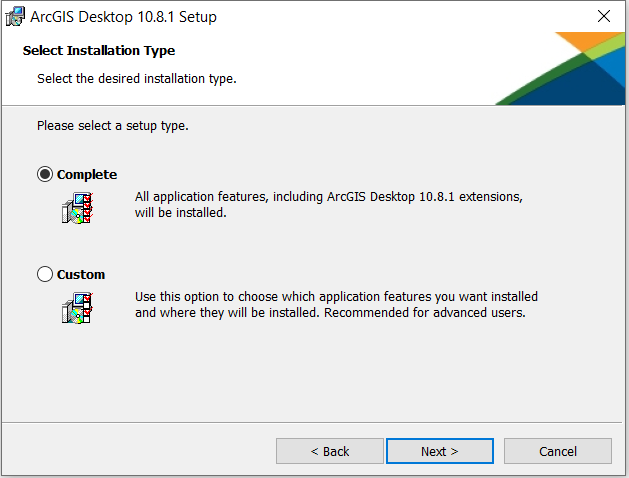
Step 9: Choose the complete installation and click on Next.
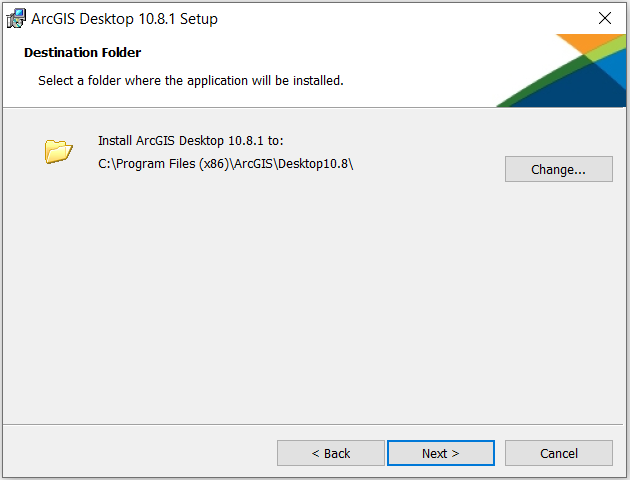
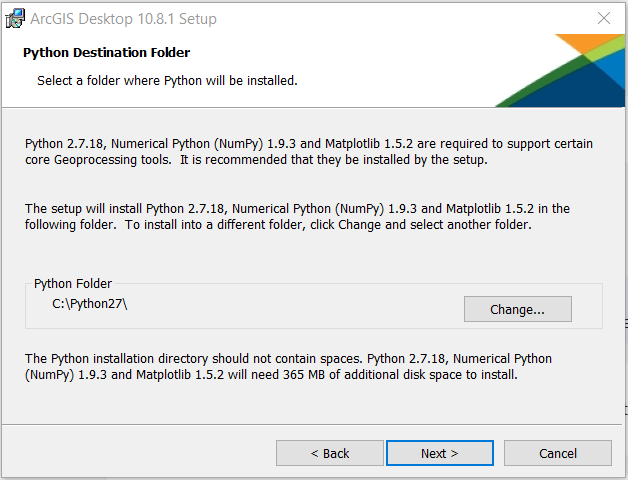
Step 10: Click on Next twice.
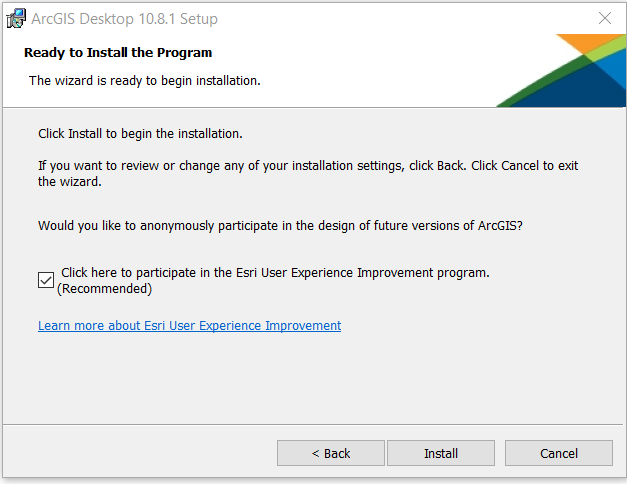
Step 11: Choose whether you want to participate in the improvement programme and click on Install.
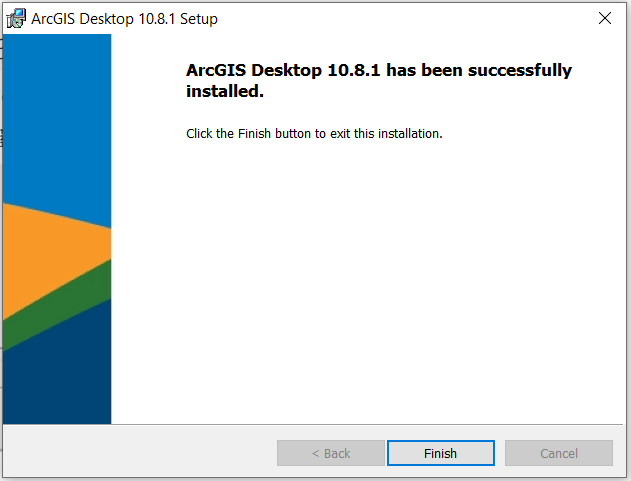
Step 12: ArcGIS Pro is now installed. Click on Finish.
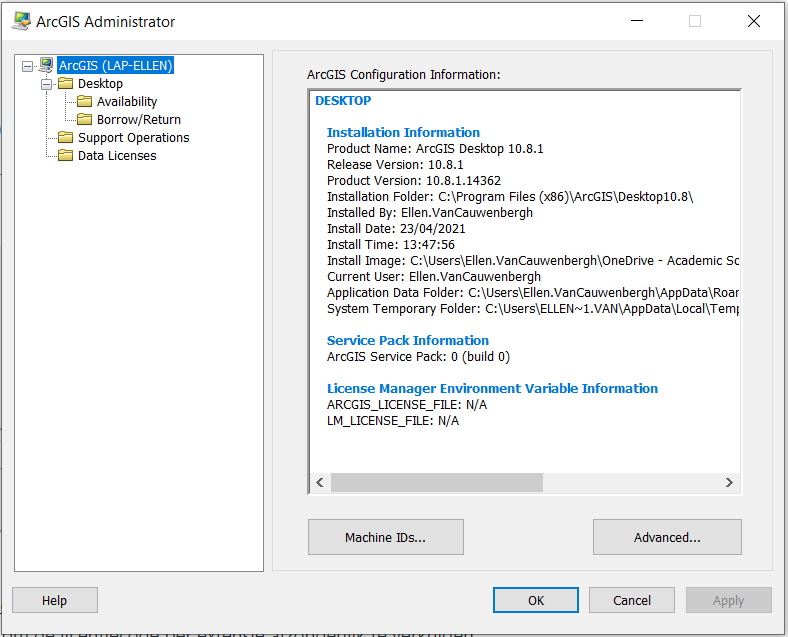
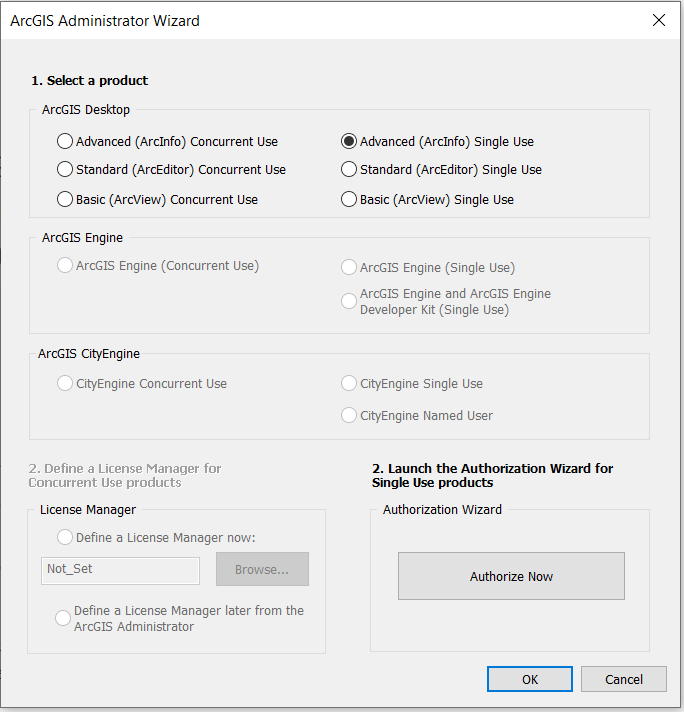
Step 13: Once the installation is complete, the Administrator Wizard appears. Under 'Select a product' choose 'Advanced Single Use' on the right and click OK.
Step 14: ArcGIS Desktop is now installed. Click on OK.