How to install ArcGIS Drone2Map
Apply for an account
Step 1: Go to the ArcGIS Drone2Map page on Academic Software and click on the Request button to apply for an account.
Step 2: You'll receive an email with a link.
Click on this link to create your account.
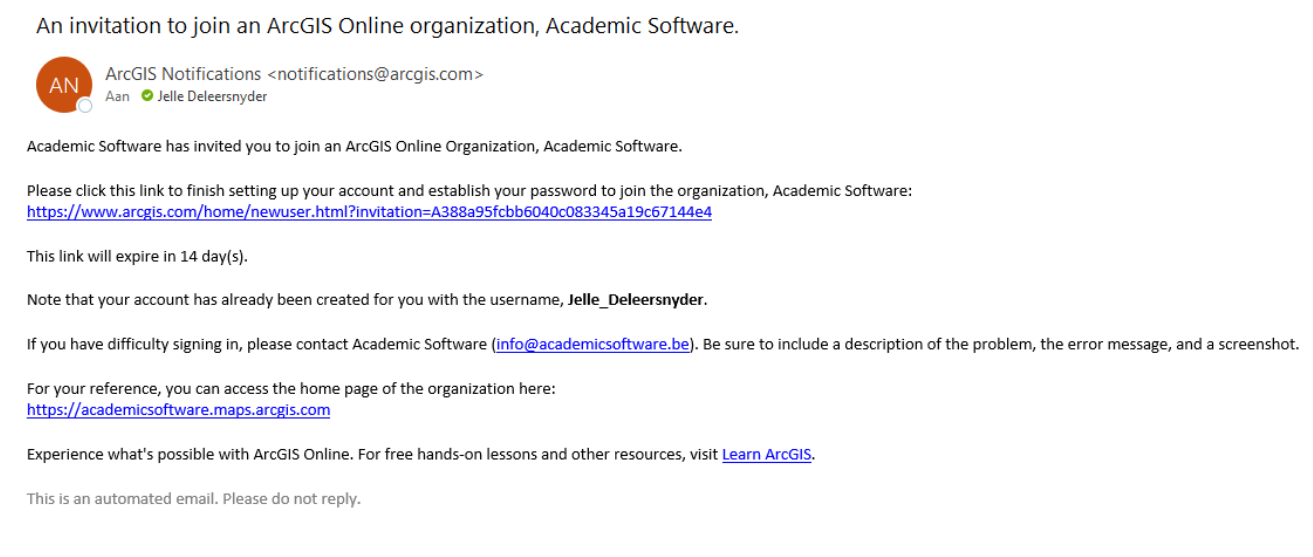
Create your password to activate your account.
Install Drone2Map
Step 1: Click on the button 'Download Drone2Map' on the right to download the software.
Step 2: Go to your Downloads folder and extract the ZIP file.
Run the .exe file to start the installation.
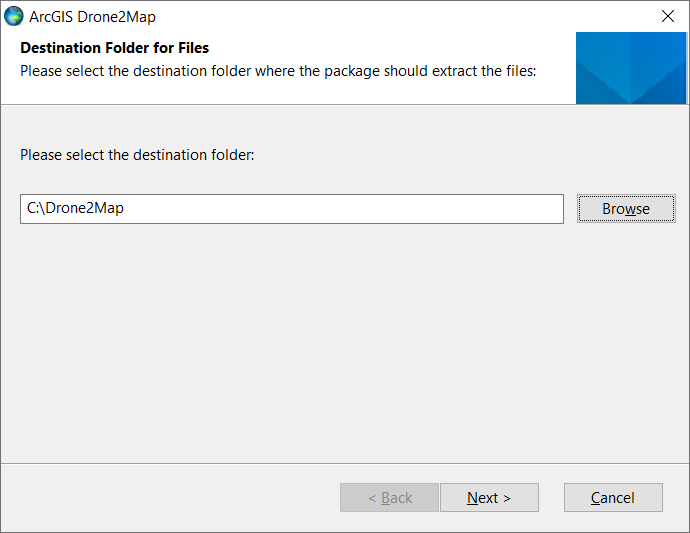
Step 3: First you need to check where you want to extract the files on your computer.
Click on Next once you've selected the right location.
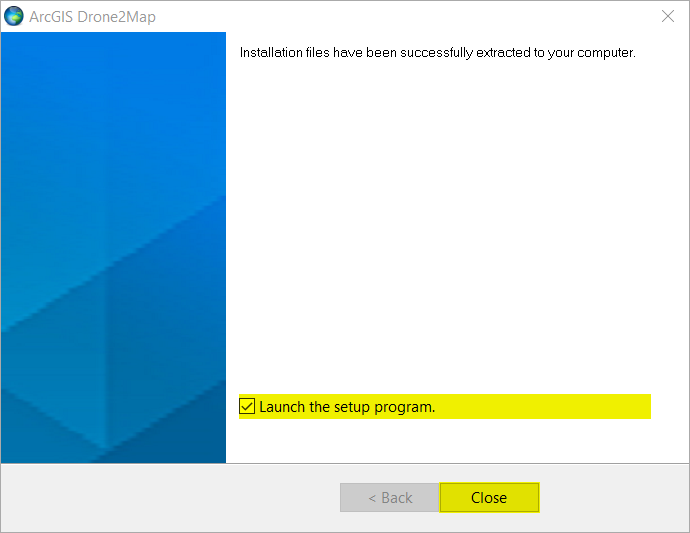
Step 4:After you've unpacked the files on your computer, you can start with the installation.
To do this, tick 'Launch the setup program' and click on Close.
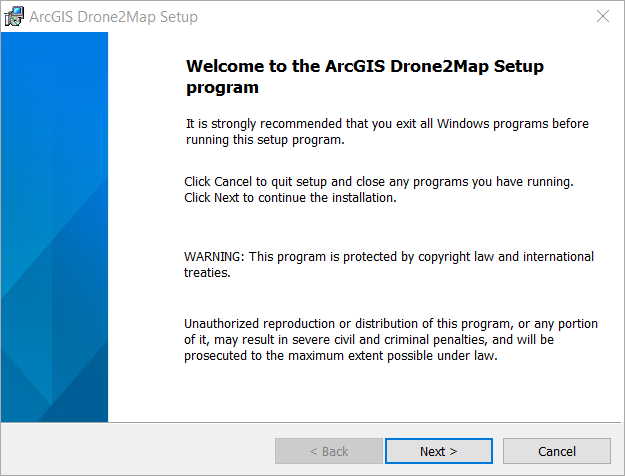
Step 5: Now the Drone2Map setup program is launched.
Click on Next.
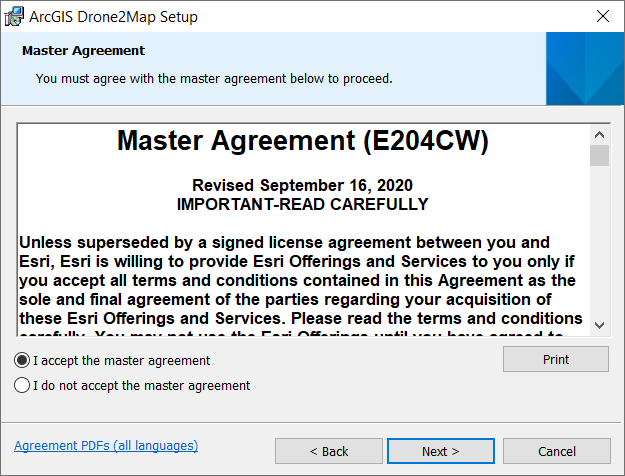
Step 6: Then accept the Master Agreement by selecting'I accept the master agreement' and click on Next.
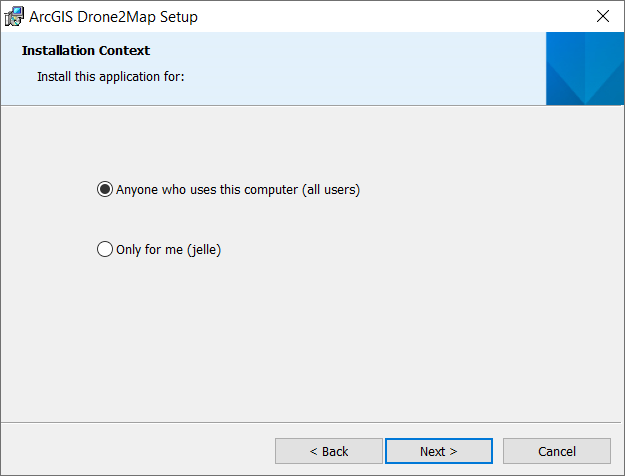
Step 7: Select for whom you are installing the software and then click on Next.
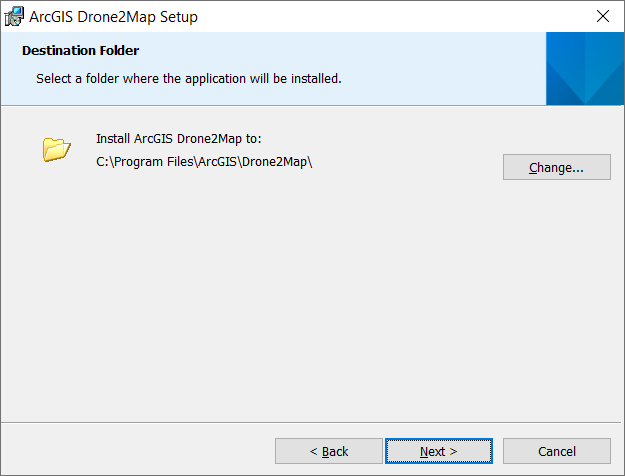
Step 8: Now choose the installation path and click on Next.
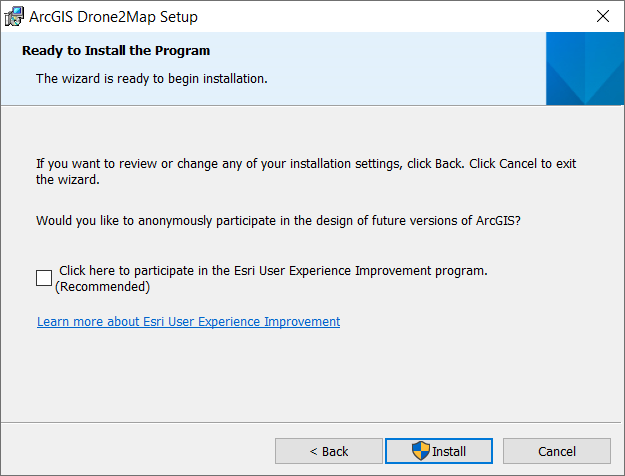
Step 9: Choose if you want to participate in the Esri User Experience Improvement program.
- If you want to do this, you can tick the box, if not, you can just remove it
- Now click on Install
- If a pop-up window appears, authorise the installation to start
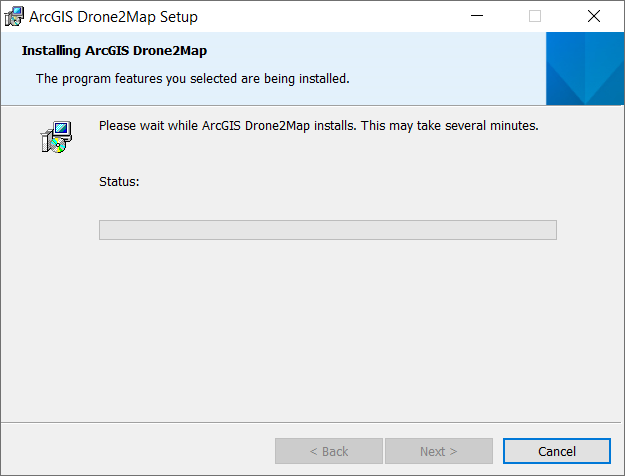
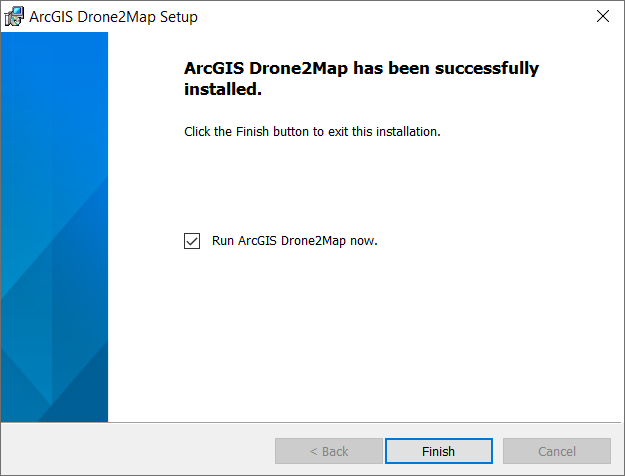
Step 10: After the installation, you can either start the software immediately or just stop the installation by clicking on Finish.
Activate licence
Step 1: Launch Drone2Map and log in with your credentials. Enter your user name and password here.
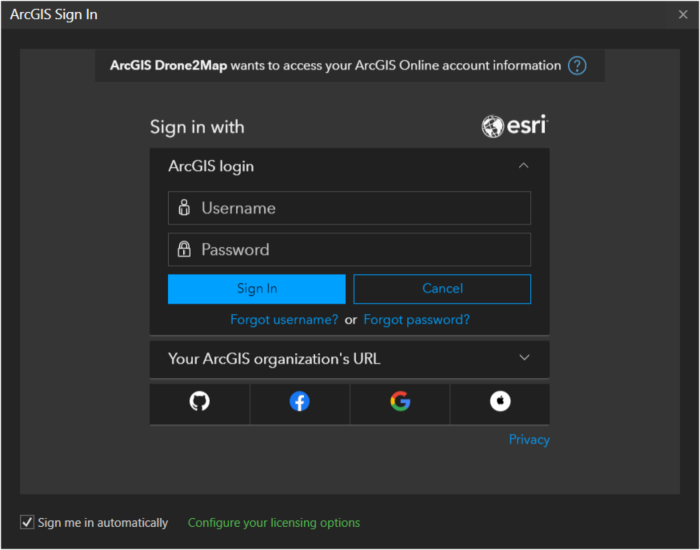
Step 2: The software is now ready to use.