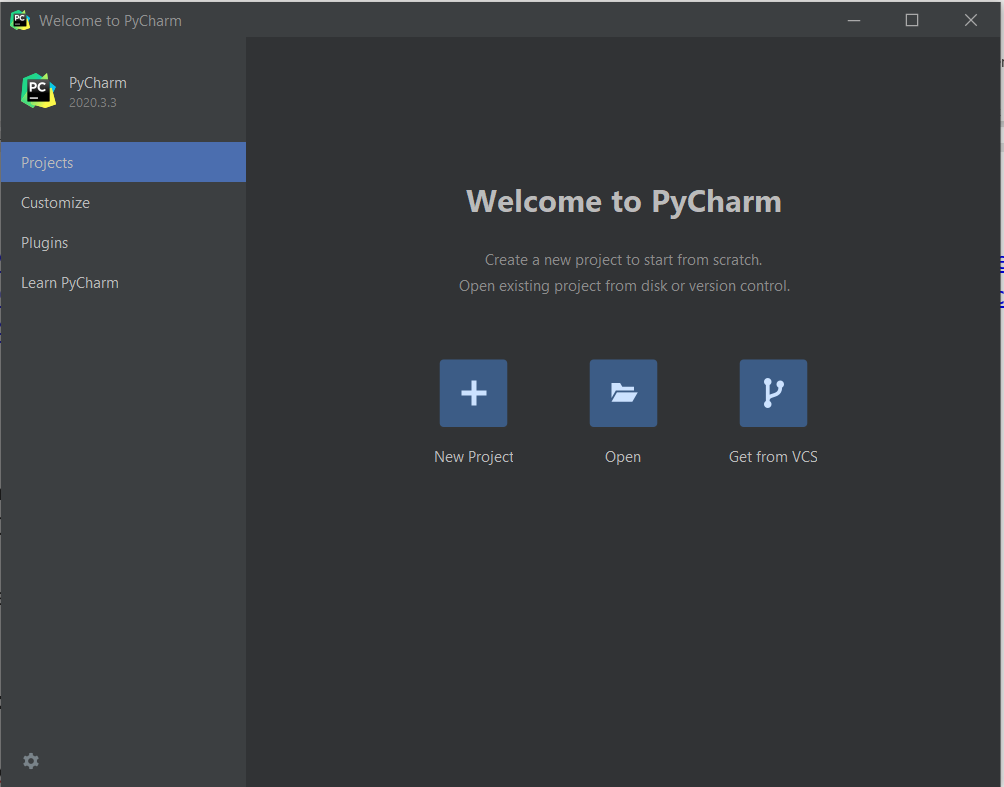
How to install PyCharm Community
Requesting a JetBrains licence
Step 1: Go to the Academic Software page of PyCharm Community and click on the 'Start procedure' button.
Step 2: Request your licence using one of the 4 available methods:
- Using your school email address
- With your ISIC/ITIC (International Student/Teacher Identity Card)
- Via GitHub if you already have a Student Developer Pack
- If the previous options don't work, you can upload an official document or your student card as proof. (This must be verified, so this method takes some time)
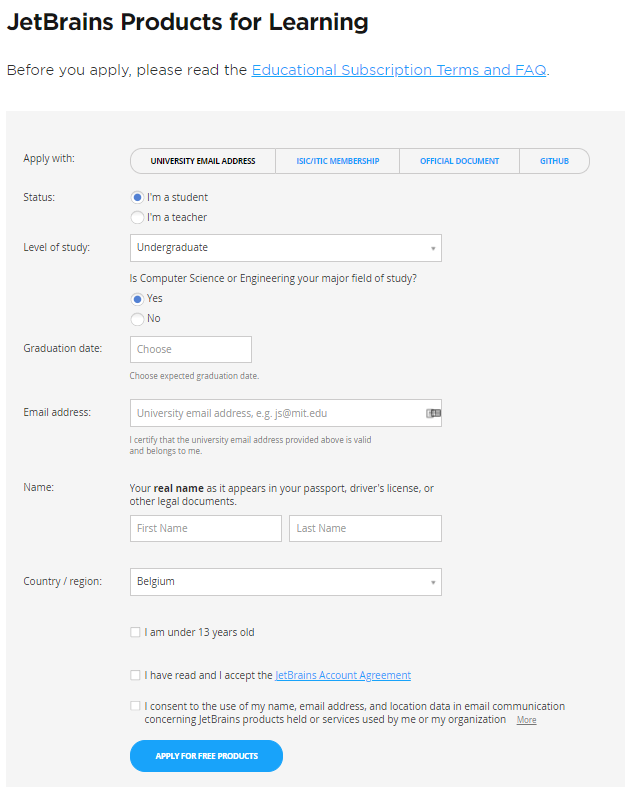
In this manual we choose to apply for a licence using a school email address. Fill in the form and click on 'Apply for free products'.
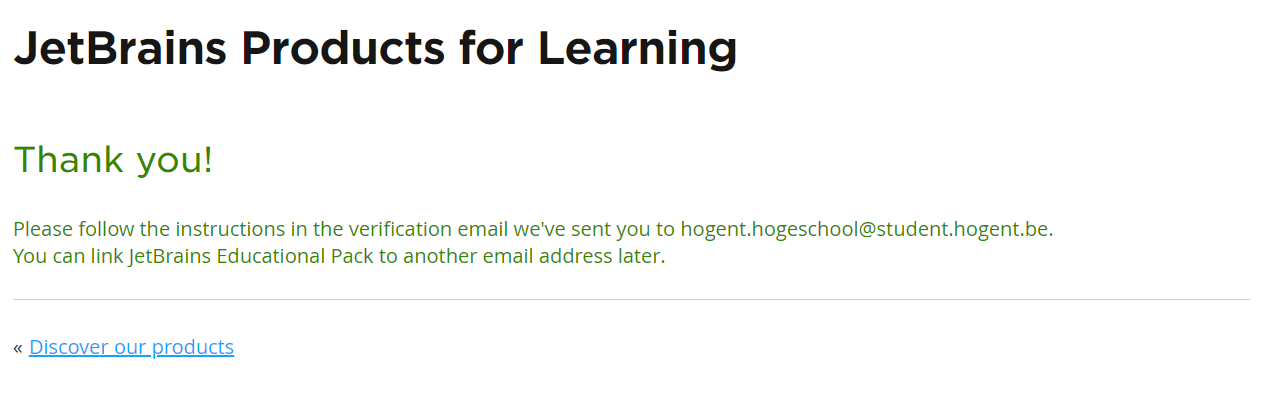
After submitting your request, you will see the following screen.
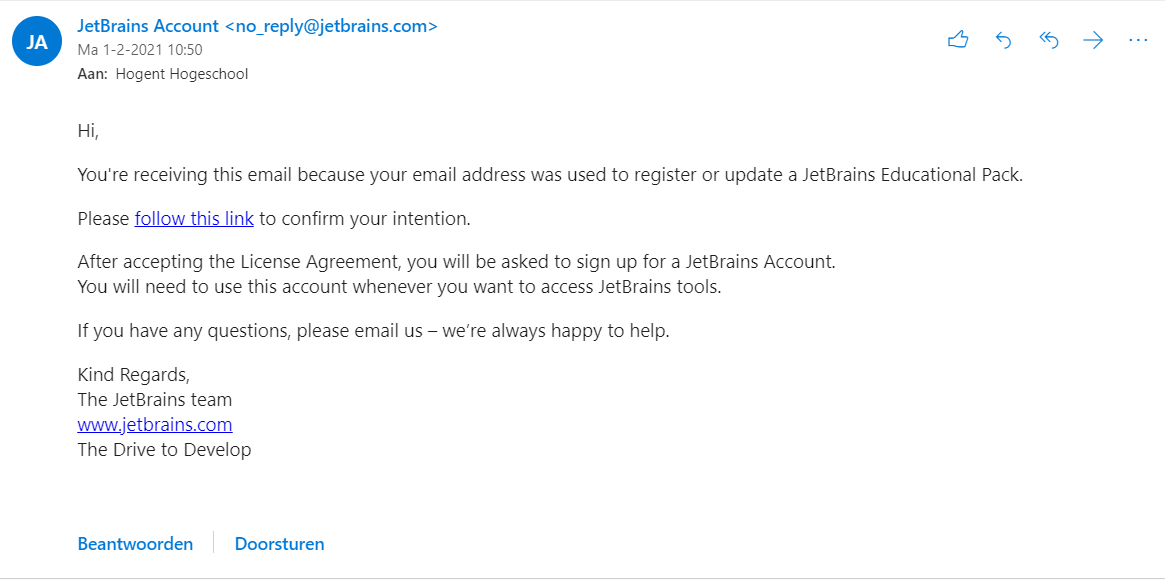
Step 3: Click on the link in the confirmation email to confirm your request.
Step 4: Accept the licence agreement by clicking on 'I Accept'.
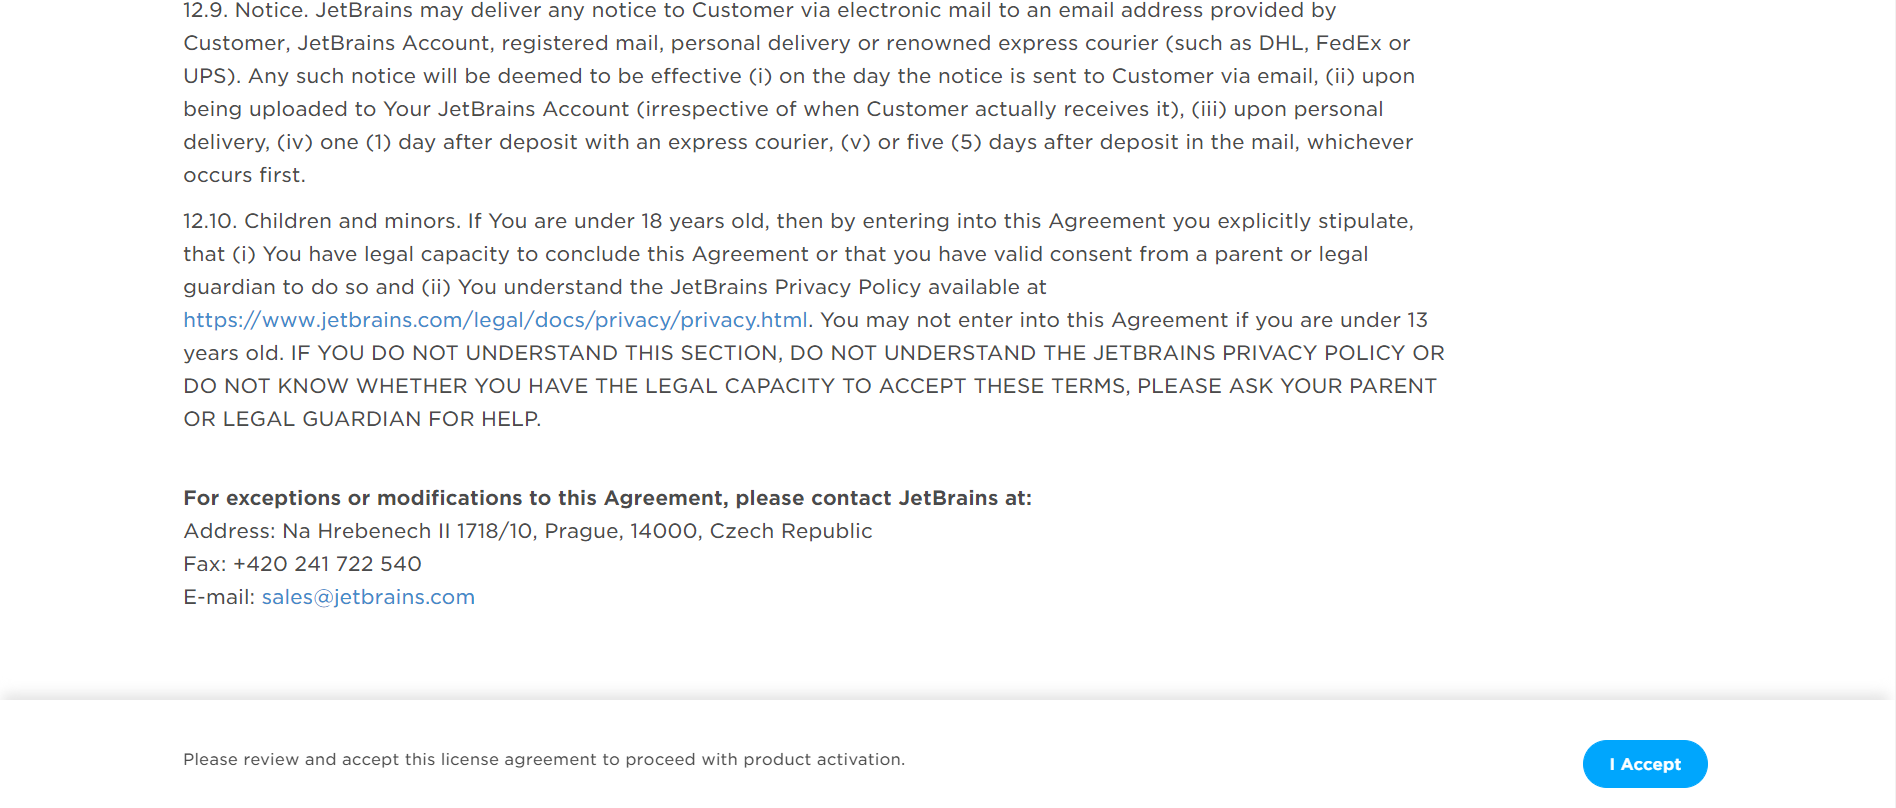
Creating a JetBrains account
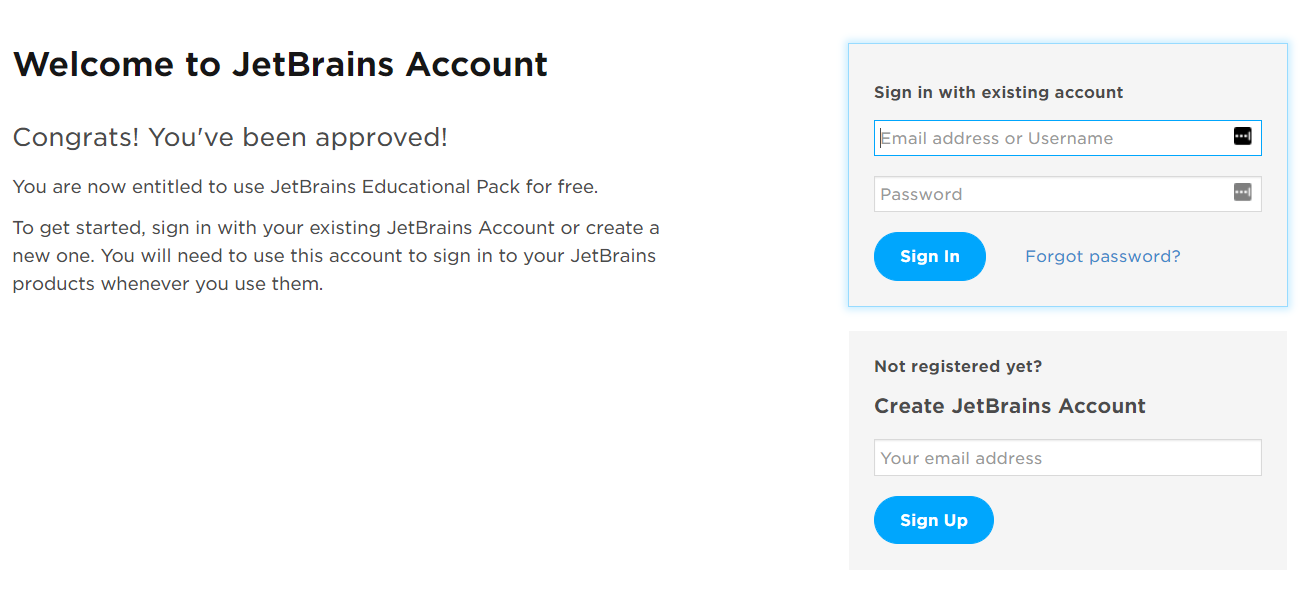
Step 1: Your application has been approved. Now create a JetBrains account by entering your school email address under 'Create JetBrains Account' and then click on 'Sign Up'.
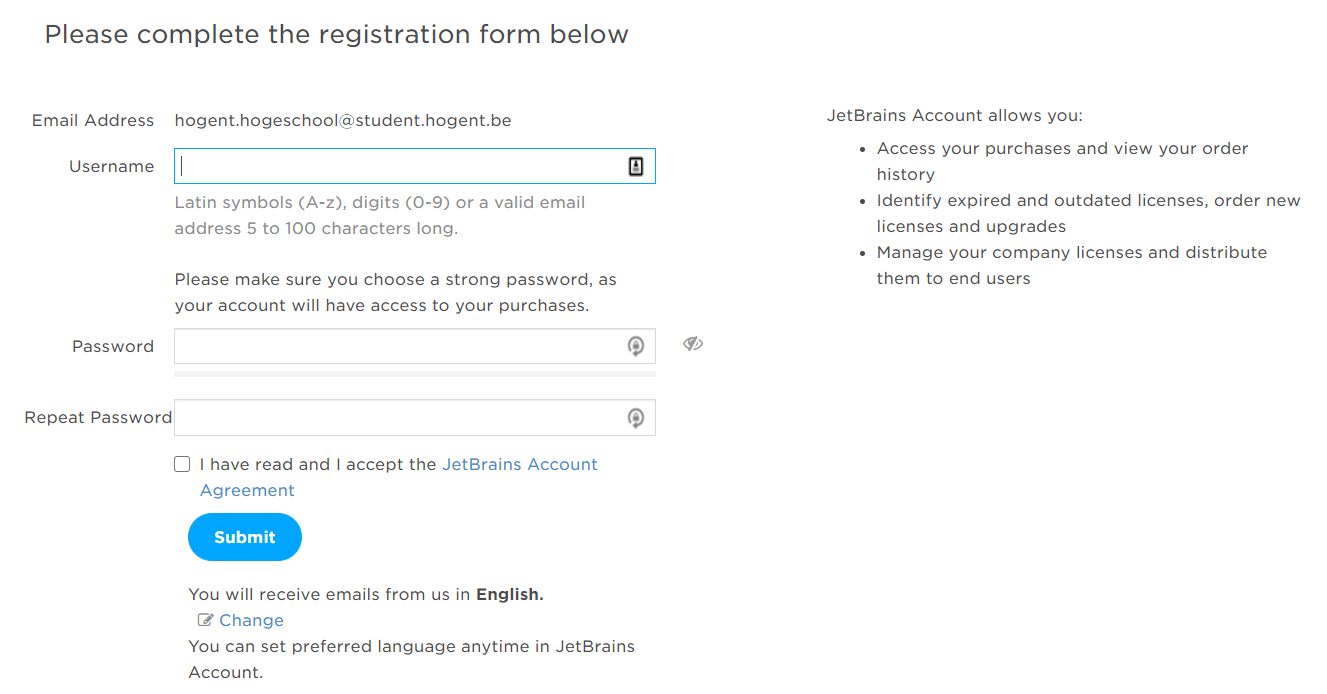
Step 2: Enter a user name and password, accept the terms and conditions and click on Submit.
Downloading PyCharm
Step 1: Click on Download and click on Download again next to PyCharm.
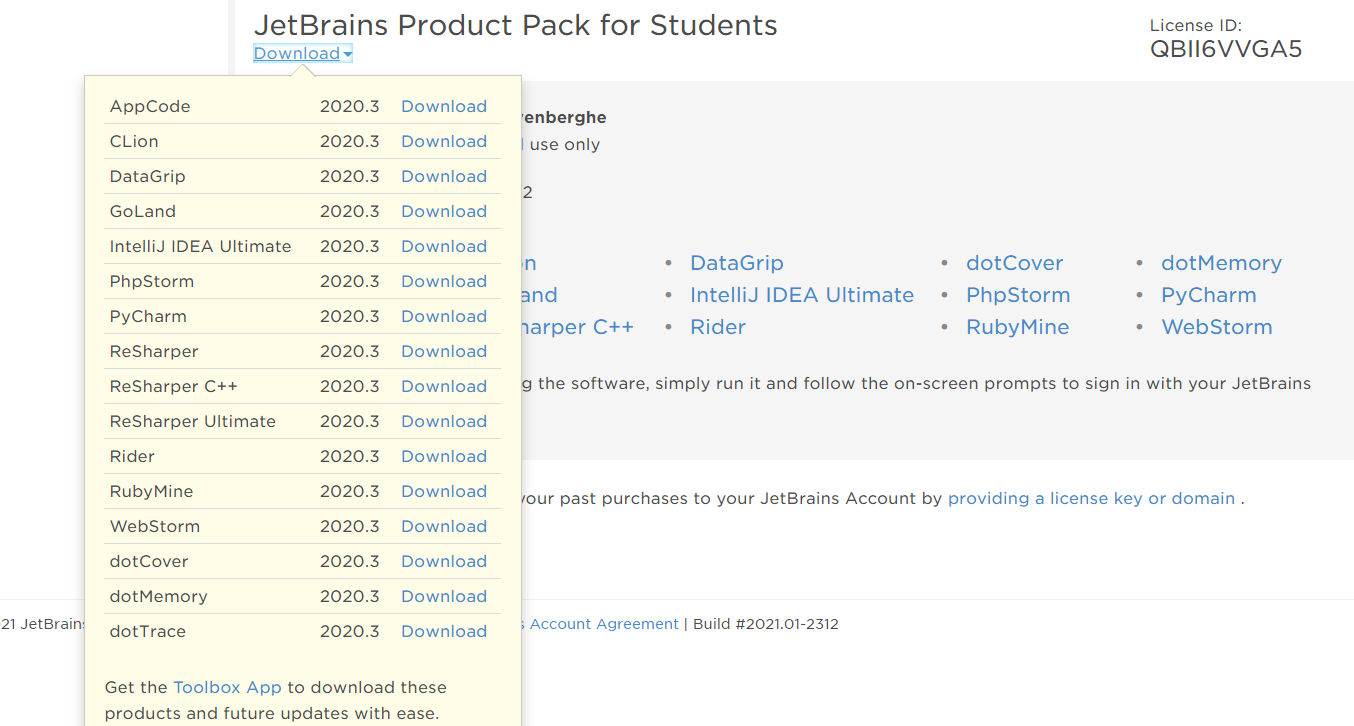
Step 2: Choose your operating system and click on the Download button.
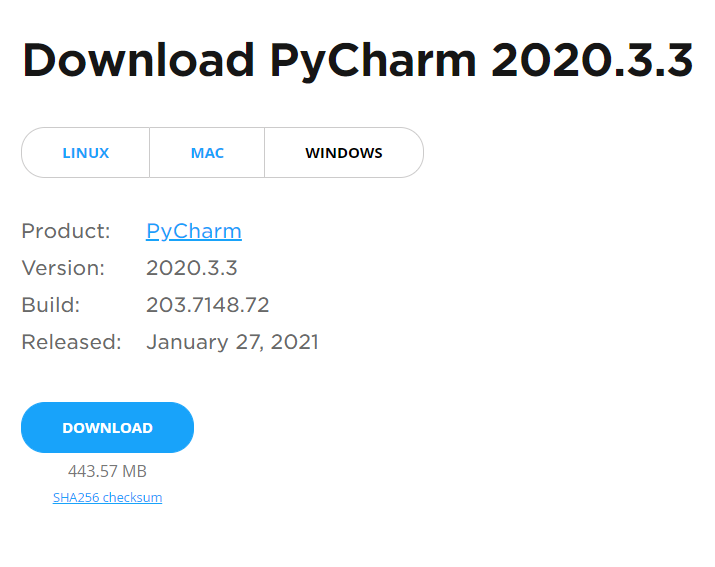
Note: If you want to download an older version, go to PyCharm on Academic Software, select 'Pycharm - Older versions' under versions and click on the download button. You can then download the version you need from the website.
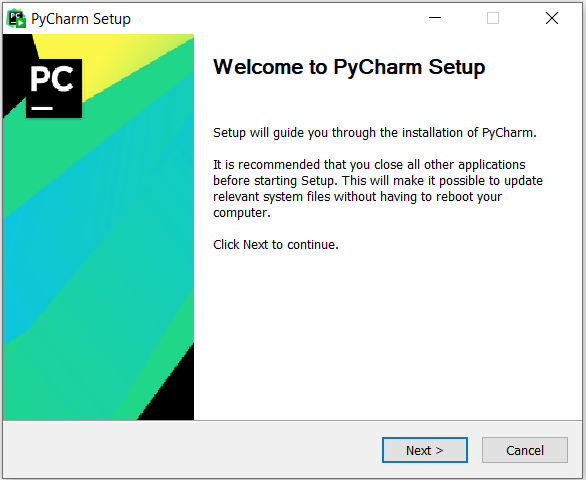
Step 3: Open the installer in your download folder.
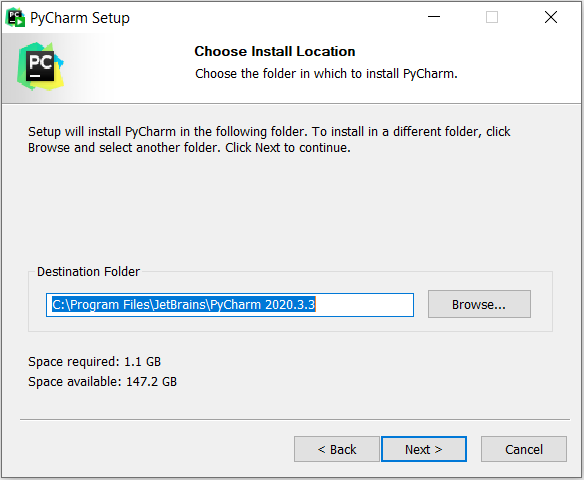
Step 4: Click on Next, choose where you want to install the software and click on Next again.
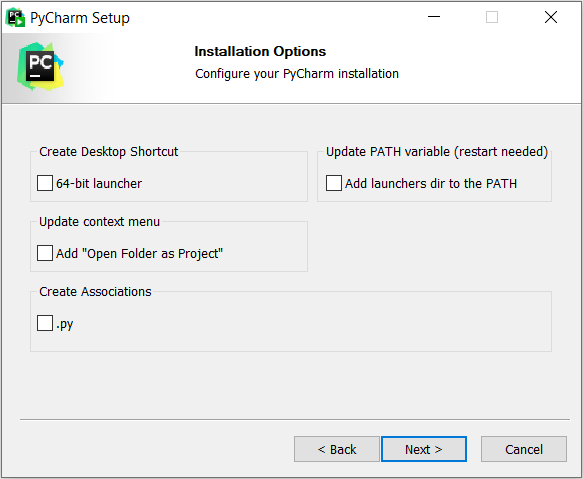
Step 5: Tick the desired installation options and click on Next.
Step 6: Click on Install.
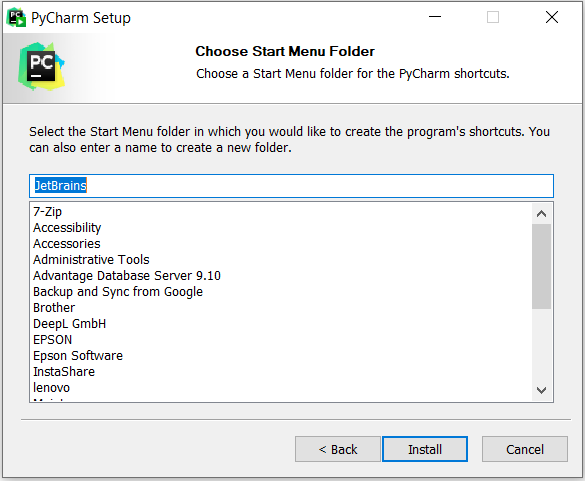
PyCharm will now be installed.
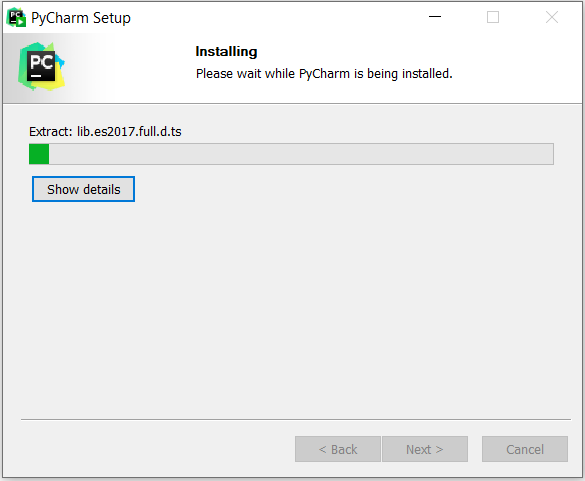
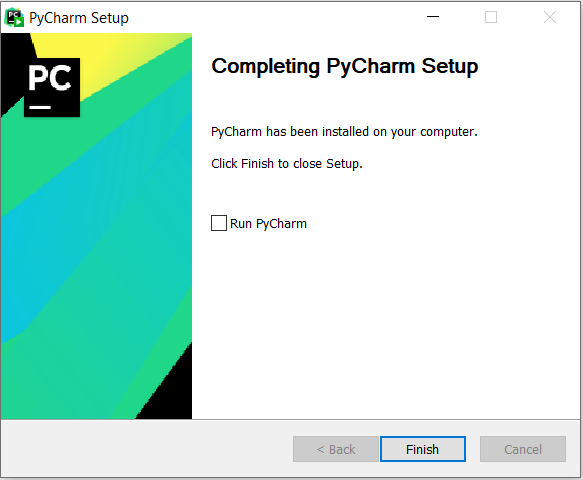
Step 7: Click on Finish once the installation is complete.
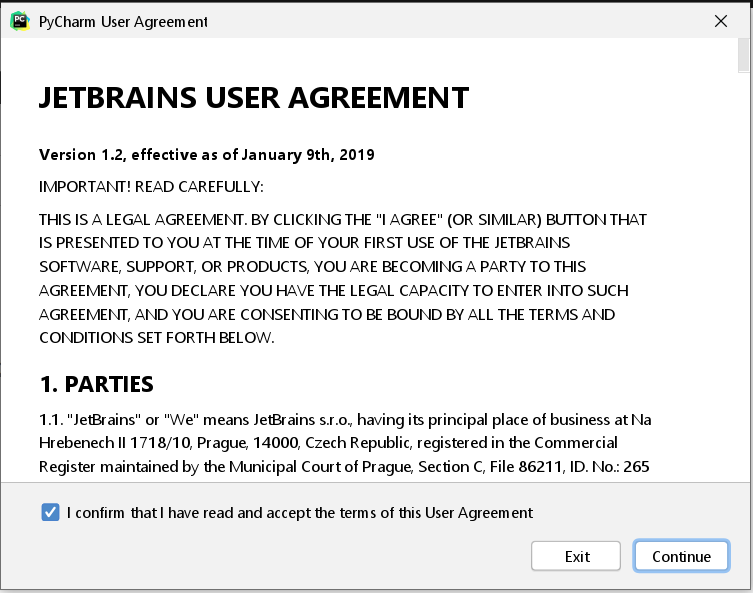
Step 8: Launch PyCharm. The screen below appears. Accept the conditions and click on Continue.
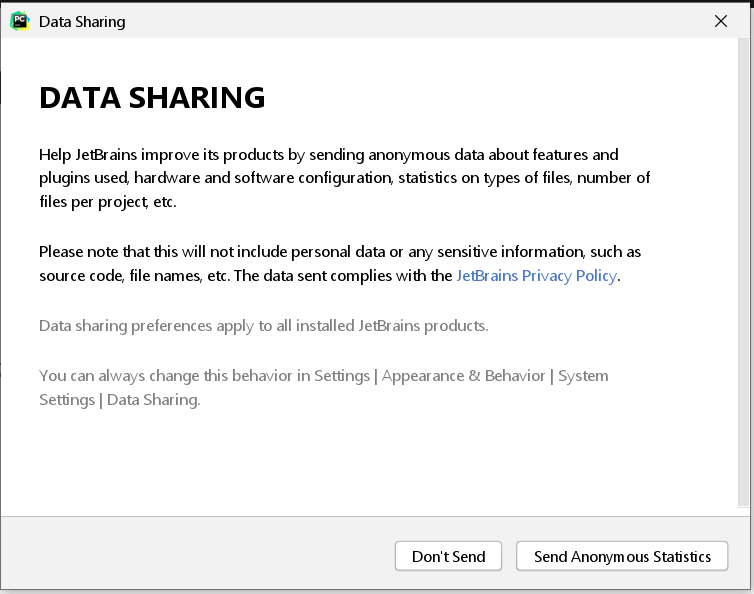
Step 9: Choose whether the program can send anonymous statistics to help improve the software.
Step 10: Log in with your JetBrains account.
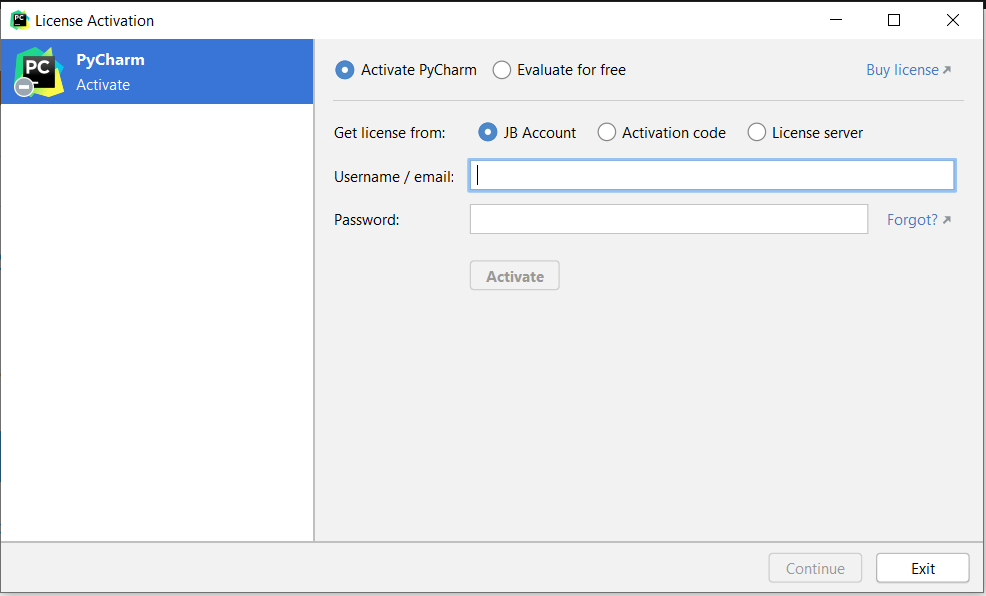
JetBrains is installed and ready to use.