How to install Git
Step 1: Go to the Academic Software page of Git and click the download button on the right to download the software.
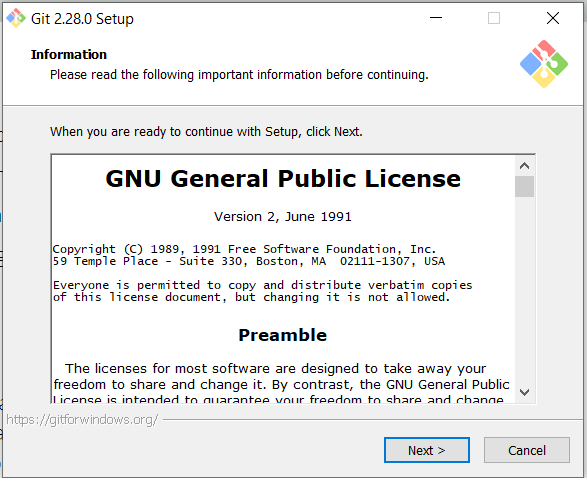
Step 2: Open the installer in your download folder.
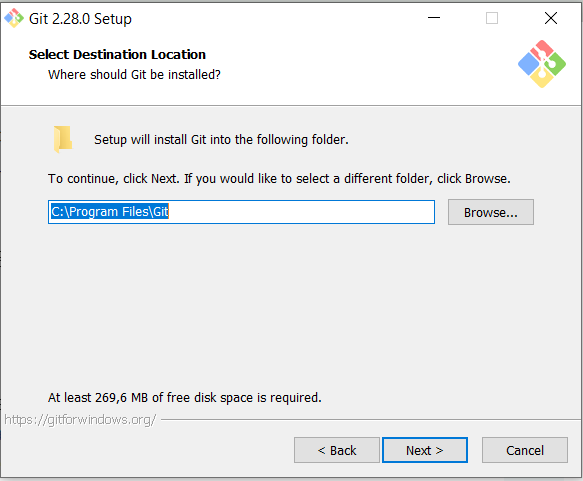
Step 3: Click Next, choose where you want to install the software and click Next again.
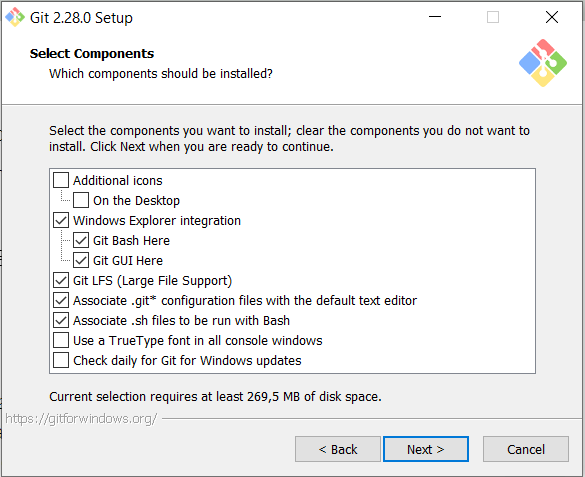
Step 4: Select the components you want to install and click Next.
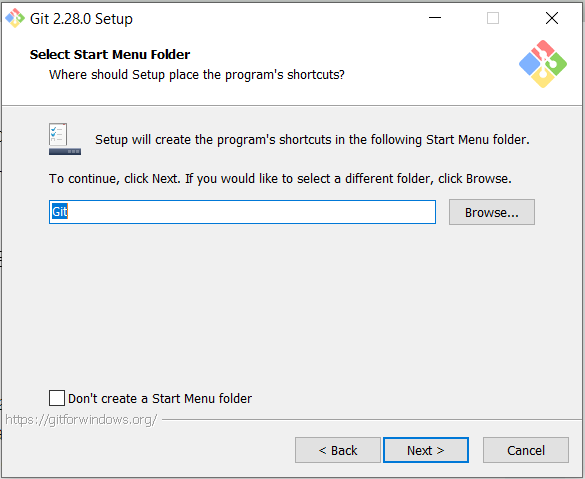
Step 5: Select the folder in which the shortcuts should be placed and click Next.
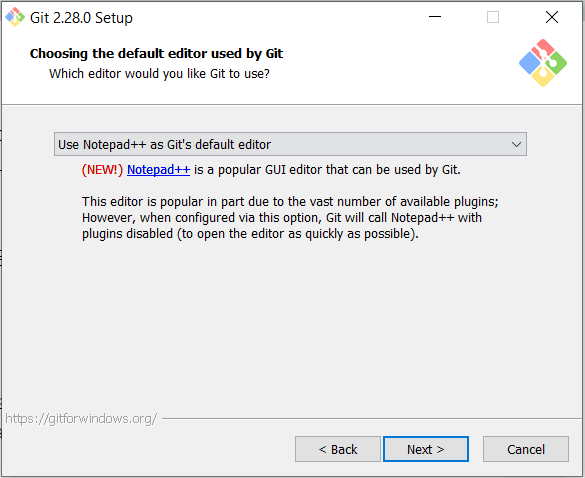
Step 6: Select a default editor for Git and click Next.
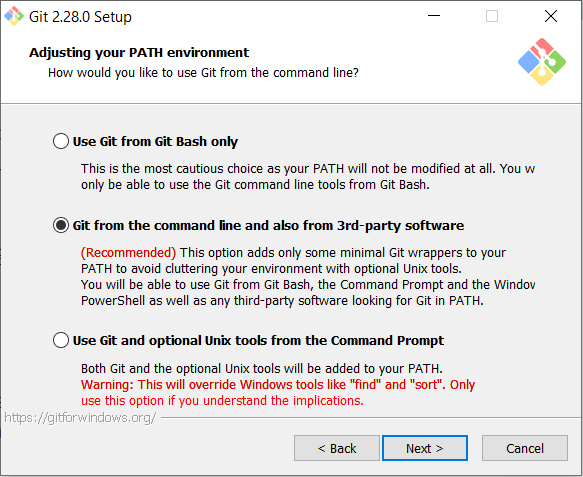
Step 7: Choose how you want to use Git from the command line and click Next.
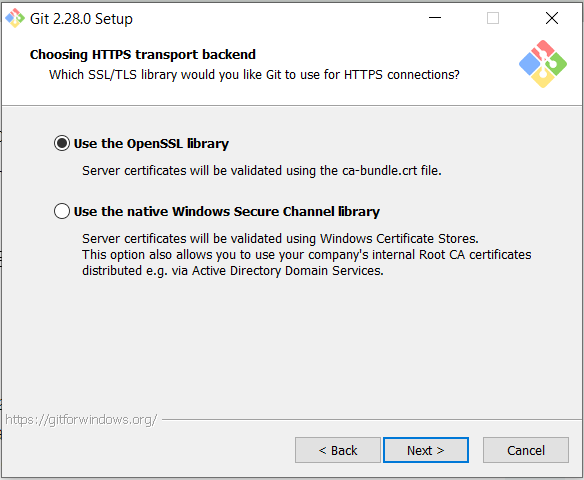
Step 8: Select which SSL/TLS library Git should use for HTTPS connections and click Next.
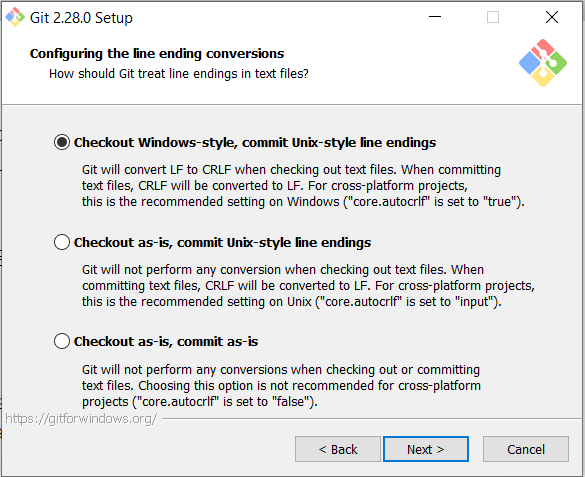
Step 9: Choose how Git should treat line endings in text files and click Next.
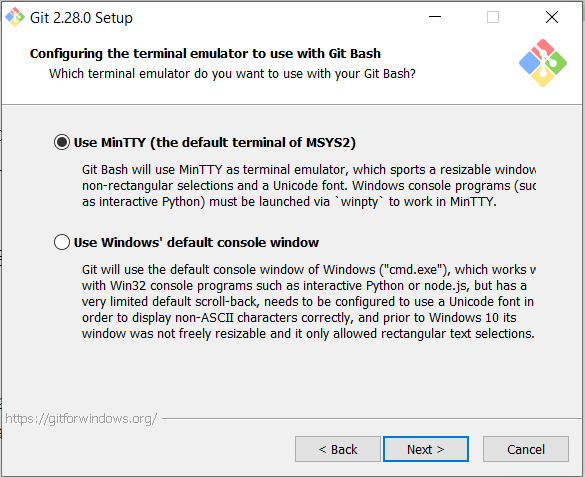
Step 10: Configure the terminal emulator for use with GIT Bash and click Next.
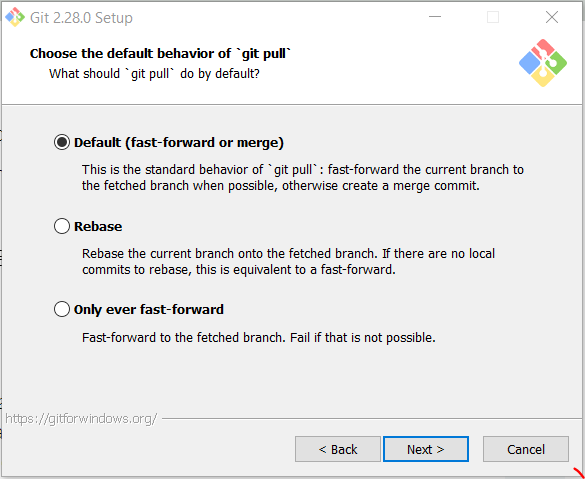
Step 11: Choose the default behavior of 'git pull' and click Next.
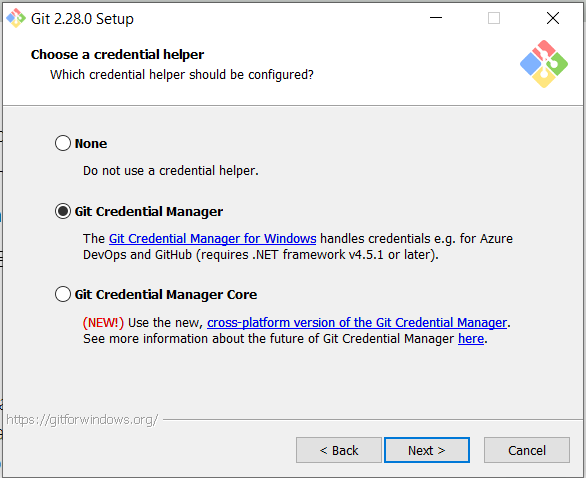
Step 12: Select which credential helper should be configured and click Next.
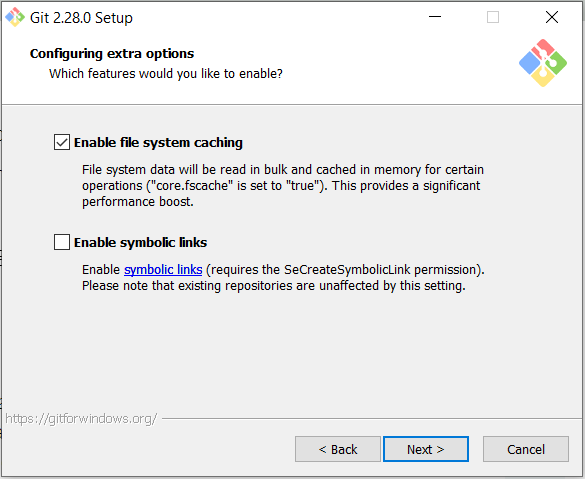
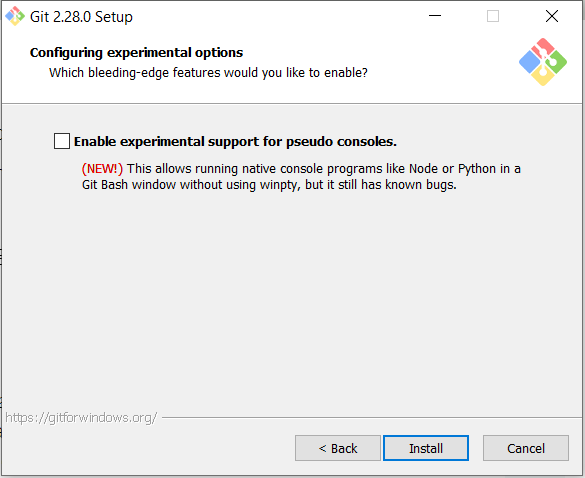
Step 13: Tick the features you want to enable and click Next.
Step 14: If desired, enable experimental options and click Install.
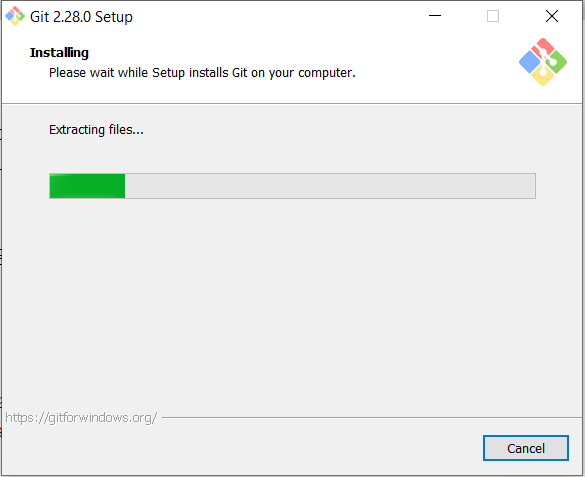
The software will now be installed.
Step 15: Click Next once the installation is complete.
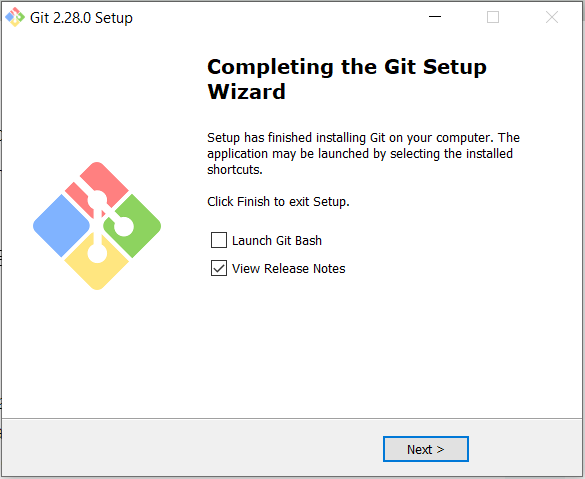
Git is now ready to use.