How to install AutoIt
Step 1: Go to AutoIt on Academic Software and click on the button ‘Download AutoIt’ to download the installation file.
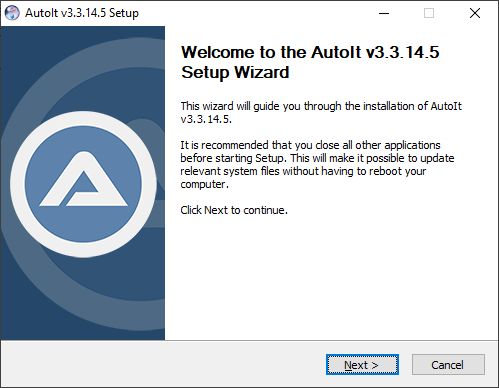
Step 2: Open the .exe installation file from your downloads folder and click on Next to start the installation.
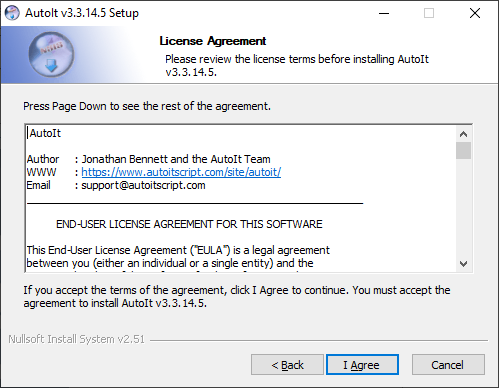
Step 3: Click on 'I Agree' to accept the licence agreement.
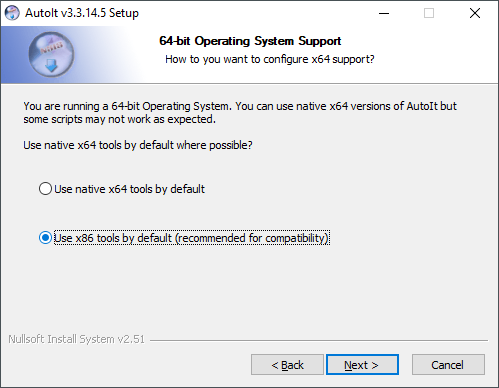
Step 4: You can choose between the x64 (64-bit) or x86 (32-bit) version here. We choose the 32-bit version. Click on Next.
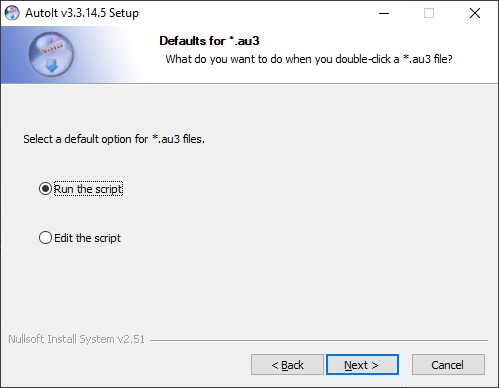
Step 5: Click on Next.
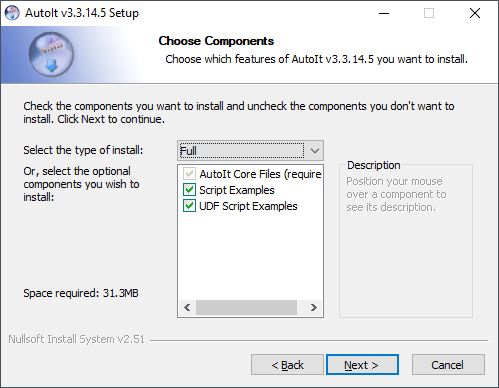
Step 6: Click on Next to install the listed components.
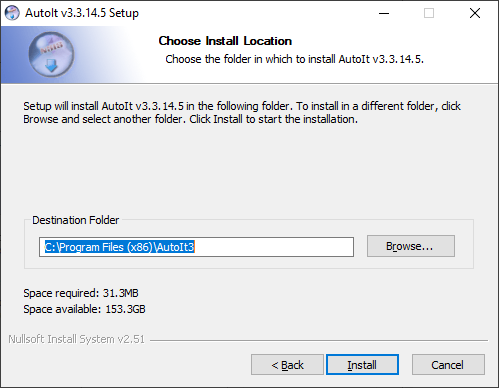
Step 7: Click on Install to install AutoIt on the default location. You can also choose to change the destination folder.
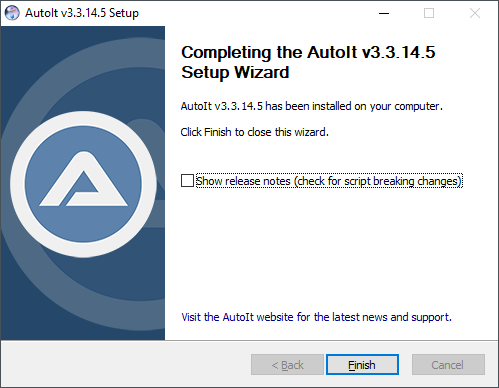
Step 8: Once the installation is completed, click on Finish. The program is now installed and ready to use.
Ask our expert team. We’ll get back to you with the answer.