How to install IntelliJ IDEA Community Edition
Step 1: Go to the Academic Software page for IntelliJ IDEA and click on the button ‘Download Explorer for ArcGIS’ to download the software.
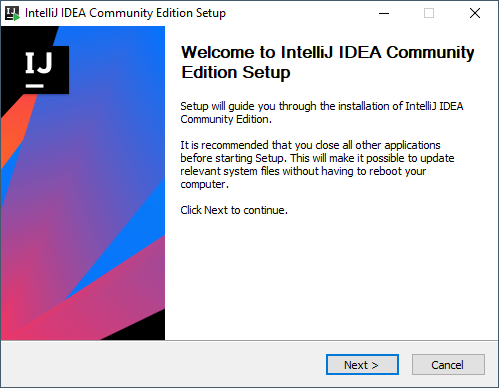
Step 2: Open the .exe installer file from your downloads folder and click Next to start the installation.
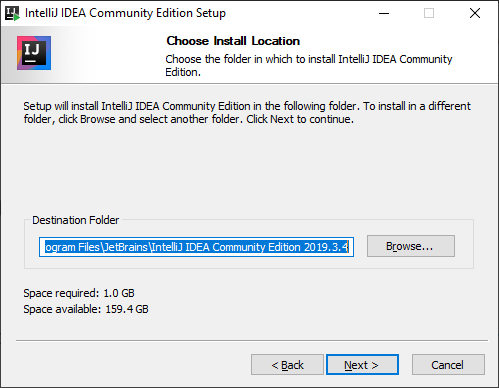
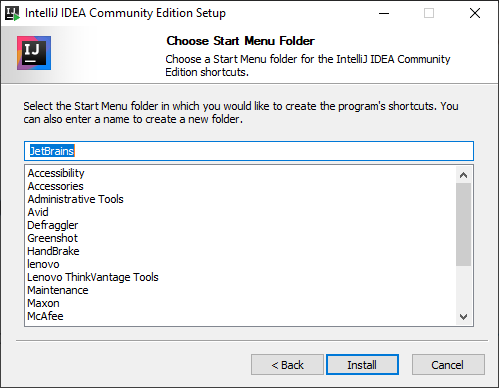
Step 3: Click Next to install the software in the standard location. You can also choose to change the destination folder.
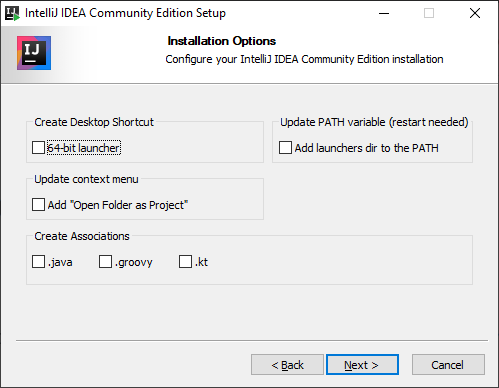
Step 4: Choose extra options, like a desktop shortcut, right-click context menus or file associations.
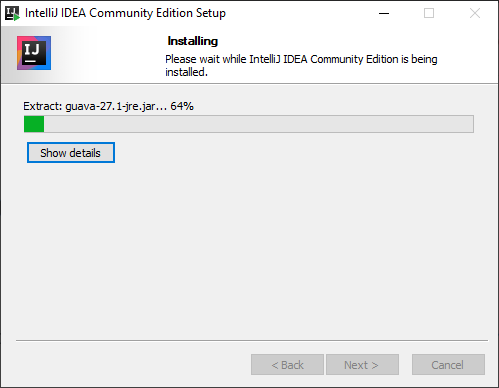
Step 5: Click Install to start the installation.
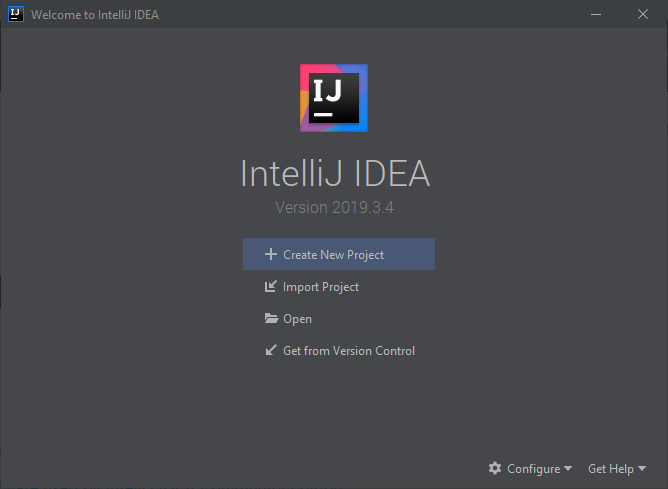
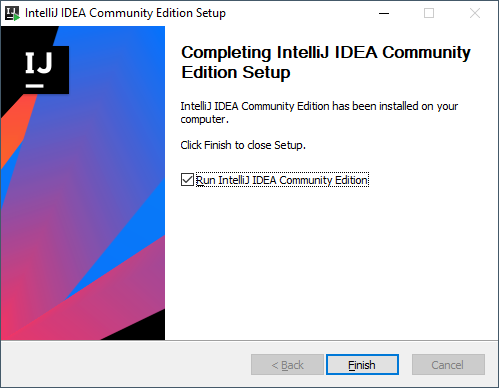
Step 6: Check the box to run the program and click Finish.
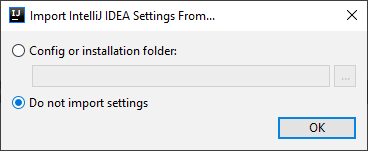
Step 7: Import previous settings if necessary. Click OK.
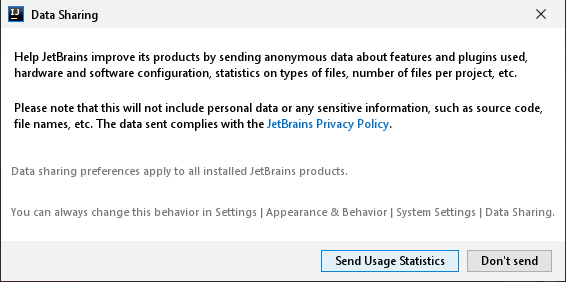
Step 8: Check the box and click Continue to accept the privacy policy.

Step 9: Choose if you want to share anonymous user data.
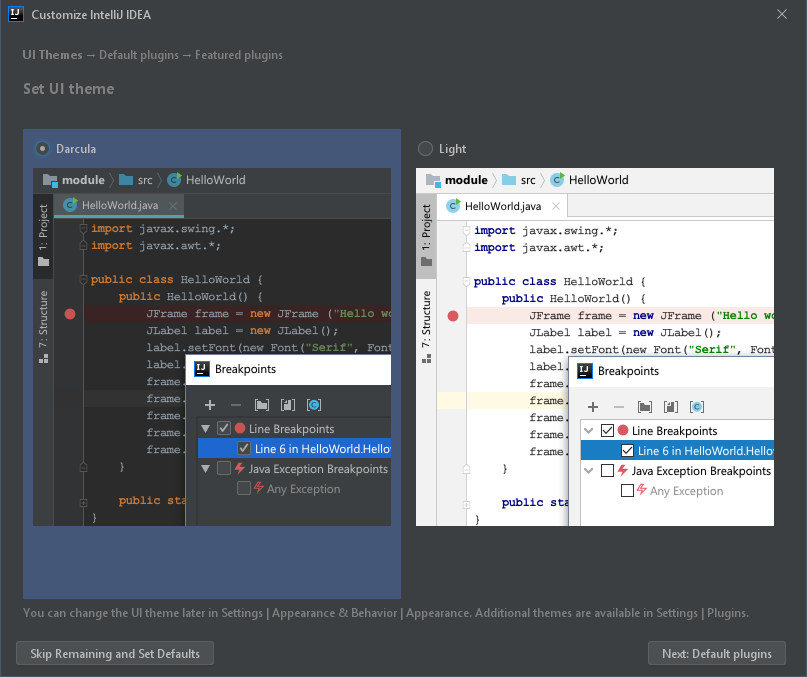
Step 10: Choose your theme. A darker theme is easier on the eyes, especially in the dark.
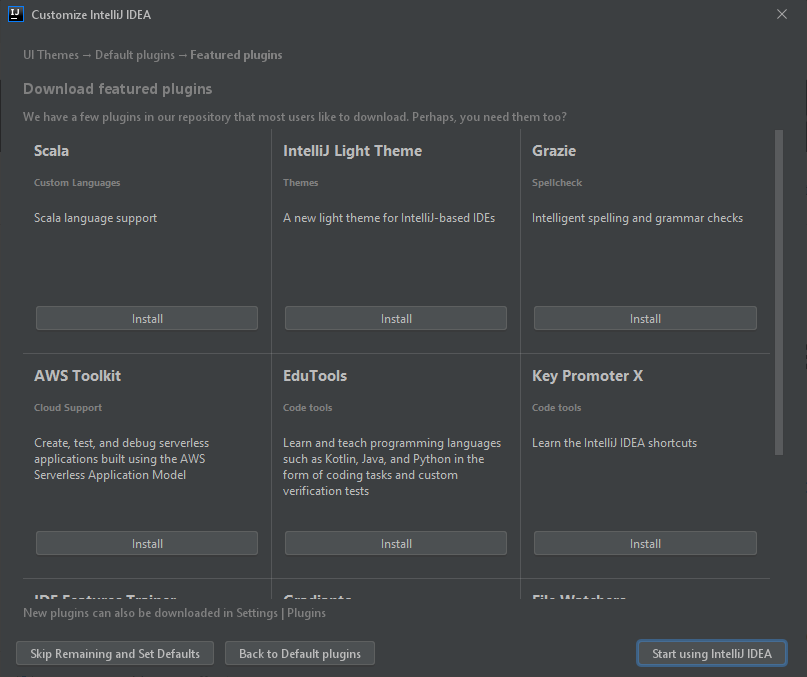
TIP: to run the program now with default settings, you can click 'Skip Remaining and Set Defaults' bottom left. If you want to select more options, click Next.
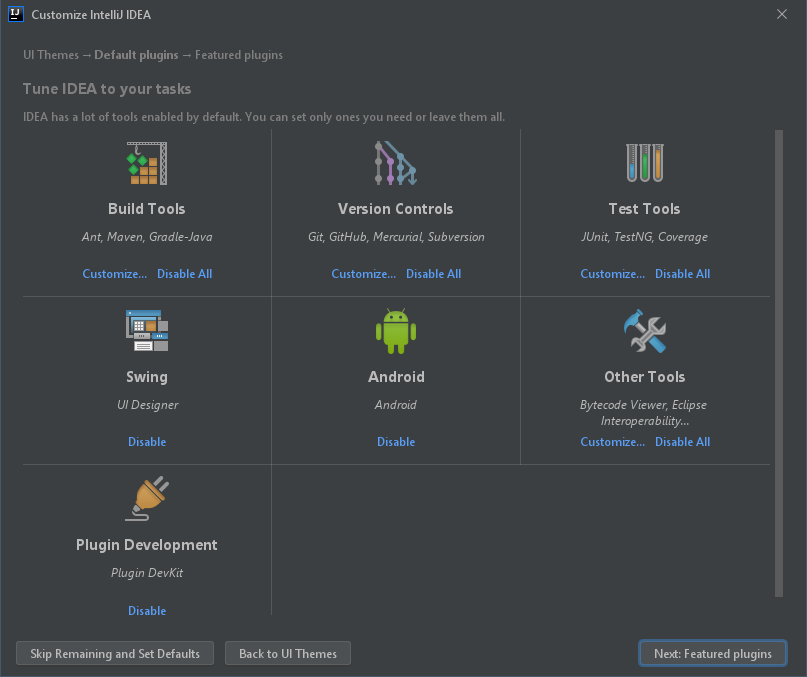
Step 11: Choose which plugins you want to customize or disable.
Step 12: Choose from these optional plugins to install. Then click 'Start using IntelliJ IDEA'. The program is now installed and ready to use.