How to install Microsoft Visual Studio Code
Step 1: Go to the Academic Software page of Microsoft Visual Studio Code and click on the button 'Download Visual Studio Code' to download the installer.
Step 2: Run the .exe installer from your downloads folder.
![]()
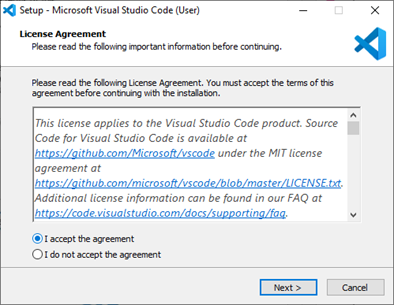
Step 3: Read and accept the License Agreement and click Next.
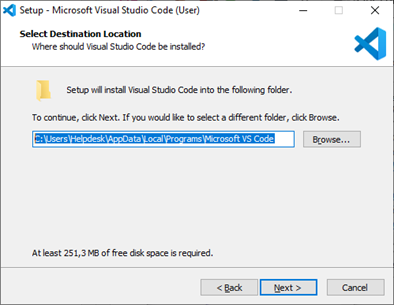
Step 4: Choose where you want to install the software. You can change the installation folder location, or keep the default settings. Click Next to continue.
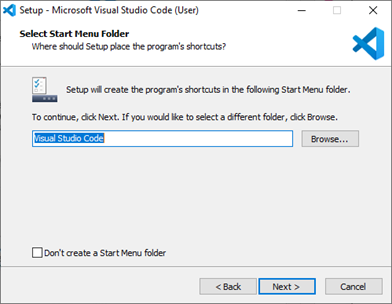
Step 5: Choose if you want to change the shortcut folder name in your Start menu, or don’t want to install shortcuts at all. Click Next.
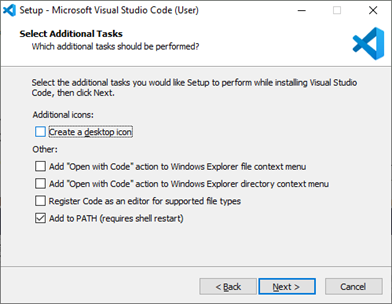
Step 6: Select the additional tasks, e.g. creating a desktop icon or adding options to the Windows Explorer right-click menu. Click Next.
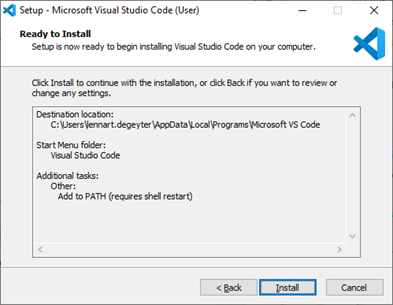
Step 7: Click Install to start the software installation.
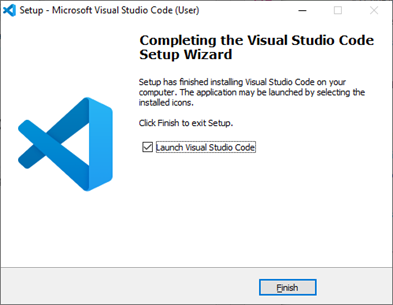
Step 8: The software is installed and ready to use. Click Finish to finalize the installation and start the program.