How to install MS SQL Server 2014
Attention: Installing SQL 2014 is a complex process that takes some time. Before you continue, please make sure you have the following:
- Plenty of available disk space (at least 8GB)
- A stable internet connection
- Microsoft .NET Framework 3.5 Service Pack 1 - If you don't have this installed yet, you can download it here.
Before you start the installation, we recommend you reboot your computer. Continue with the steps below once you've rebooted.
Step 1: Go to the AcademicSoftware page for Microsoft SQL Server 2014 and click on the button ‘Download SQL Server 2014’ to download the installer. Careful: the installer file is very large, make sure you have enough available disk space and a stable internet connection.
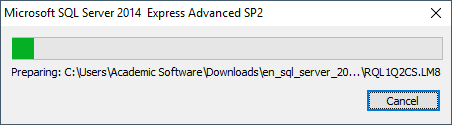
Step 2: Run the .exe installer file forom your downloads folder to start. Click OK to extract the installation files in your Downloads. This is a temporary location to unpack the installer file before the installation. When you've finished installing SQL Server 2014, you can remove this temporary folder.

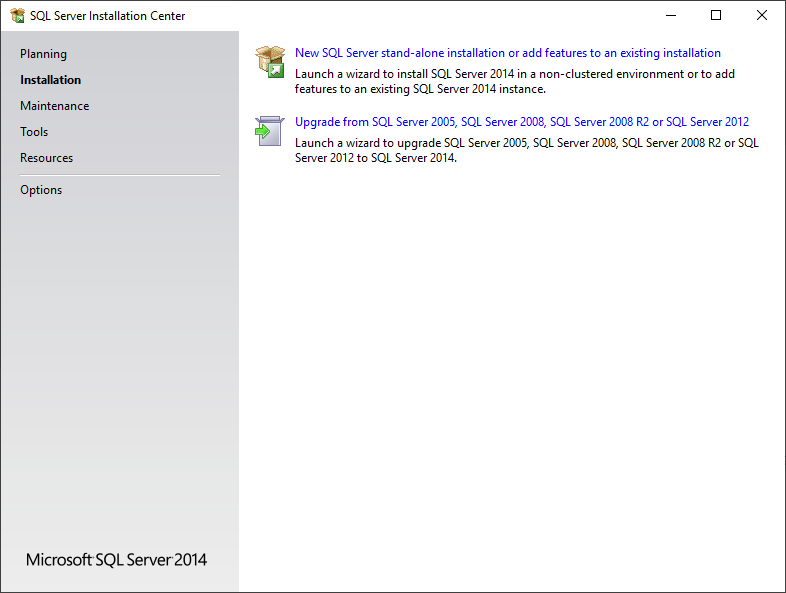
Step 3: Once the installation files are unpacked, you'll see the window below. Choose the first option, 'New SQL Server stand-alone installation' to perform a new install.
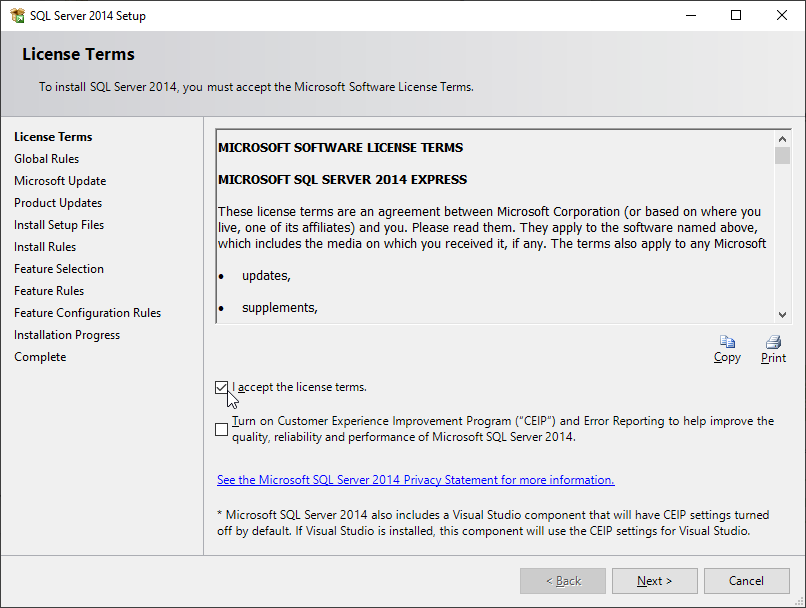
Step 4: Check the box and click Next to accept the license agreement.
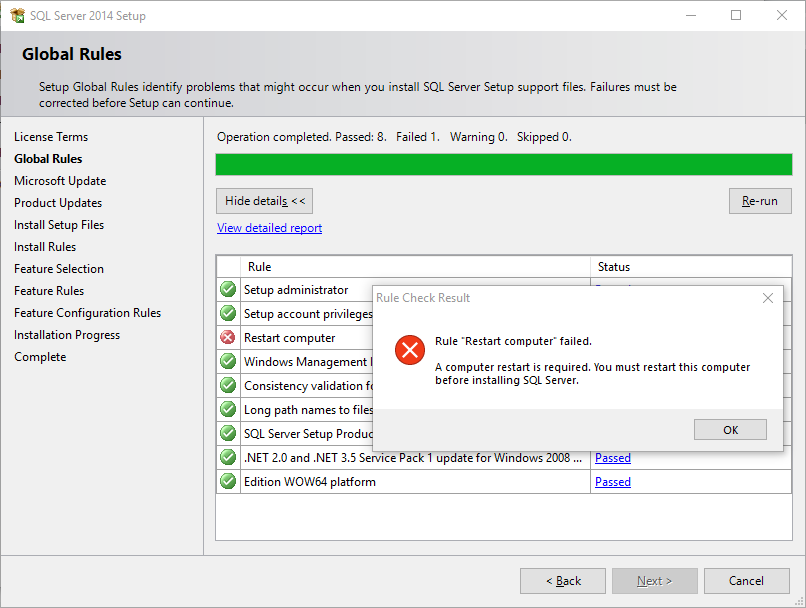
Step 5: The installer will perform a few tests. If everything is okay, you can continue the installation. If not, check what the issue is and how to solve this. You'll have to start the installation process again afterwards.
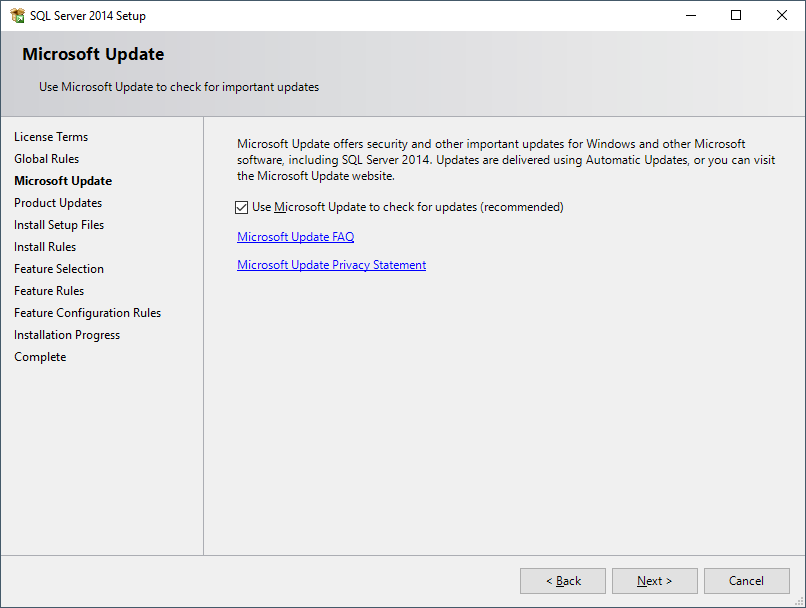
Step 6: Check the box for automatic updates and click Next. The installer should then go through a couple of steps automatically.
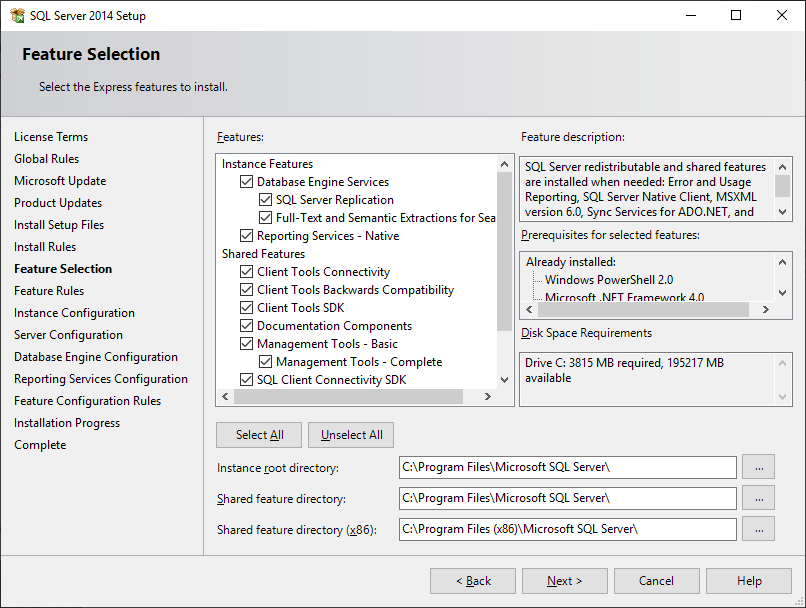
Step 7: You can choose which functions to install here. All options are turned on by default. You can also change the installation directory.
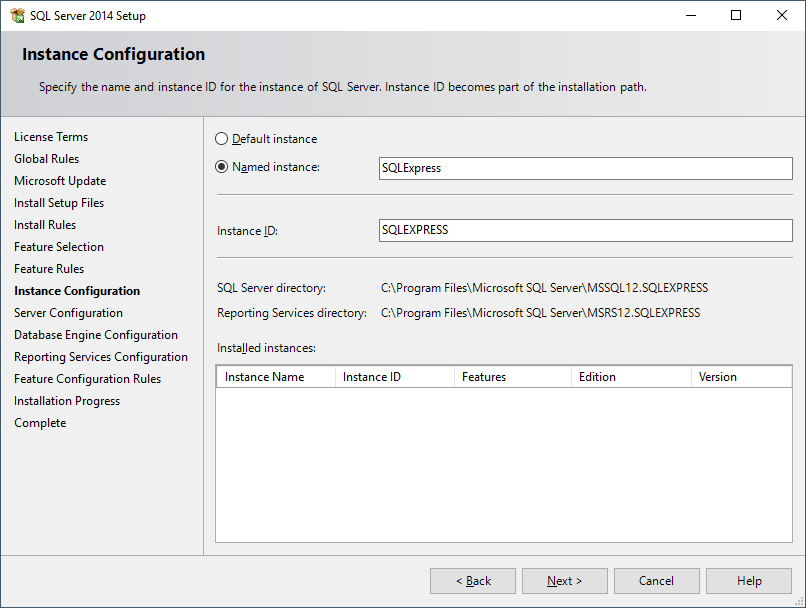
Step 8: Give your SQL server a name and ID, and click Next.
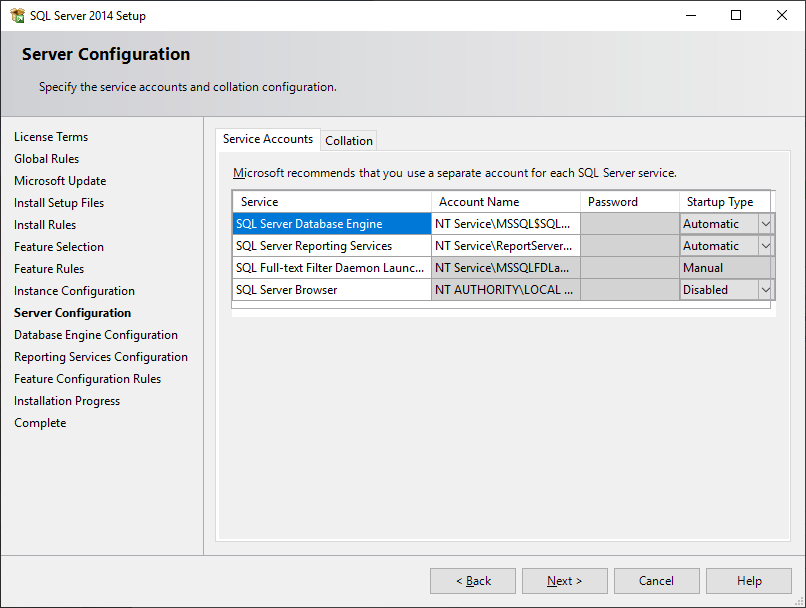
Step 9: Adjust the server configurations if needed, or click Next to continue with standard settings.
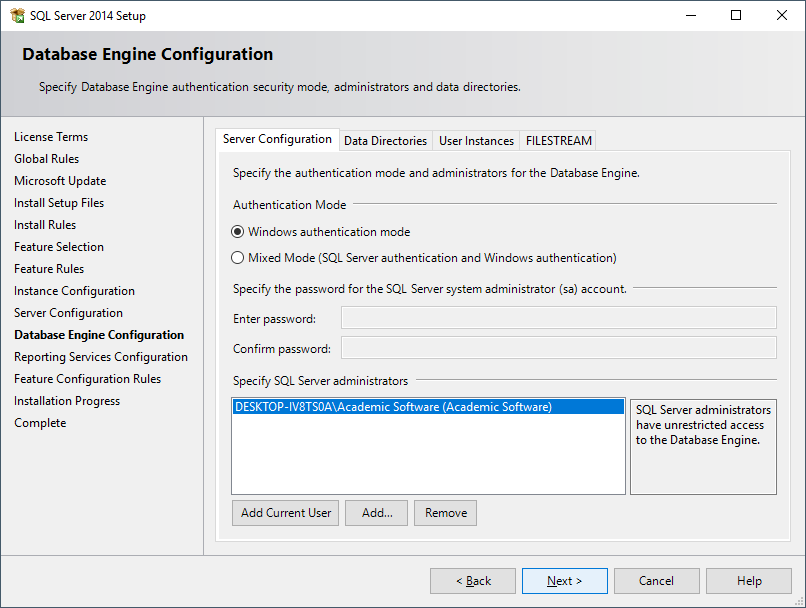
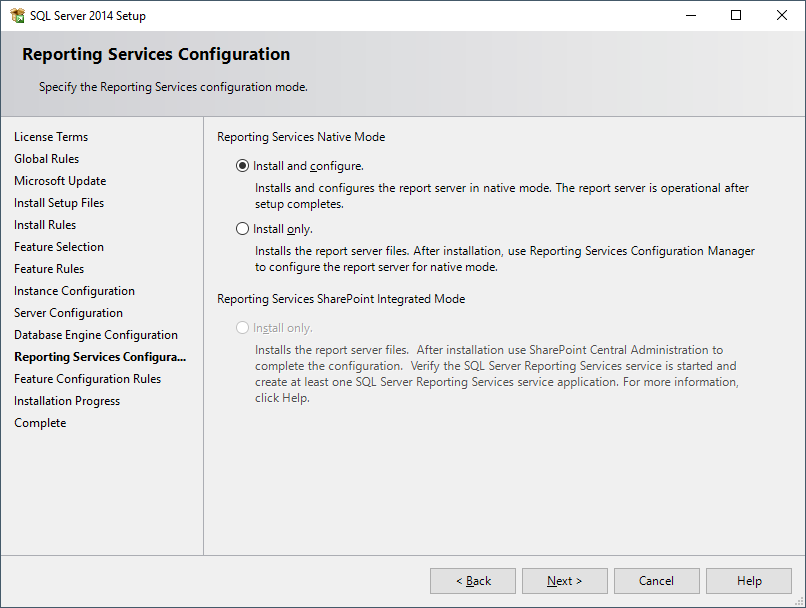
Step 10: Choose your authentication mode and click Next. Then review your reporting settings and click Next to start the installation.
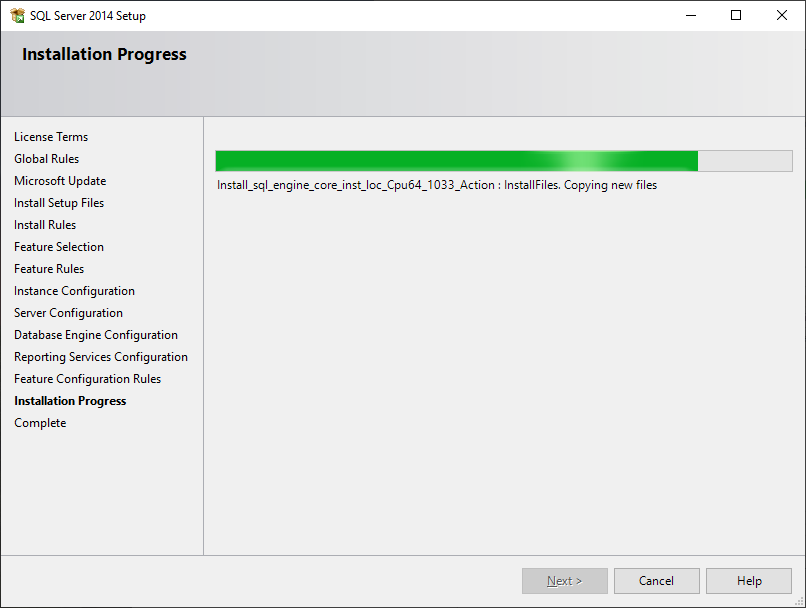
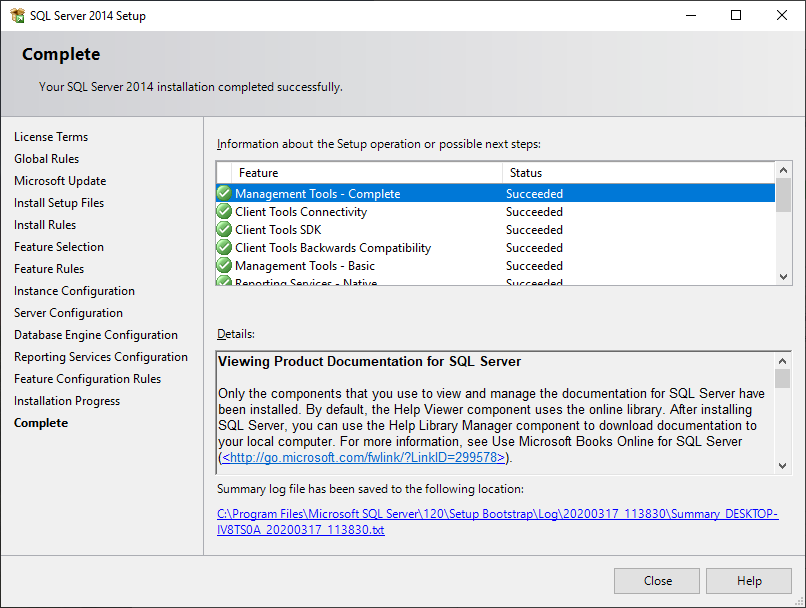
Step 11: The program will be installed. This is a long procedure, it will take a while. Once the installation is completed, you'll see a report. Click Close to complete the installation. You can now remove the installer file and the unpacked folder in your Downloads.