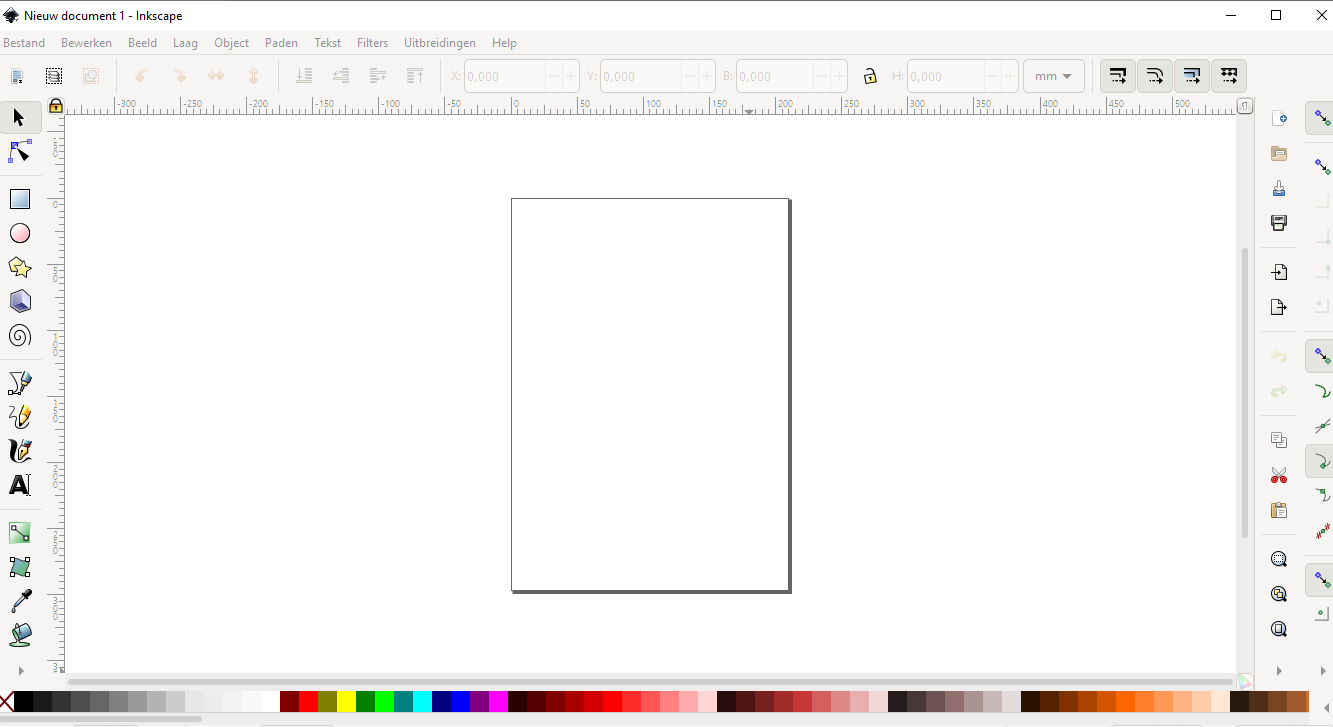
How to install Inkscape
Step 1: Go to Inkscape on Academic Software and click the button ‘Download Inkscape’ to download the installer.
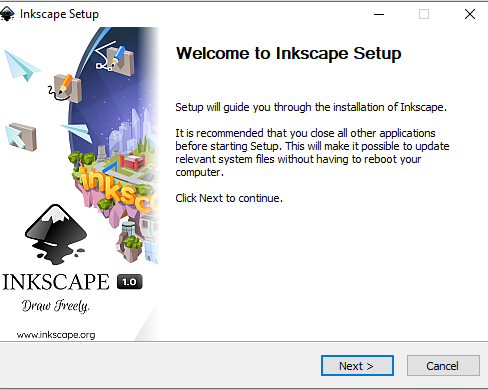
Step 2: Open the .exe installer file from your downloads folder.
Click on Next to start the installation.
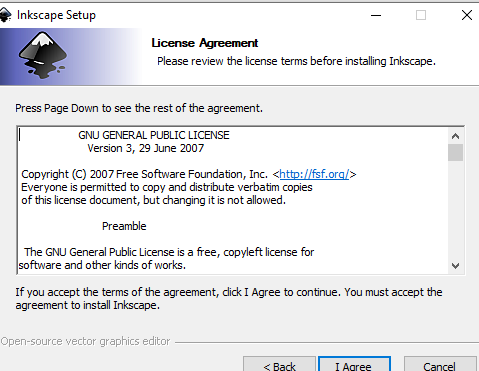
Step 3: Click on I Agree to accept the license agreement.
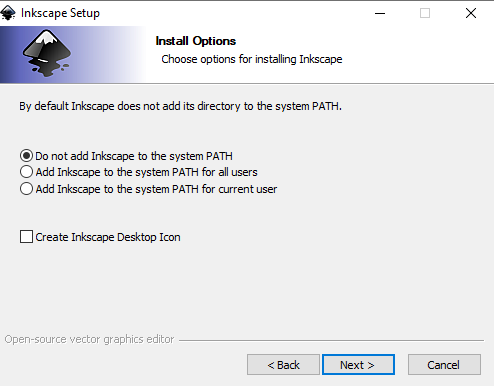
Step 4: Choose whether to add Inkscape to the system path or not. Indicate the desired option and click on Next.
Step 5: Click on Next to install the software on the default location. You can also choose to change the Install Location.
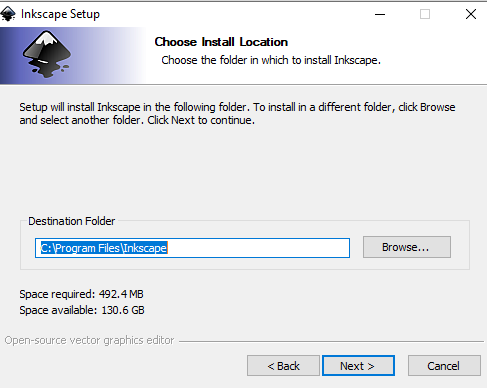
Step 6: Choose a Start Menu Folder for the Inkscape shortcuts and click on Next.
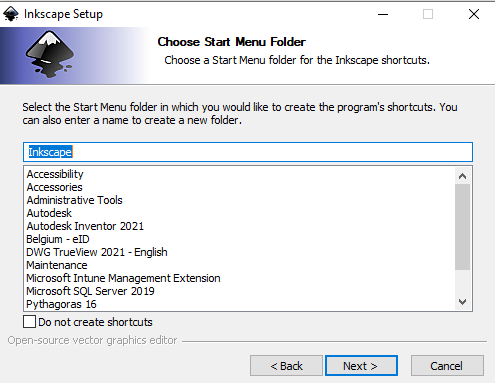
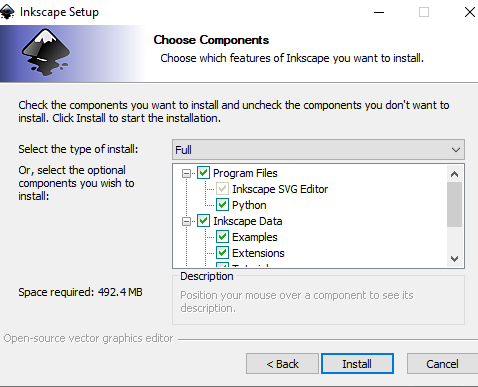
Step 7: Select the components you would like to install. Indicate the desired components and click on Install. Inkscape will install now.
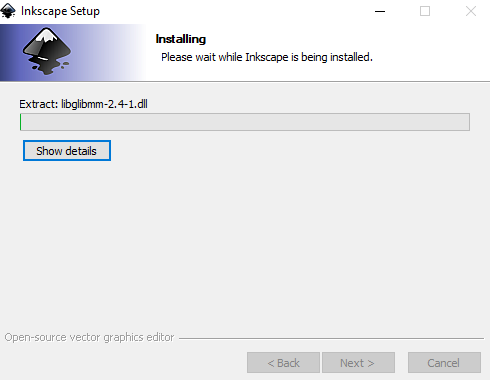
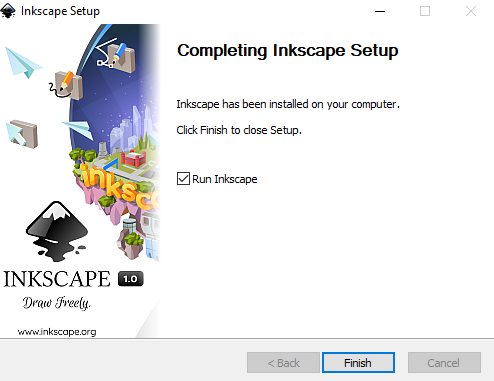
Step 8: The installation of Inkscape is complete. If you want to launch Inkscape immediately, tick the 'Run Inkscape' box and click on Finish.
Step 9: Inkscape launches and is ready to use.