How to install Ceres
Download and install Ceres
Step 1: Go to Ceres on Academic Software and click on the button 'Download Ceres' to download the software.
Step 2: Unpack the ceres.zip file, go to the adv_in folder and open the Ceres81.exe file by double-clicking it.
When asked 'Do you want to allow the following program from an unknown publisher to make changes to your device', click Yes.

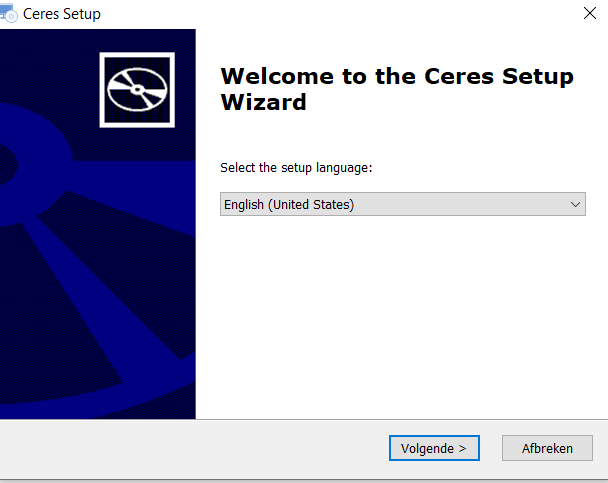
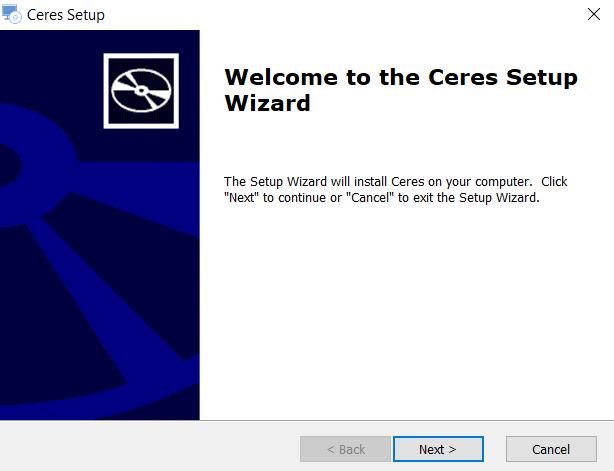
Step 3: Choose your language and click on Next (Volgende). The Ceres Setup Wizard will then start in your chosen language. Then click on Next again.
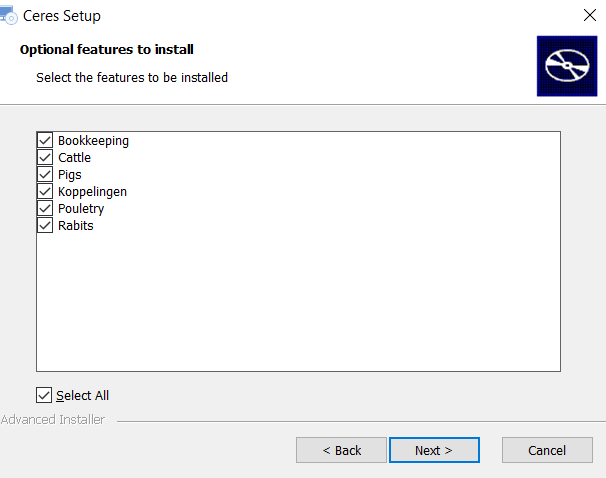
Step 4: Select the optional features you wish to install. Select them and click on Next.
In a new installation, you will only have to select Bookkeeping, Pigs and Cattle. The other modules are not included in the school version and therefore do not need to be installed.
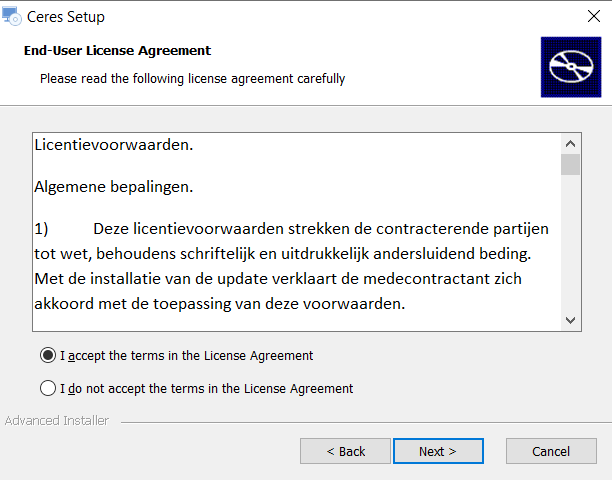
Step 5: Accept the licence agreement by selecting 'I accept the terms in the License Agreement' and then click on Next.
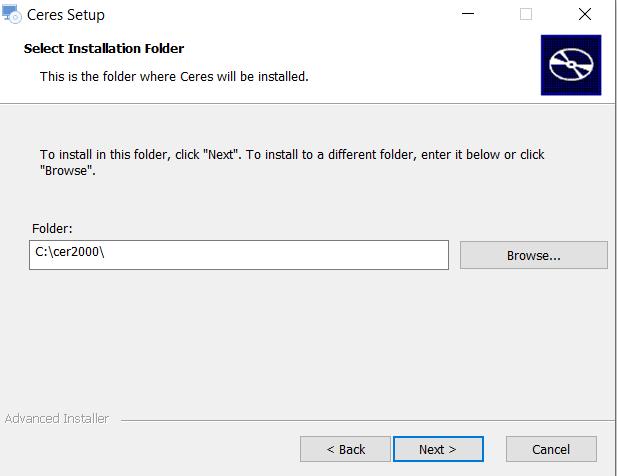
Step 6: The installation folder is displayed in this window. Click on Next here.
Please note that it is important for the proper functioning of the program that it remains C:\cer2000\
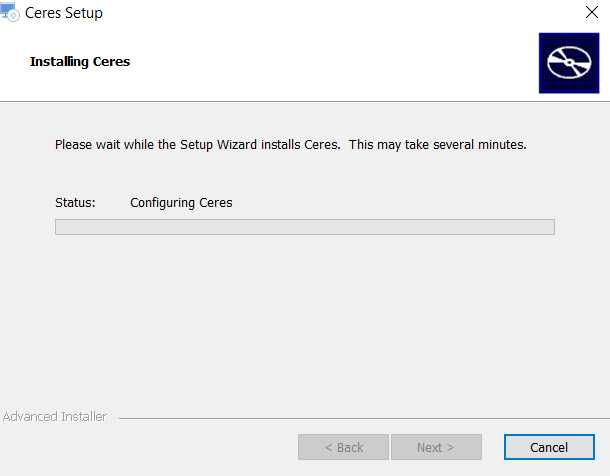
Step 7: The Setup Wizard is ready to install Ceres. Click on Install to start the installation.

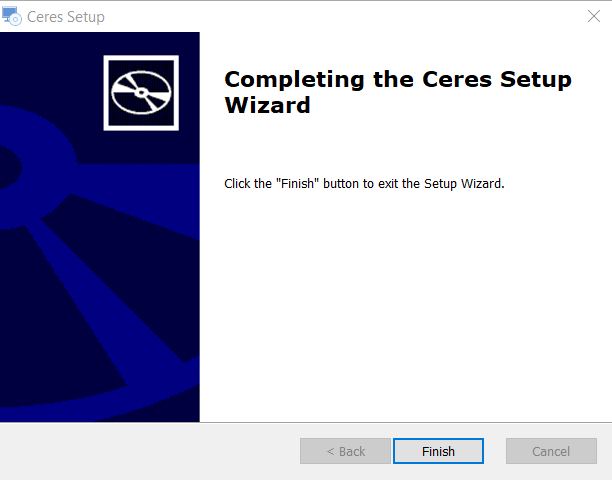
Step 8: Wait a moment until the installation is complete, then click on Finish.
Copy necessary files
To use Ceres, you need to copy a few more files to C:\Cer2000\.
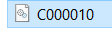
Step 1: The demo database C000010.DB is a populated demo database with data on bookkeeping, pigs and cattle.
You copy this database to C:\Cer2000\. If you are asked to copy, you must answer Yes, otherwise the old demo database from a previous school year will remain.
Step 2: Transferring the empty databases:
C000001.DB to C0000009.DB are empty sample databases which can be used by the students. When starting the program, it asks which company should be used. So 1 to 9 are empty companies, 10 is the demo company.
Copy these databases to C:\Cer2000\. Answer Yes when asked to copy existing files.
Step 3: Copy the file B072146.BMP to the folder C:\Cer2000\ if you wish to use the graphical module with aerial photos in the classes.

Step 4: Copy the CERCO.INI files to C:\Cer2000\.

Install school licences
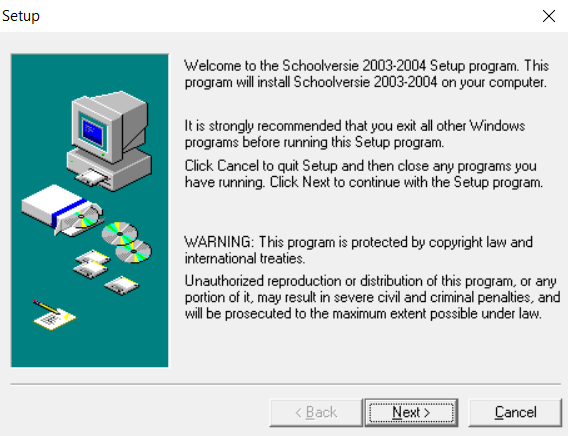
Step 1: In the Zip file that you downloaded first, you will also find the file SchoolLicentie.zip. Unzip it and open the Setup.exe file.

Step 2: You will arrive at the welcome screen. Click on Next to continue.
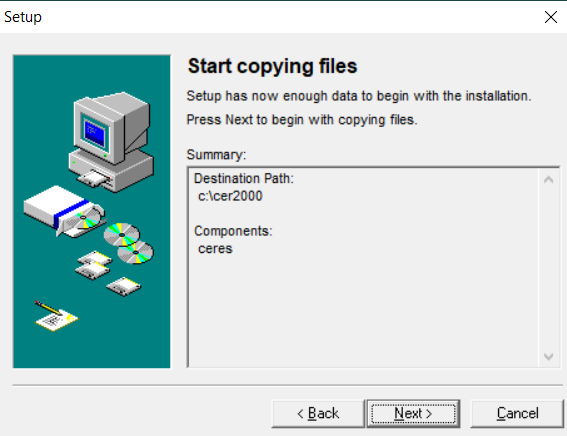
Step 3: The installation folder is displayed in this window. Click on Next here.
Please note that it is important for the proper functioning of the program that it remains on C:\cer2000

Step 4: If you now click on Next, the installation will start.
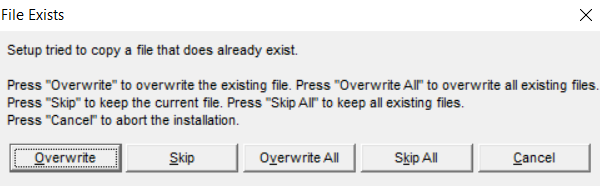
Step 5: If you get the following message, click on 'Overwrite All'.
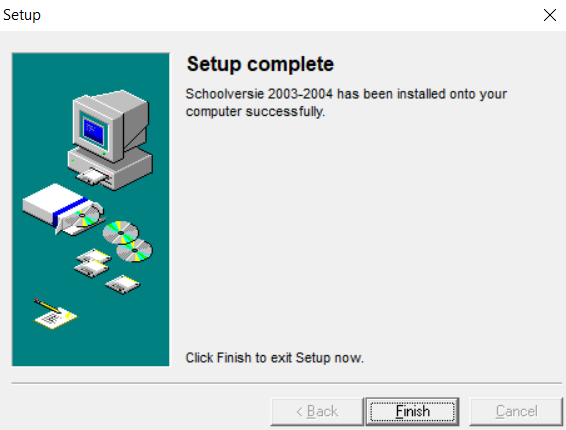
Step 6: The school version is installed on your computer.
In some cases, a school network is too highly secured and the school licence cannot be installed. Your ICT coordinator will know what to do. You must have access rights to write in the register. TIP! You must also be able to read and write in the C:\Cer2000 folder.
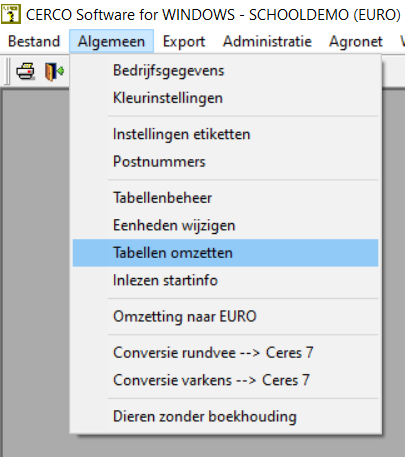
Convert tables and import start info
Step 1: Go to Start and go to the Ceres folder. Start the Ceres General module there.
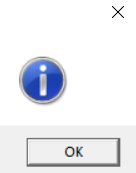
You'll get the following message. Click on OK.
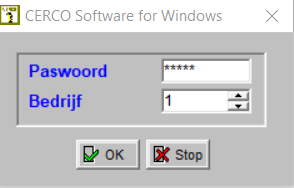
Make a choice which company you want to start and click OK. (Note: 1 to 9 are empty databases, 10 is a demo company)
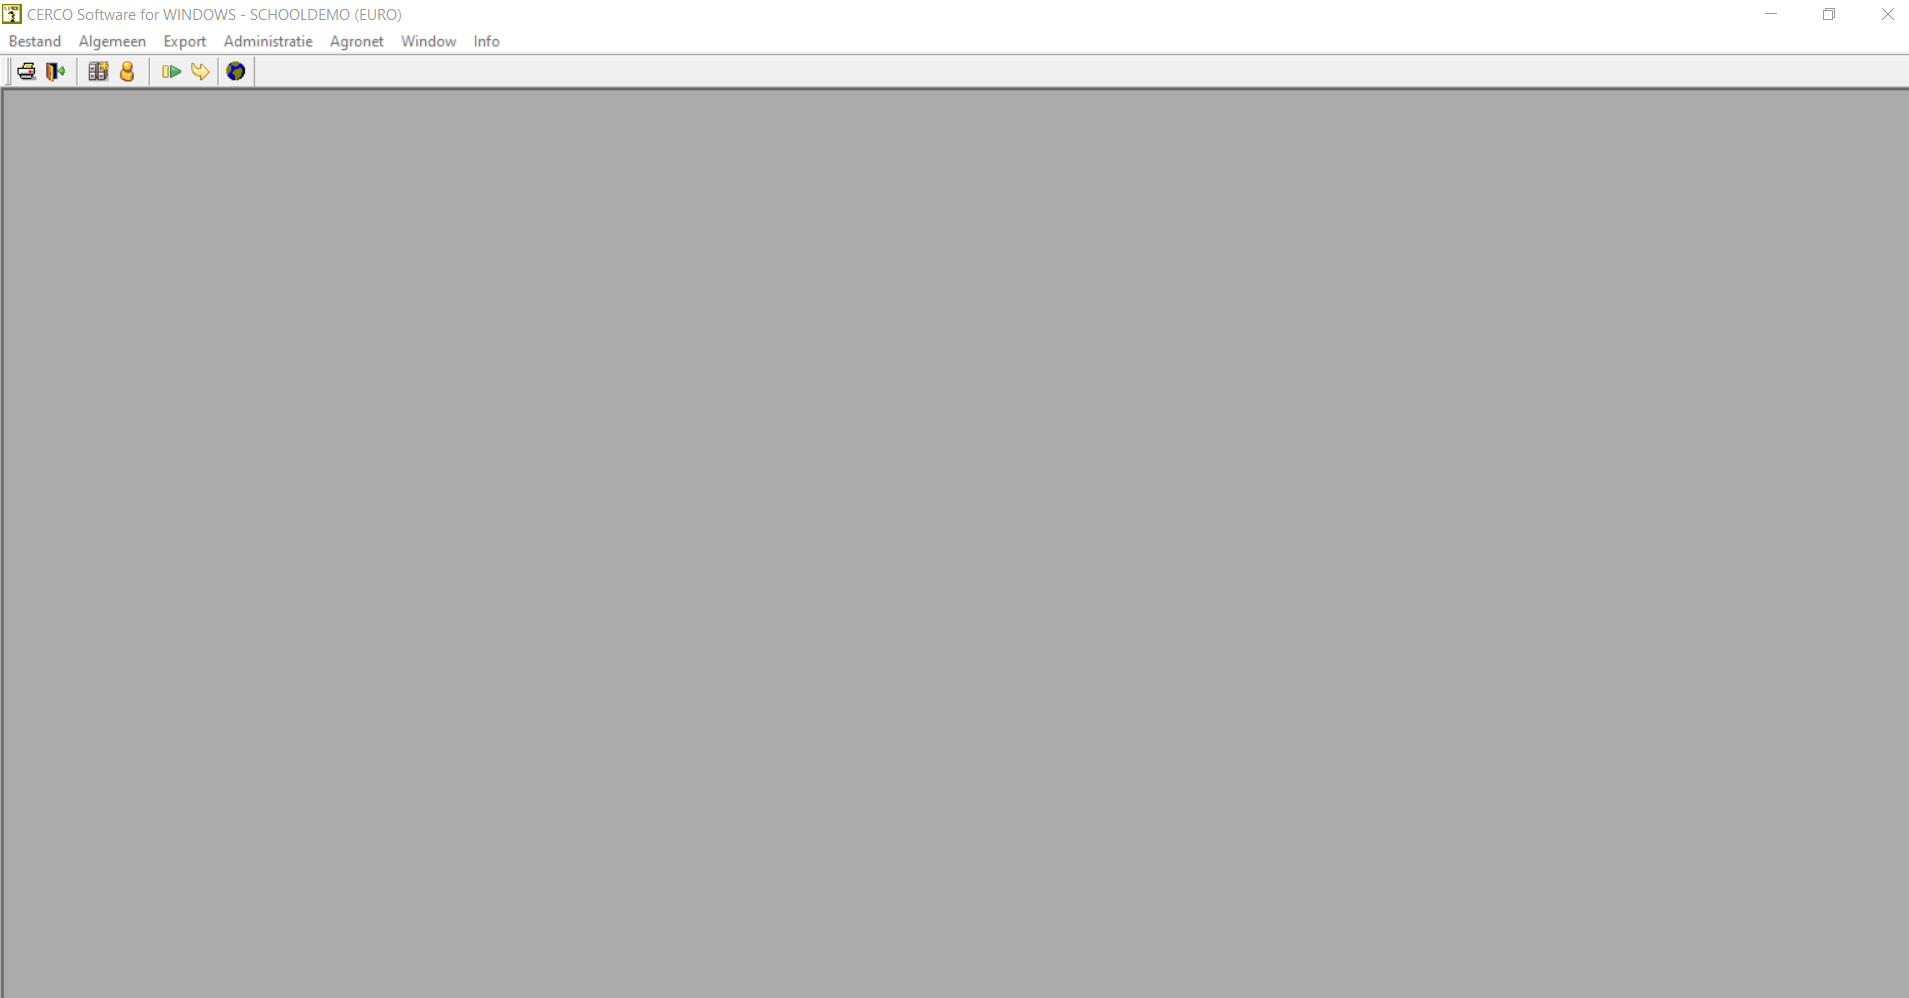
You will see the following screen.
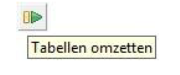
Step 2: First choose ‘Tabellen omzetten’ ('Convert tables'). At Upgrade click on OK. This may take a while.
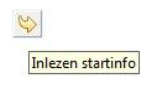
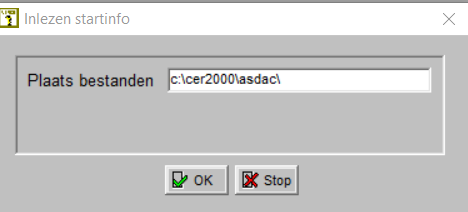
Step 3: Then click on ‘Inlezen startinfo’ ('Import start info'). Select C:\cer2000\asdac\ and click on OK. This may take a while.
Step 4: Ceres is now ready to use!